


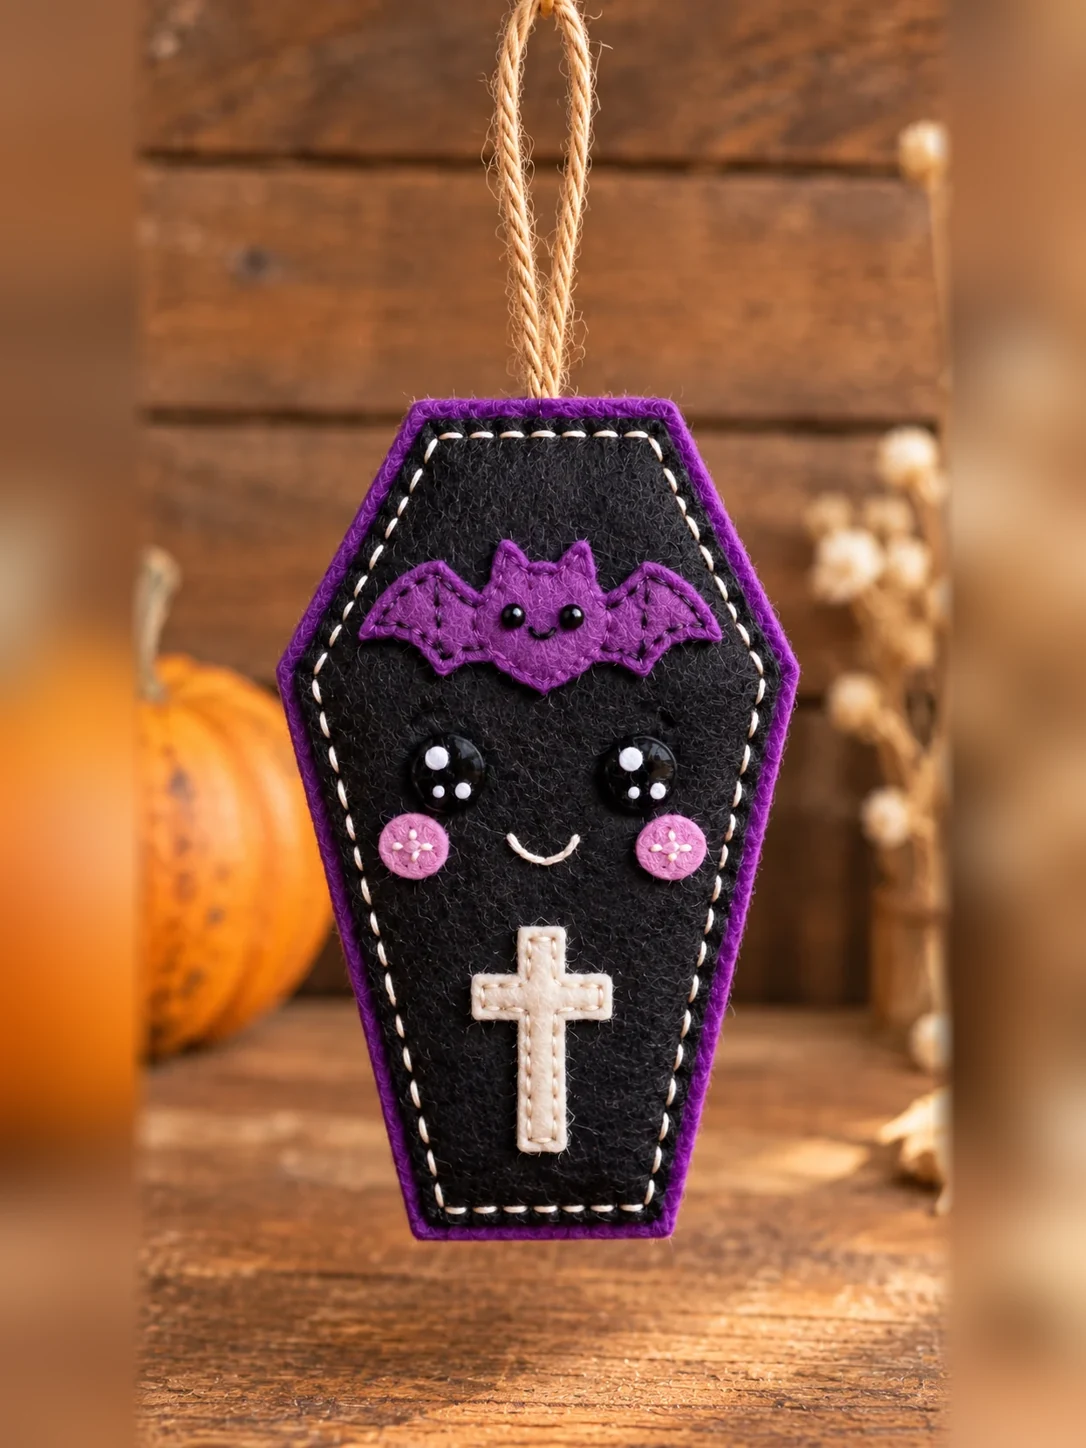
This little felt coffin has a sweet bat friend, a friendly face, and a soft purple edge. It makes a cute Halloween tree ornament, gift topper, or handmade decoration for a fall shelf. The pieces are small enough for felt scraps, and you can sew the whole project by hand.
Below, I’ll show you how to cut the shapes, add the face and bat, and close the ornament. There is also a free full-size printable pattern so you can make one of your own.
What Is This Felt Coffin Ornament?
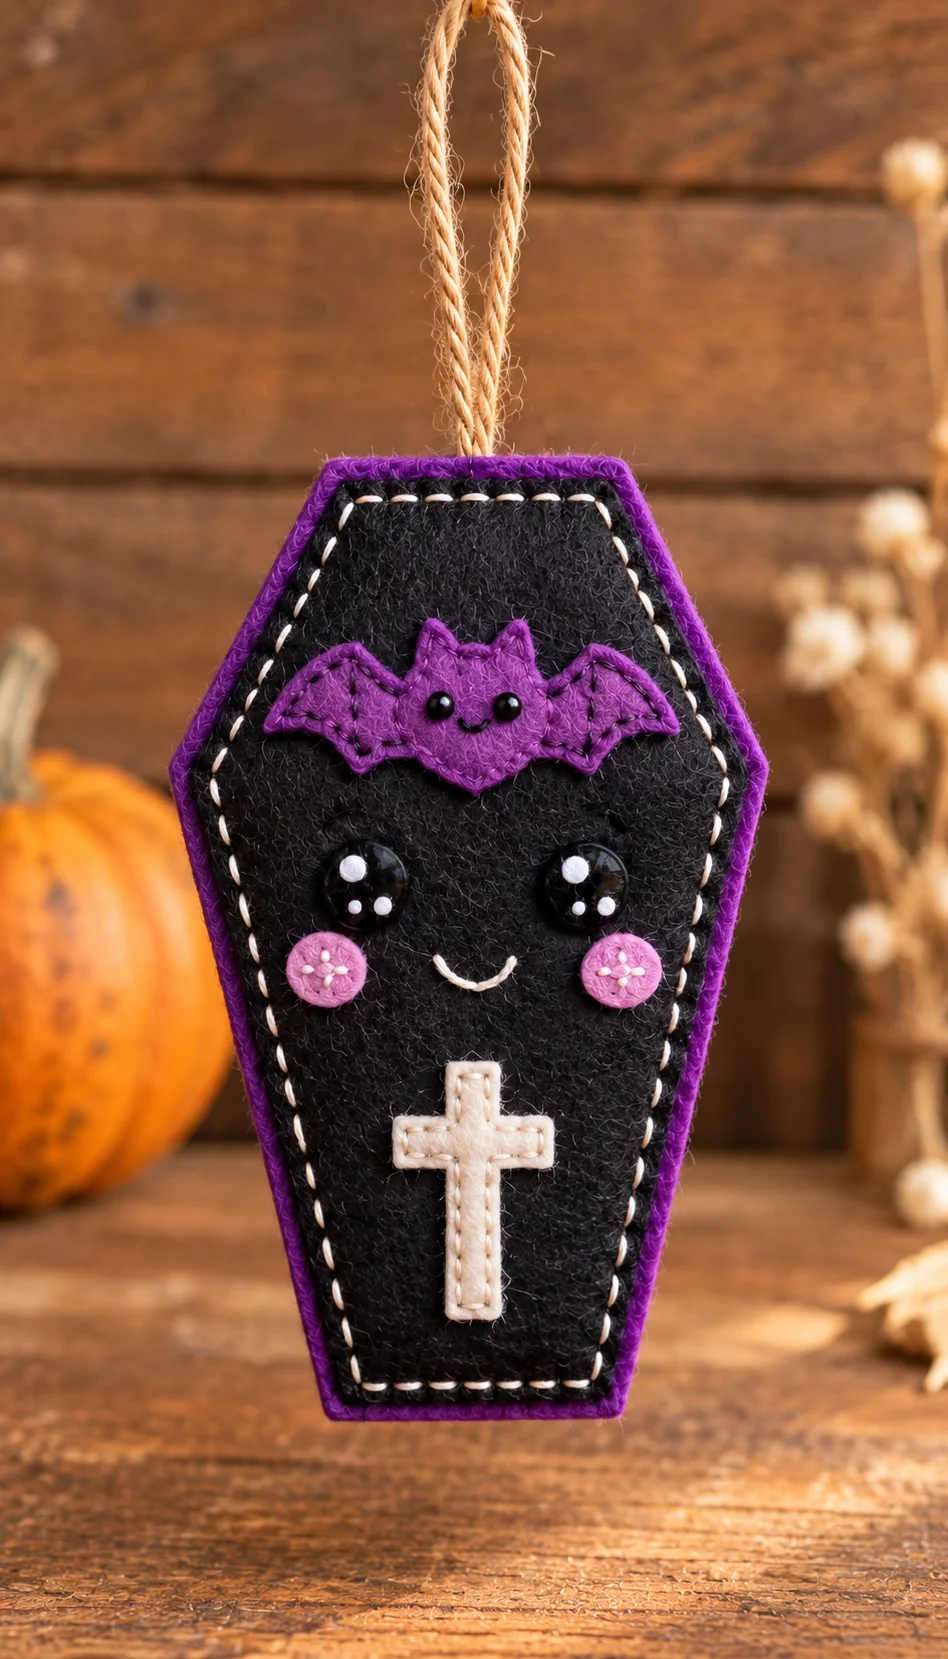
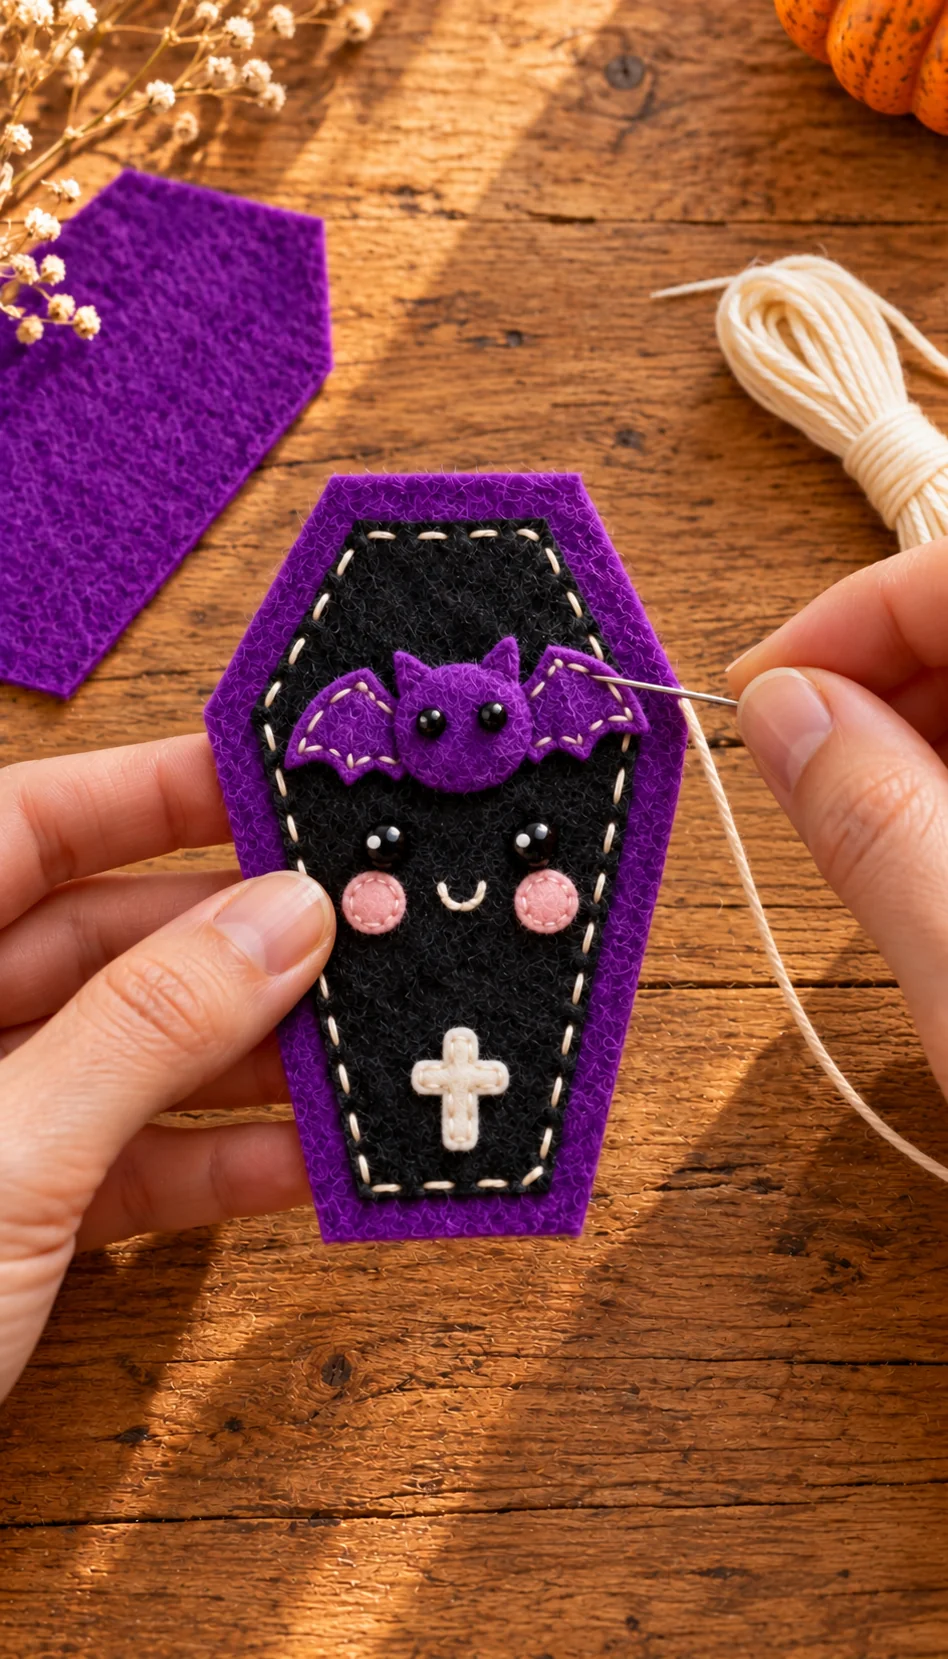
It is a lightly stuffed coffin-shaped ornament with a purple front and back, a smaller black front panel, and a jute hanging loop. Cream stitches frame the black panel. A tiny purple bat sits near the top, and the coffin has round eyes, pink cheeks, a smile, and a white cross. The finished ornament is about 10.7 cm (4¼ inches) tall, excluding the loop.
Free Printable Felt Coffin and Bat Pattern
Download the Felt Coffin and Bat Ornament Free Pattern (PDF)
Print the single A4 page at 100% or Actual Size. Turn off “Fit to Page” and check the 20 mm test square with a ruler. Cut along the solid outlines. The dashed outlines show a suggested place for your stitches. No extra seam allowance is needed.
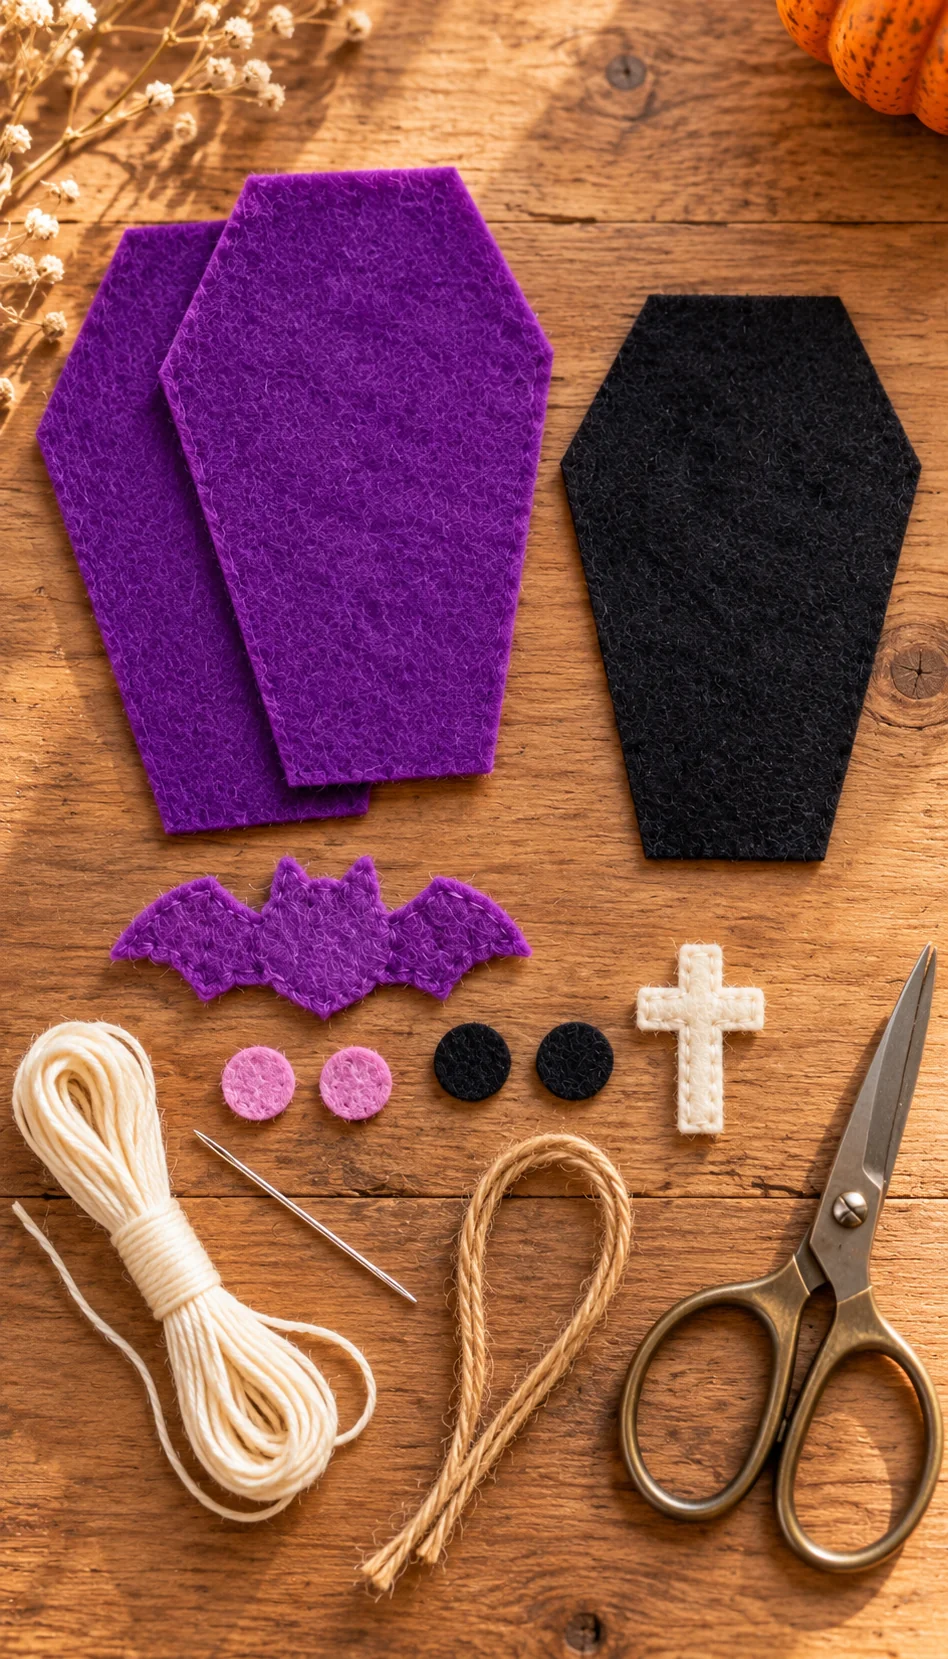
The sheet gives you one front coffin and one back coffin, a smaller black front panel, one bat, a cross, two eyes, and two cheeks. Use jute twine for the loop and stitch the little smiles by hand. If you print on US Letter paper, check that your printer has not shrunk the page.
Materials and Tools
- Deep purple felt for the front, back, and bat
- Black felt for the smaller front panel and two round eyes
- Pink felt for two cheeks and ivory felt for the cross
- Cream embroidery floss for the black panel border and smiling mouth
- Purple, black, and pink sewing thread or embroidery floss
- 16–18 cm (6–7 inches) of jute twine or narrow ribbon
- A small handful of polyester stuffing
- Hand-sewing needle, sharp felt scissors, pins, and a ruler
- Optional: two tiny black beads for the bat eyes, or black thread to stitch them
Felt around 1–1.5 mm thick works well. Use a little stuffing rather than packing the ornament firmly; that keeps the straight coffin edges tidy.
How to Make the Felt Coffin Ornament
1. Print the pattern and cut the felt
Print the PDF at actual size and measure the test square. Cut out the paper templates and trace them onto your felt. Cut the purple front and back, the smaller black panel, purple bat, ivory cross, two pink cheeks, and two black eyes. Keep the front panel centered on one purple coffin piece, leaving an even purple border.
Lay the small parts on the black panel before sewing. Check that the bat has room above the eyes and that the cross fits below the smile. This quick layout will save you from moving stitches later.
2. Stitch on the black front panel
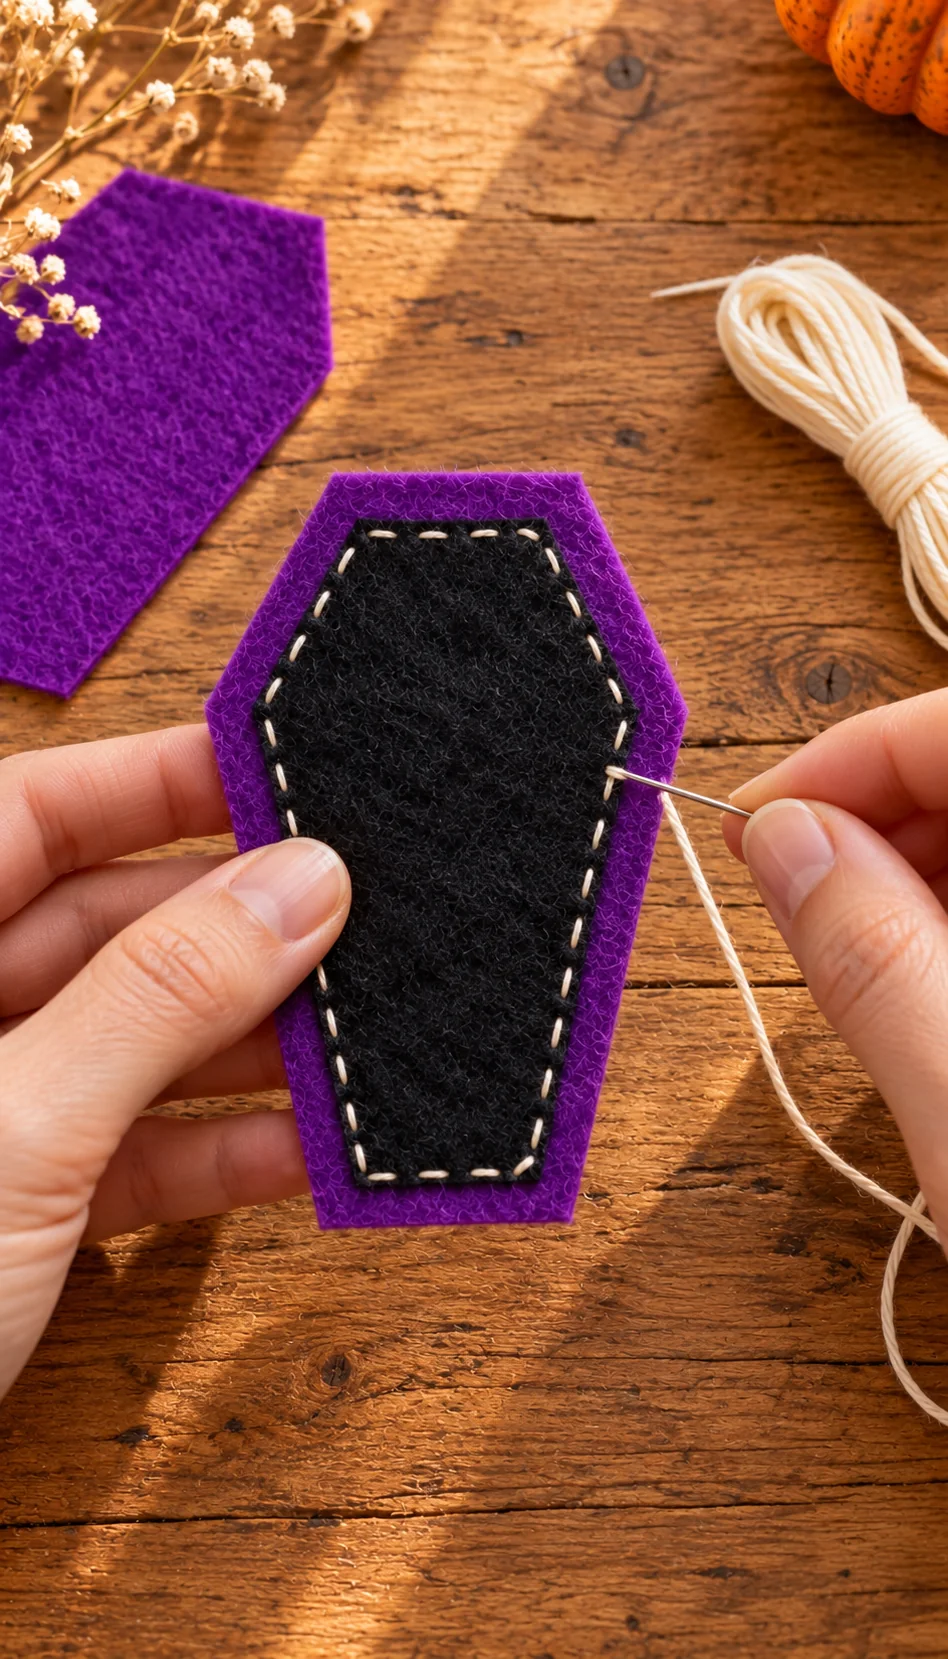
Place the smaller black coffin shape on the purple front piece. Keep its top and bottom straight and leave roughly 5–8 mm of purple showing around it. Pin it in place. Thread the needle with cream floss and sew short, even running stitches about 3 mm inside the black edge.
Work slowly at the angled corners so the black panel stays flat. Hide your starting and ending knots between the black and purple layers. The cream stitches make a clear frame against the dark felt.
3. Make the coffin’s friendly face
Arrange the two eyes across the upper half of the black panel, leaving space for the bat above them. Stitch each eye securely with black thread. Add a tiny white stitch or a small dot of white floss near the upper edge of each eye for a catchlight.
Sew a pink cheek below each eye. Use a few tiny cream stitches in each cheek if you like the look in the photo. Make a gentle U-shaped smile with cream floss between the cheeks. Place the ivory felt cross below the face and sew along its edge with small cream stitches.
4. Add the little purple bat
Stitch two tiny black eyes and a curved smile onto the bat first. If you use beads for its eyes, sew through each bead several times and knot the thread securely behind the felt. Place the bat at the top of the black panel so the wings spread out but do not cover the cream border.
Stitch around the bat’s body and wings with purple thread. Make smaller stitches at the wing points, and avoid pulling them so tight that the felt curls. A couple of extra stitches under the body keep the bat level.
5. Add the loop, fill, and close the coffin
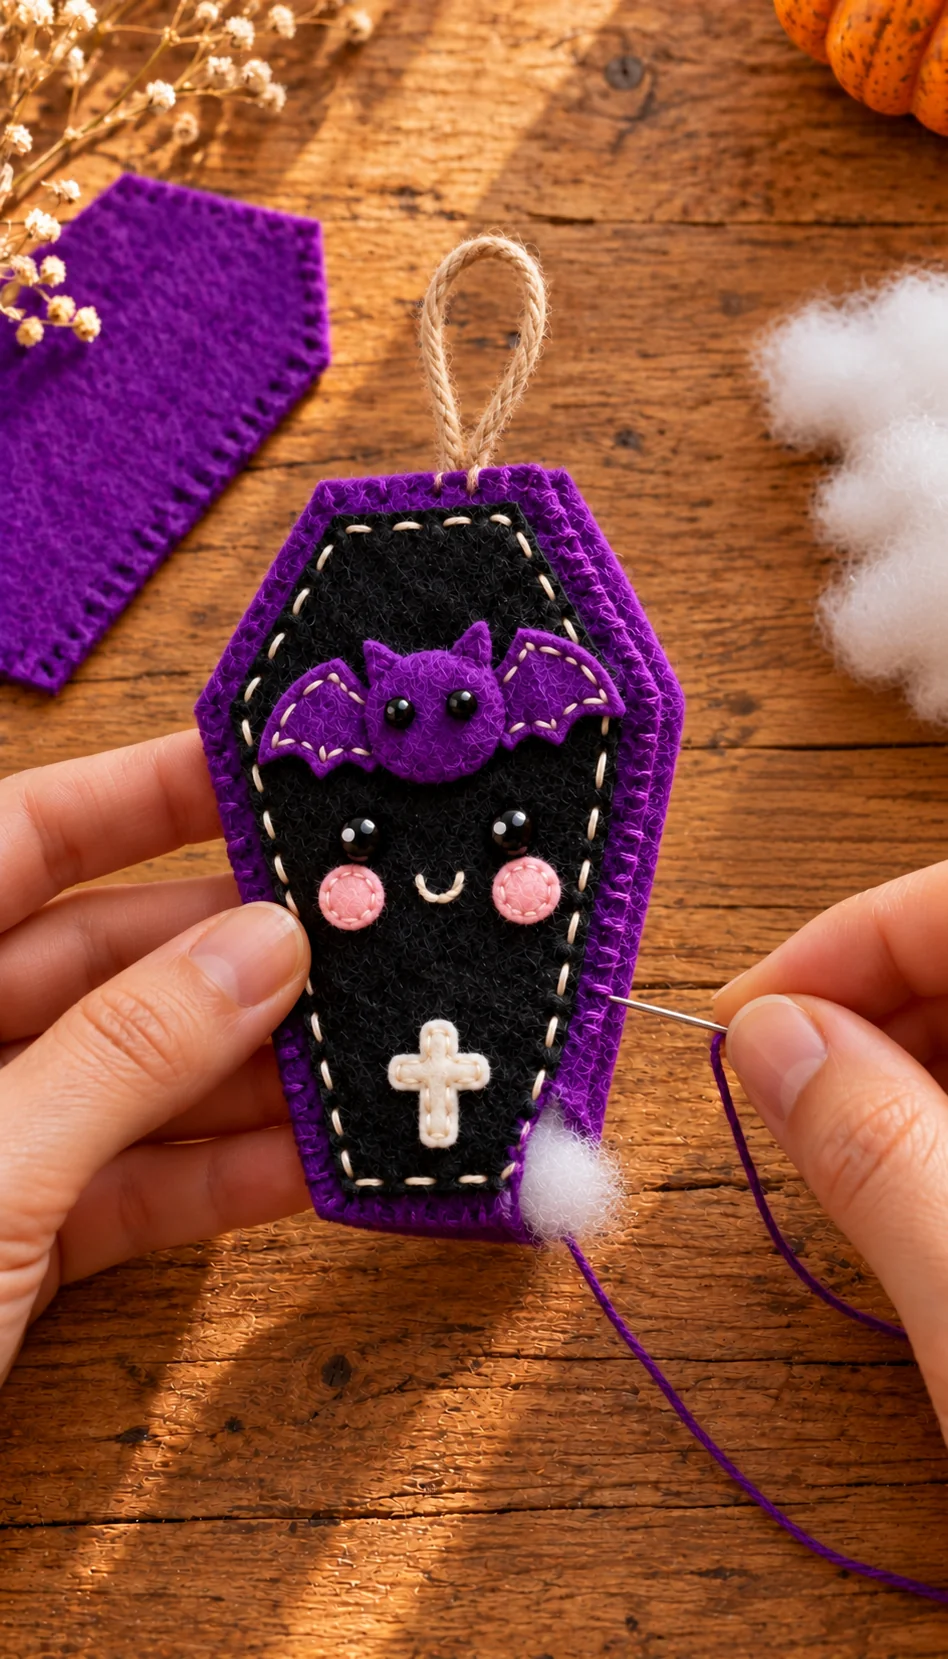
Fold your jute twine in half. Tuck its two cut ends between the purple front and back at the top edge, leaving a generous loop above the ornament. Make several small stitches through both twine ends and the back felt to secure them.
Put the decorated front over the plain back, with the good sides facing outward. Align the edges and sew around them with purple blanket stitches. Leave a short opening near the bottom. Add a little stuffing, pushing a small amount into each corner, and finish the seam. Hide the final knot between the felt layers. Hold the ornament by its loop and check that it hangs straight.
Tips for a Neat Finish
Check the panel border. Before sewing, measure the purple margin on both sides. A centered black panel makes the finished shape look balanced.
Use small stitches on the bat. Short stitches help the pointed ears and scalloped wings stay flat.
Go easy on the filling. Too much stuffing can bend the straight edges and make the black panel bulge.
Secure the loop well. Stitch through both cut ends more than once so the ornament can hang safely year after year.
Ways to Display and Store It
Hang it from a Halloween branch, a seasonal garland, a hook, or a wrapped gift. You can also make several with different bat and cheek colors for a little handmade ornament set.
Spot clean with a barely damp cloth and dry it flat. Store it in a box where heavier decorations will not press on the bat’s wings. Because of the small eyes and hanging cord, this ornament is a decoration rather than a toy for babies or pets.
Frequently Asked Questions
Can a beginner make this felt coffin ornament?
Yes. Cut slowly, pin the small parts in place, and use simple running and blanket stitches. The shape has only a few corners.
Do I need a sewing machine?
No. Every part is small enough to sew by hand.
Can I leave out the stuffing?
Yes. A flat version also looks cute and works especially well as a gift tag or garland piece.
Can I use ribbon instead of jute?
Yes. A narrow purple, black, or cream ribbon makes a soft hanging loop.
How can I make the eyes safer?
Cut the eyes from felt and stitch them down instead of using beads. Keep the finished ornament away from very young children.
Can I print the pattern on US Letter paper?
Check the printer preview to make sure the whole page fits at 100%. Measure the 20 mm square after printing.
Can I change the colors?
Of course. Try orange felt for the outer coffin, a lavender bat, or a pale pink cross.
Make Your Own Halloween Felt Ornament
That is all it takes to turn a few scraps of felt into a small Halloween decoration with lots of personality. Download the free pattern above, pick your colors, and enjoy sewing your own little bat and coffin.

Leave a Comment