


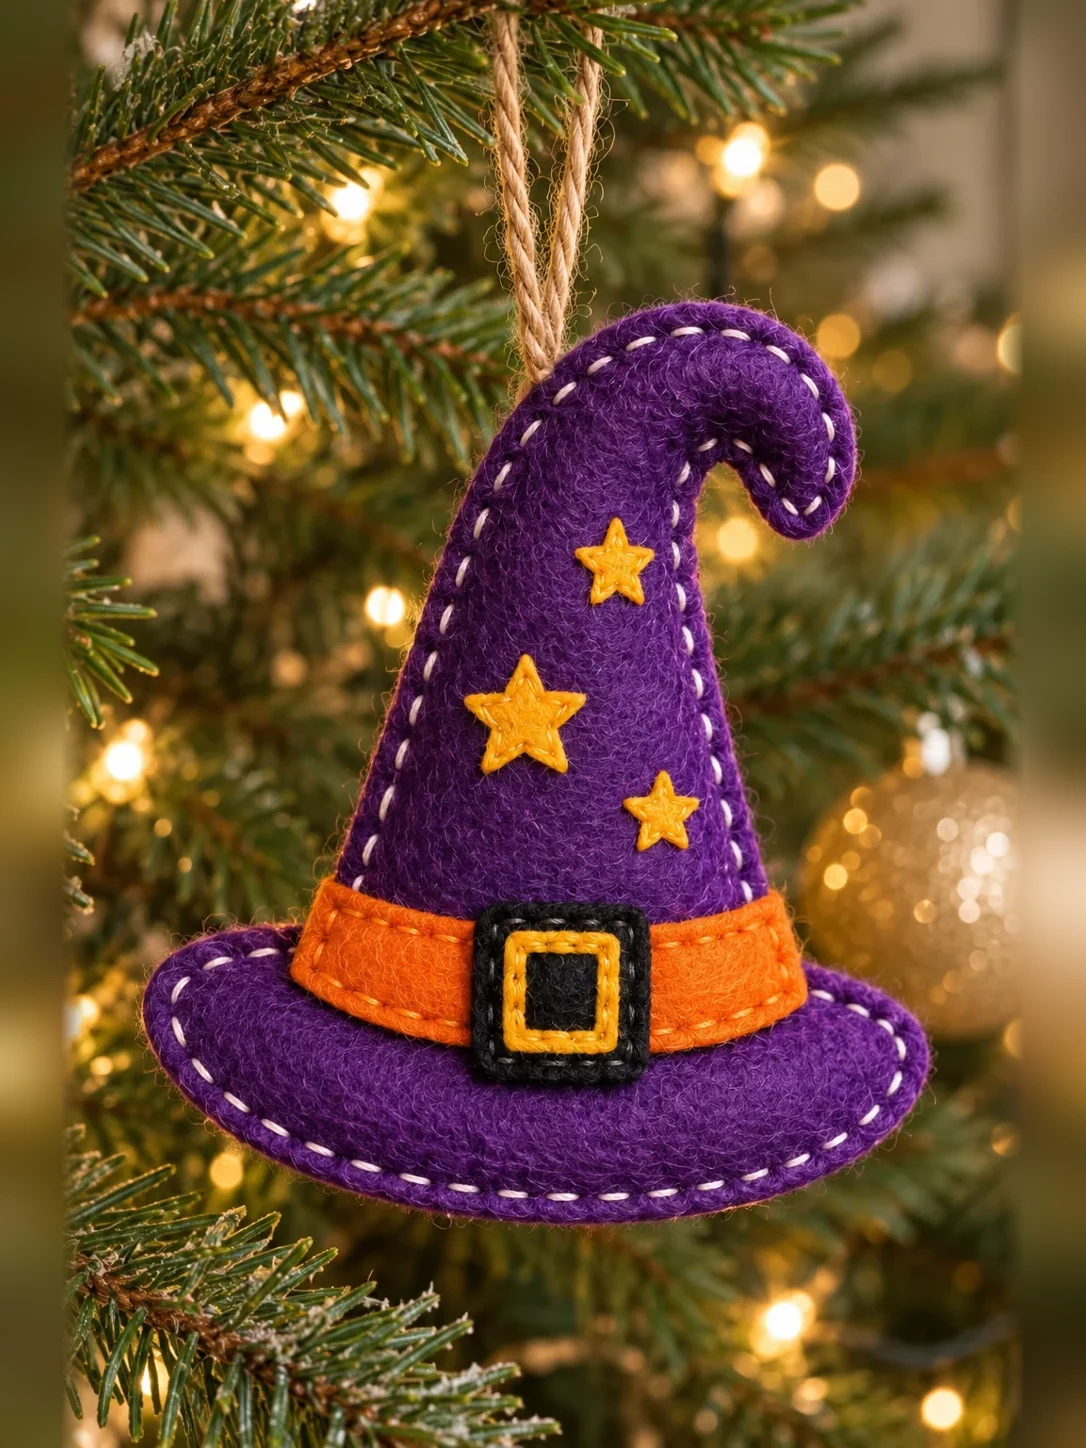
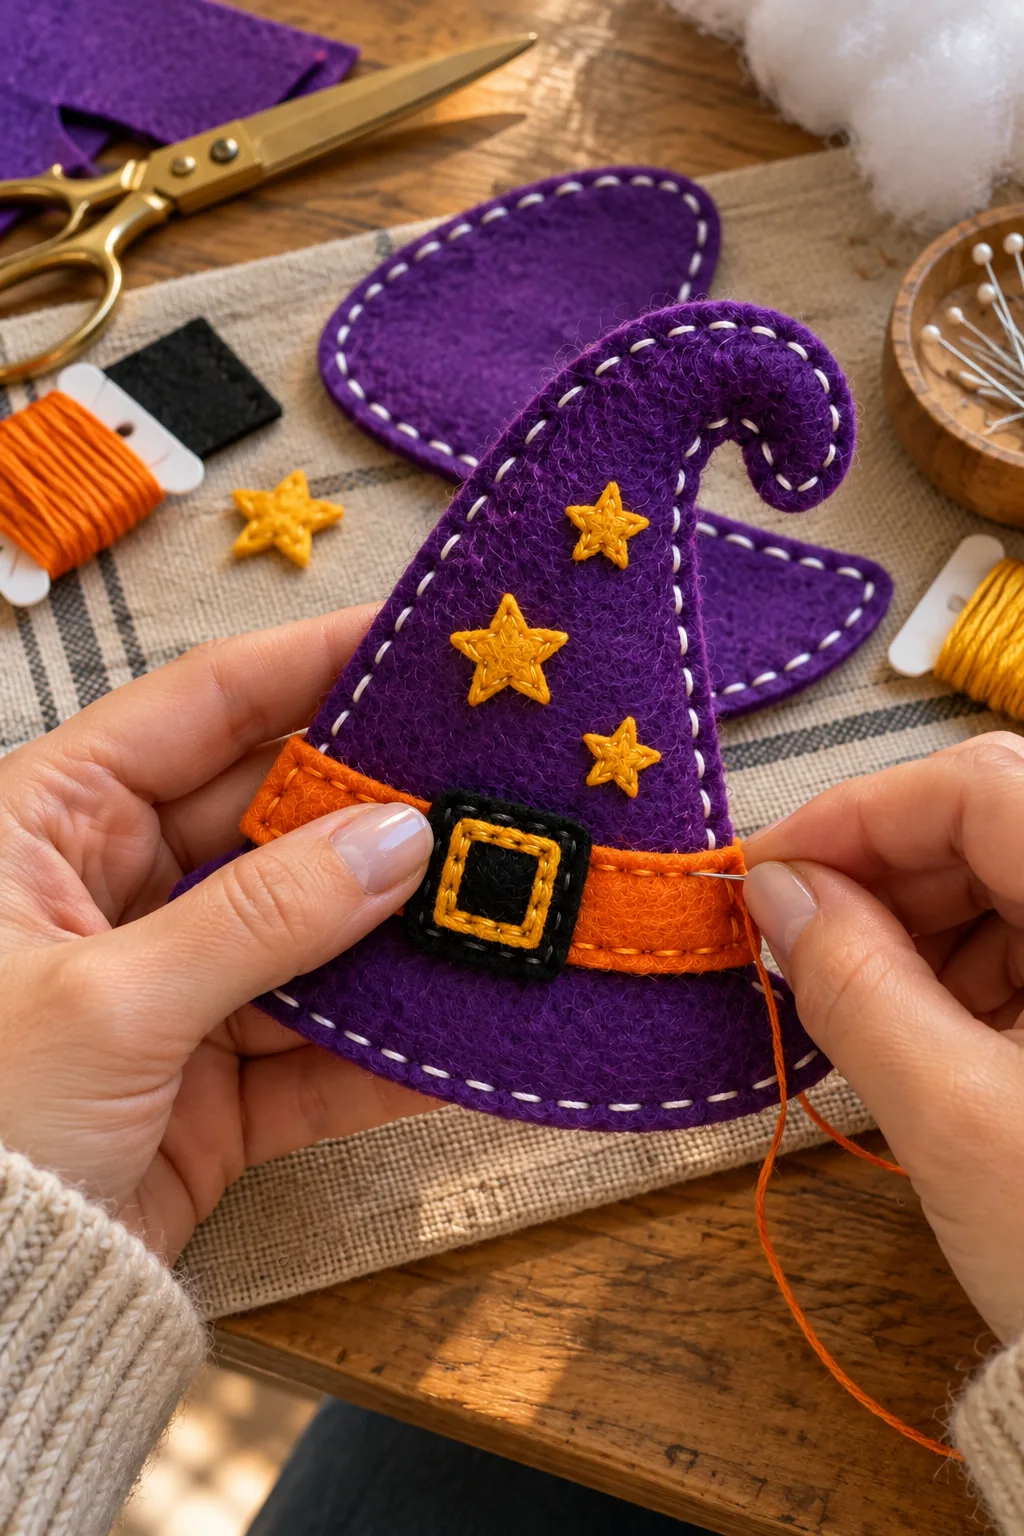
Little handmade decorations are my favorite kind of seasonal craft. This purple felt witch hat has a soft curled tip, a wide brim, an orange band, and three little gold stars. The black buckle gives it a classic witch-hat look, while the visible hand stitches make it feel warm and personal.
You can make it for a Halloween tree, a door handle, a gift bag, or a fall craft display. It is small enough to use felt scraps, and every part can be sewn by hand. Below you will find a free full-size cutting pattern and clear steps with photos.
What Is This Felt Witch Hat Ornament?
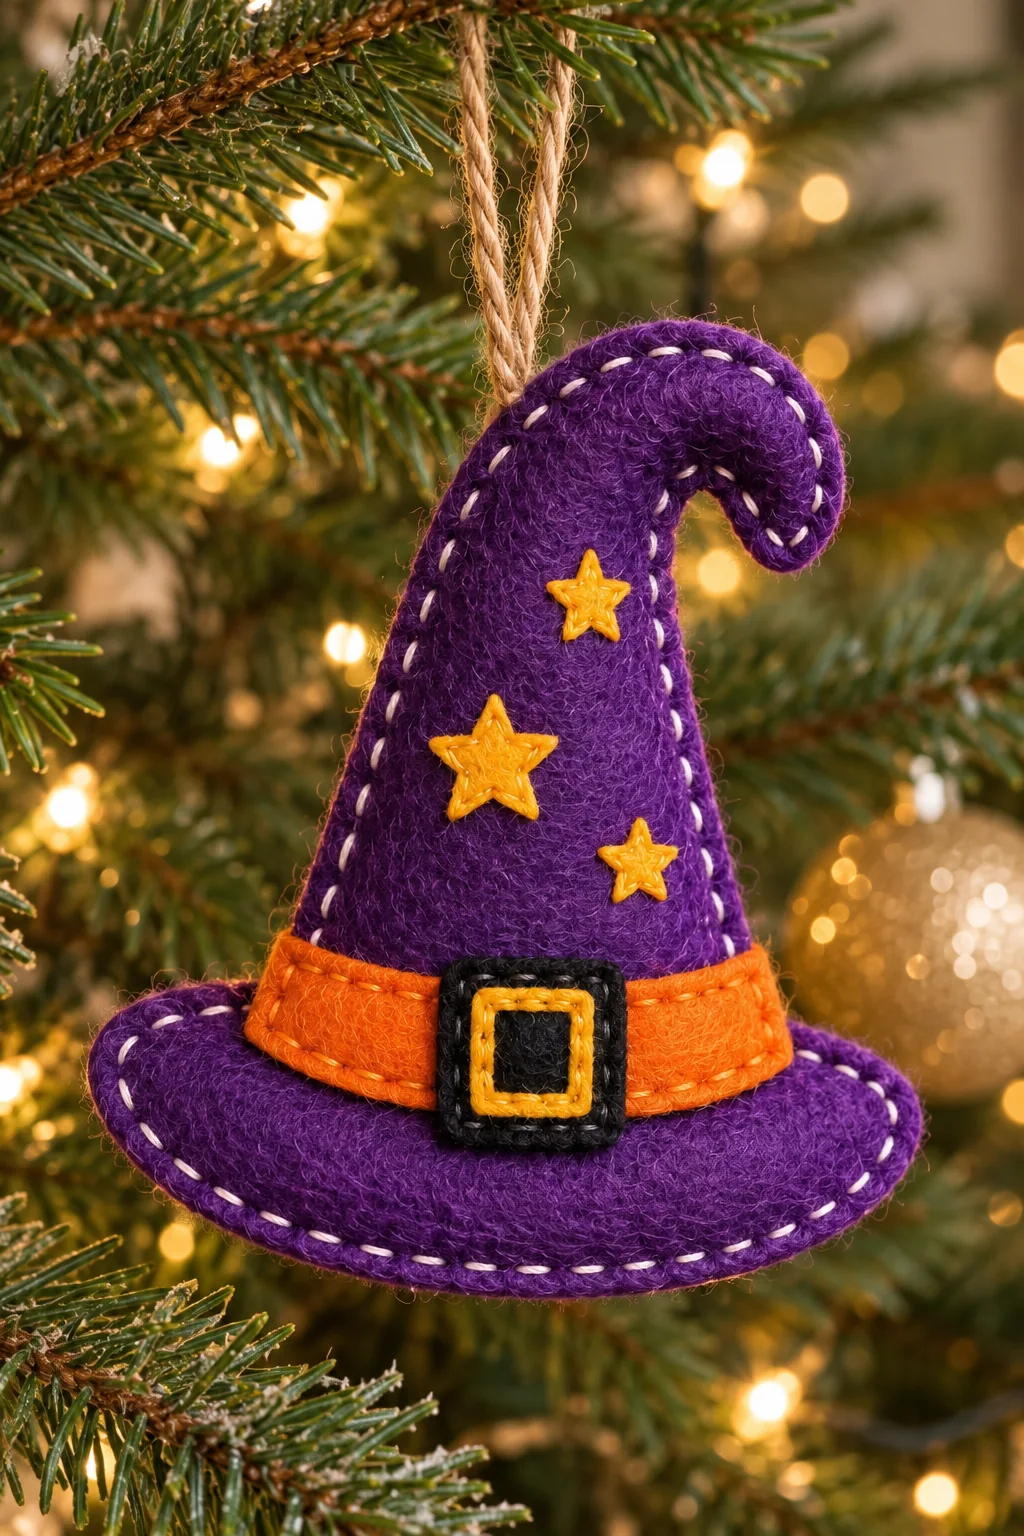
It is a lightly padded hanging ornament made from two purple hat shapes and two purple brim shapes. The tip curves to one side, and a length of jute twine is sewn into the top for hanging. An orange band crosses the lower hat, with a square black buckle in the center. One large and two smaller gold stars decorate the front.
The printable template includes every felt shape. The finished hat is about 11 cm (4¼ inches) tall and 11.5 cm (4½ inches) wide at the brim, excluding the hanging loop. Its exact size will vary a little depending on where you attach the brim and how firmly you stuff the hat.
Free Printable Felt Witch Hat Pattern
Download the Felt Witch Hat Ornament Free Pattern (PDF)
The template is one A4 page. Print it at 100% or Actual Size, with “Fit to Page” switched off. Measure the 20 mm test square before cutting any felt. The solid lines are cutting lines; the dashed lines suggest where to sew. No extra seam allowance is needed.
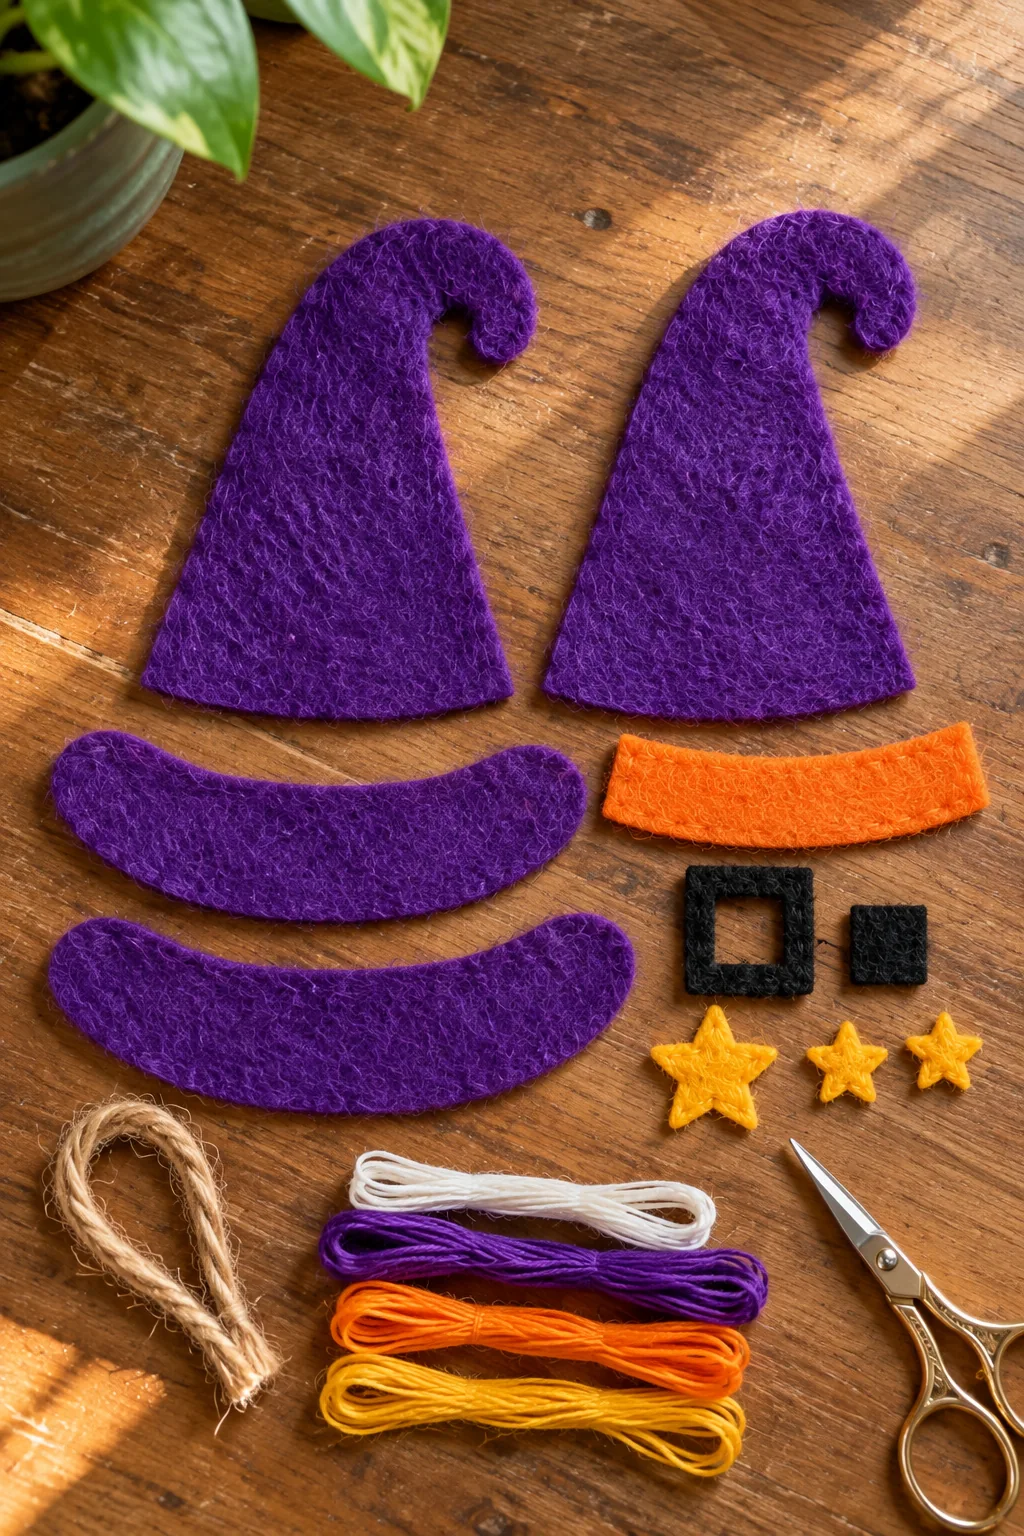
Cut one piece from each of the two hat outlines and one piece from each of the two brim outlines. You will have two hat pieces and two brim pieces in all. The other outlines make one orange band, one black buckle, one smaller black buckle center, one large gold star, and two small gold stars.
Materials and Tools
- Deep purple felt for the two hat shapes and two brim shapes
- Orange felt for the curved hat band
- Black felt for the buckle and its small center
- Gold or yellow felt for one large star and two small stars
- White or cream thread for the visible outer stitches
- Purple, orange, black, and gold embroidery floss or sewing thread
- A 16–18 cm (6–7 inch) piece of jute twine or narrow ribbon for hanging
- A little polyester filling, a hand-sewing needle, sharp felt scissors, pins, and a ruler
Felt around 1–1.5 mm thick is easy to cut neatly. A very thick felt can make the curl at the top harder to sew, so choose a softer sheet for the hat body if you have one.
How to Make a Felt Witch Hat Ornament
1. Print the pattern and cut the pieces
Print the PDF at actual size and check the test square. Cut out the paper shapes, then trace them onto the felt. Cut both purple hat pieces with the curled tip leaning the same way. Cut both purple brim pieces, the orange band, two black buckle pieces, and three gold stars.
Lay everything on your work surface in the order it will be sewn. Keep the two brim pieces together so you do not accidentally stitch the band onto the brim instead of the hat body. Place the jute loop nearby for the joining step.
2. Add the three gold stars
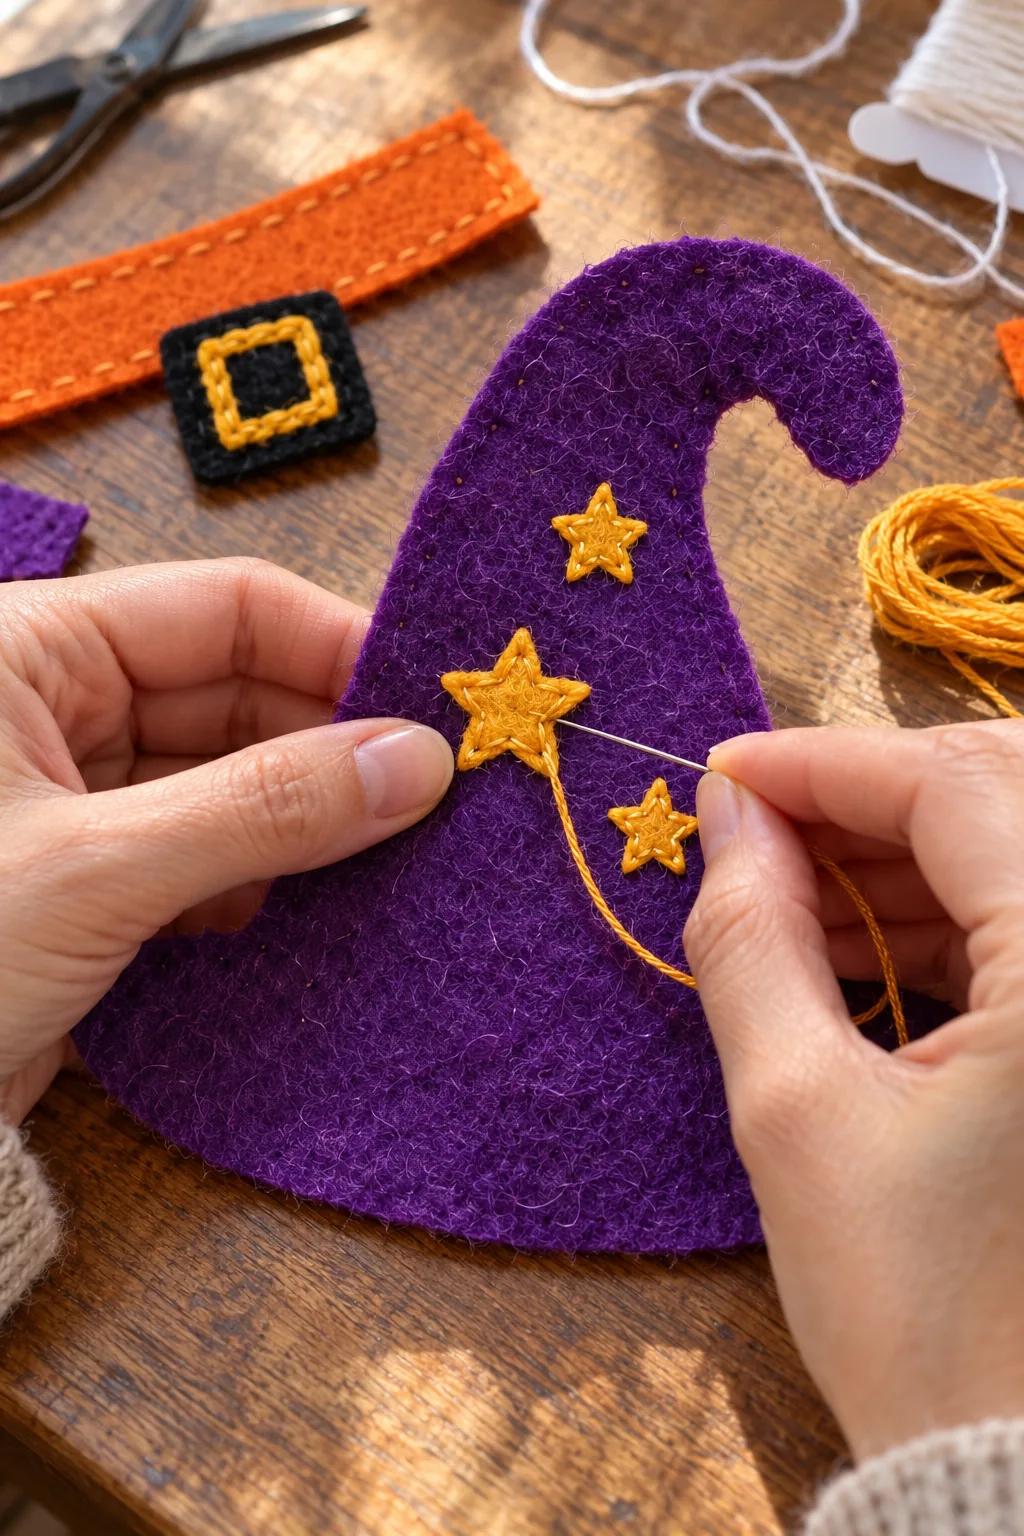
Choose one purple hat piece for the front. Place the large gold star on the lower-left side of the hat. Add one small star higher up and another toward the lower right. Leave room at the base for the orange band.
Pin each star or tack it with one tiny stitch, then sew around it with gold thread. Turn the felt gently at each point instead of pulling the thread tight. If a point lifts, add one short stitch through its tip.
3. Stitch on the orange band and buckle
Place the orange band across the lower front of the hat, just above the edge that will meet the brim. It should follow the gentle curve of the base. Sew along its upper and lower edges with orange thread. Short running stitches give the band a visible handmade border.
Center the larger black square over the band. Sew it down with black thread, then stitch a gold square around its middle to look like a metal buckle. Add the smaller black center if you want a solid dark middle. Make sure the band ends stay flat underneath the buckle.
4. Sew the hat body and hanging loop
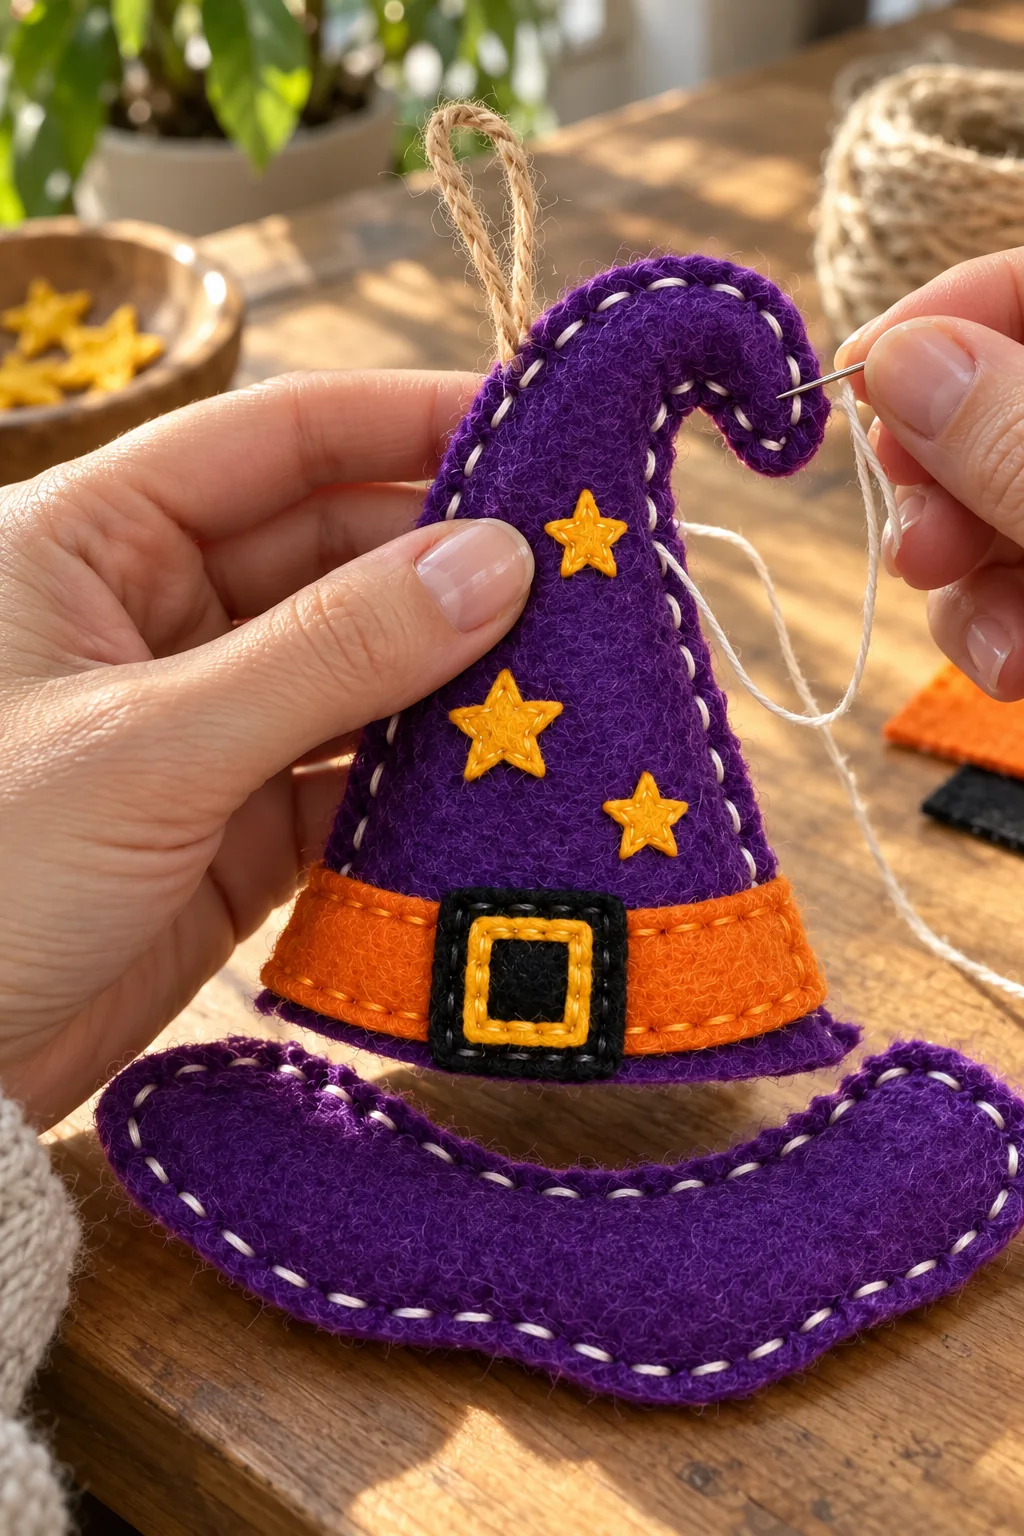
Fold the jute twine in half. Tuck both cut ends between the front and back purple hat pieces near the top, leaving the loop above the hat. Stitch through the twine and back felt several times to secure it before joining the layers.
Put the plain back behind the decorated front, good sides facing outward, and align the long edges and curled tip. Sew around the outer edge with cream or white blanket stitches, about 3 mm from the cut edge. Work slowly around the hook so the stitches follow the curve. Leave a small opening near the base, add a little filling, then close it. Keep the filling light so the point still curves naturally.
5. Make and attach the purple brim
Place the two purple brim pieces together with their good sides facing outward. Blanket stitch around the edge with white thread, leaving a short opening at the center of the upper edge. A tiny amount of filling is enough to give the brim a soft shape. Close the opening and hide the knot between the layers.
Center the sewn hat body on top of the brim. The hat should overlap the middle of the brim by about 8–10 mm, leaving the upturned ends visible on both sides. Sew firmly through the hat base and both brim layers with purple thread. Add a few hidden stitches at the back so the brim stays level when the ornament hangs.
Tips for a Neat Handmade Finish
Keep the two hat curls together. Check that both pieces lean in the same direction before sewing. Mirrored curls will not line up along the edges.
Cut the small stars slowly. Turn the felt rather than the scissors as you work around each point. One smooth cut gives cleaner edges.
Do not overfill the hooked tip. A small wisp of filling supports it. Too much stuffing can straighten the curl and stretch the white stitches.
Check the brim before the final stitches. Hold the hat by its loop. If one side of the brim droops, adjust its position before securing it fully.
Care and Storage
Spot clean the felt with a barely damp cloth and let it dry flat. Do not machine wash or soak the ornament. Store it in a small box with room around the curved tip so heavier decorations do not crush its shape.
The hat has small stars, a buckle, and a hanging cord. It is a decoration, not a toy for babies or pets.
Frequently Asked Questions
Can I make this witch hat without a sewing machine?
Yes. The whole project is designed for hand sewing. A running stitch works for the band and stars, and a blanket stitch joins the outer edges.
Do I need to stuff both the hat and brim?
No. You can leave both flat. A very small amount of filling gives them a softer look, but the ornament should still hang easily.
Can I use fabric glue for the stars?
You can use a tiny dot to hold the pieces while sewing. Stitches are more secure, especially if you plan to bring the ornament out every season.
What if the curled tip is hard to turn?
Trim tiny fuzzy fibers at the inner curve and use shorter stitches there. Do not force much filling into the hooked end.
What size paper should I use?
The PDF is sized for A4 paper. Print at 100% and measure the 20 mm test square. On US Letter, check that all outlines fit without scaling before cutting.
Can I change the colors?
Of course. Black felt with an orange band looks classic for Halloween; navy felt with silver stars makes a night-sky version.

Leave a Comment