


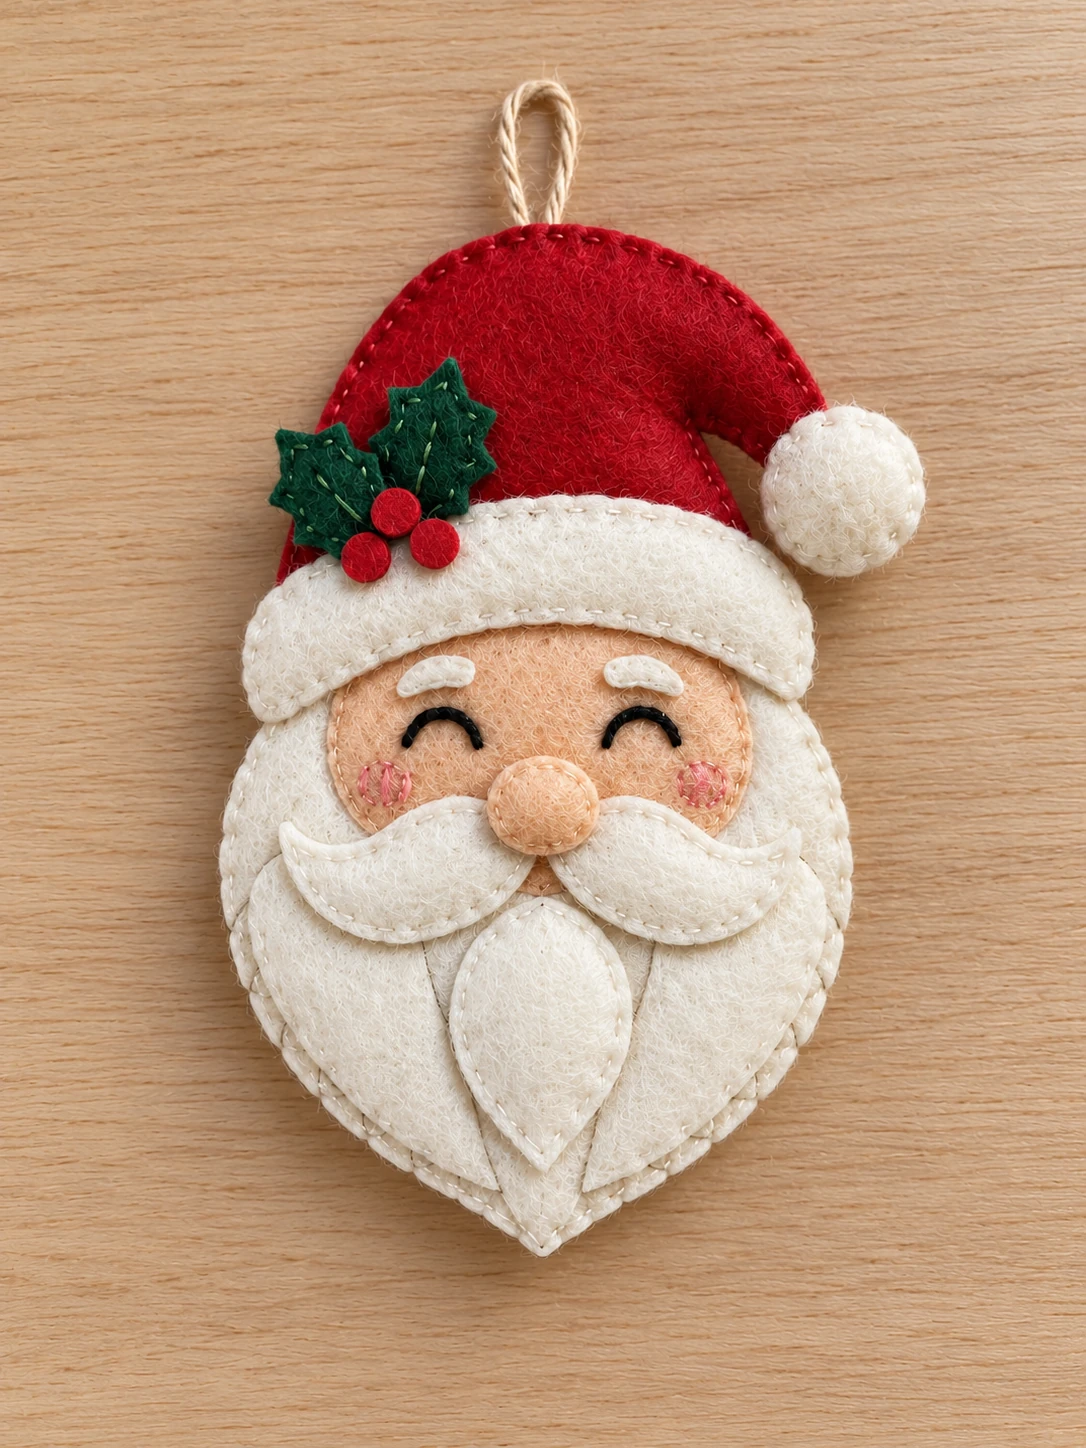
A red hat, rosy cheeks, and a lovely white beard give this little felt Santa plenty of Christmas charm. The curved eyes and soft moustache make a gentle face, while two green holly leaves add a small splash of color beside his hat.
Make him for your Christmas tree, add him to a handmade garland, or tie him onto a wrapped gift. This is a hand-sewn project, with small felt layers and visible stitches that are part of the decoration.
The free cutting pattern and separate illustrated sewing guide are below. The complete flat outline measures 150 mm high × 103 mm wide, excluding the hanging loop. Keep the full-size placement map beside you as you work.
Before You Start
Use firm felt about 1–1.5 mm thick. Thicker felt can make the face and hat layers harder to sew through. Read the guide once before cutting, and work on the decorated front while the main base is still flat. This keeps the backs of your stitches easy to reach.
The edges stay visible throughout this project. Cut on the solid outer outlines, with no extra seam allowance. Join the main pieces with their backs together and their decorated faces pointing outward. Nothing is turned inside out. The 150 mm height describes the flat layout; light filling and sewing can change the final measurement slightly.
This Santa is a decorative ornament. Small felt pieces, filling, and the hanging cord make it unsuitable for play. Keep it, along with needles, pins, and scraps, away from babies, young children, and pets.
Materials You Will Need
- Ivory felt: two A4 sheets, each 210 × 297 mm
- Red felt: one A4 sheet, 210 × 297 mm
- Peach felt scraps for the face and nose, and green scraps for the holly
- Matching embroidery floss or sewing thread, plus black floss for the eyes
- Optional pink embroidery floss for the cheeks
- A small amount of polyester filling
- Thin hanging cord, cut to 220 mm (22 cm)
- A fine hand-sewing needle, small sharp scissors, paper scissors, pins or clips, a removable fabric marker, and a ruler
- A4 paper for the pattern and sewing guide
Lay all the paper pieces on your felt before cutting, including the repeated and reversed shapes. The two ivory sheets cover the main bases and layered details. You can use slightly different ivory and cream shades for the beard, moustache, and cuff if you would like the layers to stand out.
Download the Santa Pattern and Sewing Guide
The four-page A4 pattern contains two color-template pages followed by two matching plain-outline pages. Choose one complete two-page style. The outline pages are an alternative to the color pages, so printing both styles does not mean cutting twice as many pieces.
Download the free felt Santa ornament pattern PDF
Download the illustrated felt Santa sewing guide PDF
The separate five-page sewing guide includes the cutting list, illustrated sewing order, and a full-size front placement map. Keep that map for arranging the layers. It is a guide to placement, not another set of pieces to cut.
Print and Check Your Pattern
Print on A4 paper at 100% or Actual Size. Turn off Fit to Page, Shrink, and any automatic enlargement. Measure the printed test line with a ruler: it must be 50 mm long. If it is not, adjust the print settings and print again before cutting your felt.
Keep every page at the same scale. The measurements in the cutting list are width × height at the widest and tallest points of each shape. Use the printed outlines for the curves and points. The project pictures show the finished look; they are not full-size tracing templates.
Felt Cutting List
| ID | Piece | Color | Outer cut size | Quantity |
|---|---|---|---|---|
| A | Main base | Ivory | 94 × 150 mm | 2, one as drawn and one reversed |
| B | Hat | Red | 84 × 63 mm | 2, one as drawn and one reversed |
| C | Beard overlay | Ivory | 90 × 83 mm | 1 |
| D | Face | Peach | 64 × 49 mm | 1 |
| E | Hat cuff | Ivory | 88 × 31 mm | 1 |
| F | Side beard lock | Ivory | 38 × 54 mm | 2, one mirrored pair |
| G | Center beard lock | Ivory | 28 × 41 mm | 1 |
| H | Moustache half | Ivory | 39 × 22 mm | 2, one mirrored pair |
| I | Eyebrow | Ivory | 13 × 5 mm | 2, one mirrored pair |
| J | Nose | Peach | 16 × 13 mm | 2 |
| K | Pom-pom | Ivory | 24 × 24 mm | 2 |
| L | Holly leaf | Green | 16 × 27 mm | 2, one mirrored pair |
| M | Berry | Red | 7 × 7 mm | 3 |
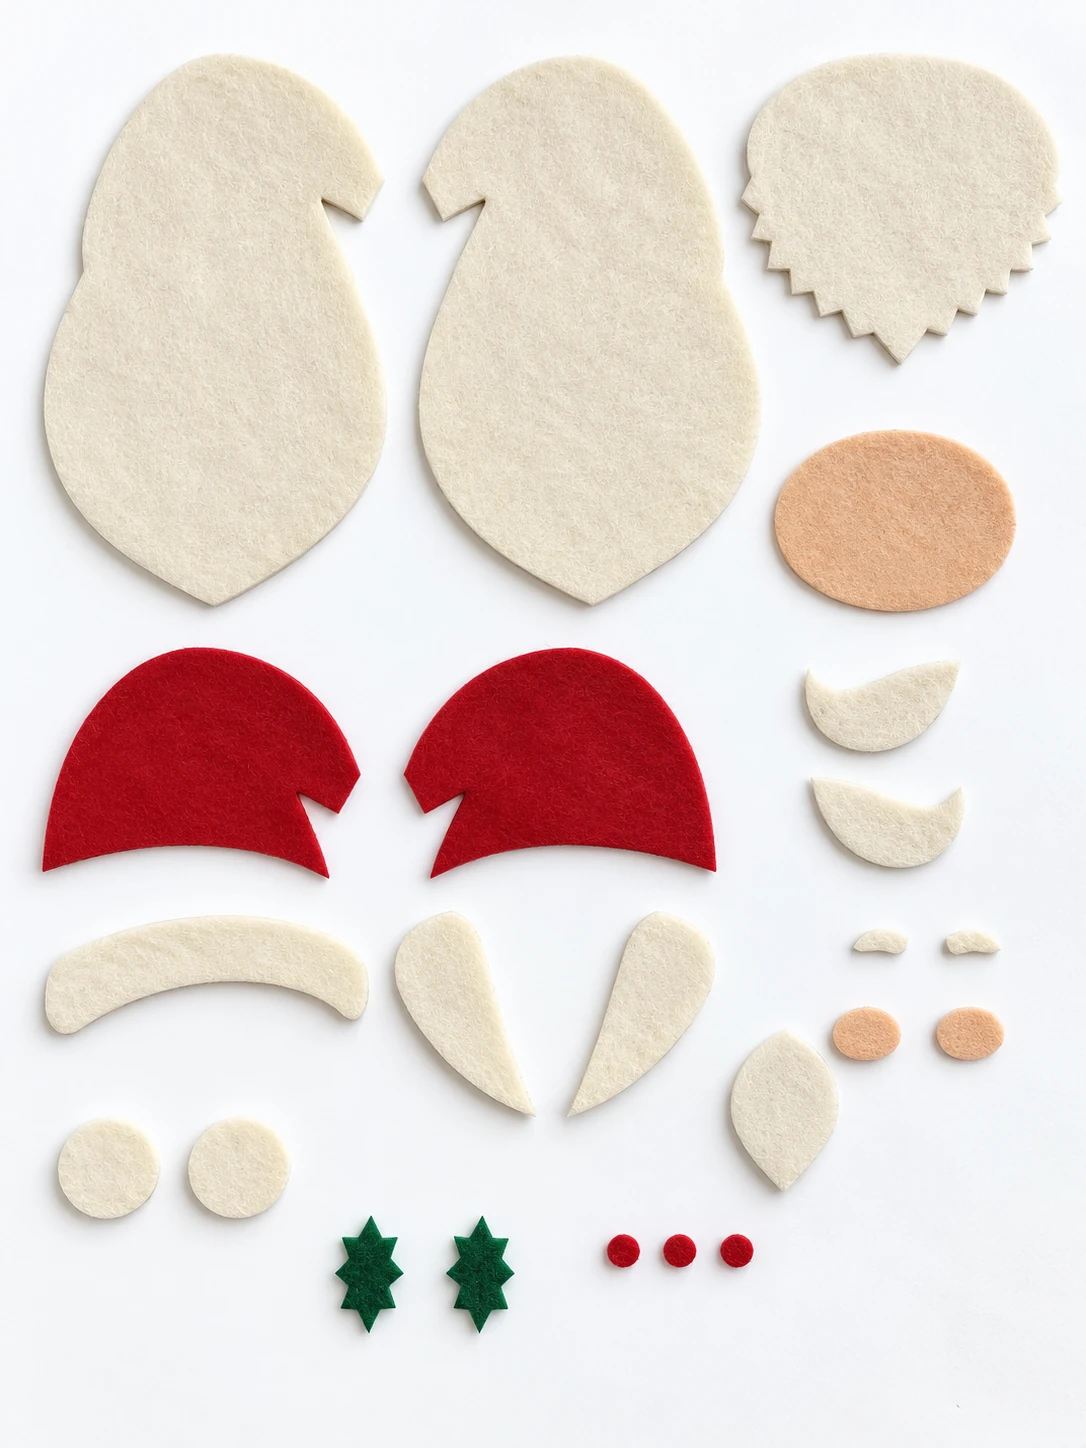
There are 23 felt pieces altogether. The closed eyes and optional pink cheeks are stitched, so they add no felt pieces. Each holly leaf and berry is a single flat layer. Only the main ornament, paired nose, and paired pom-pom receive a little filling.
1. Cut and Sort the Felt Pieces
Cut out the paper templates first. Trace the required quantities onto your felt, turning the template over for each reversed piece. If your felt has a clear front and back, mark the reverse side. Check your marker on a scrap before using it on the face or light-colored felt.
Use small cuts around the beard points and holly leaves. Keep the 5 mm-high eyebrows and 7 mm berries in a little dish so they do not get lost. Place the two main bases back to back and check that their edges line up. Set aside one base for the simpler back, which has only a red hat over the ivory foundation.
2. Sew the Hats, Beard Overlay, and Face
Lay a red hat B on each main base A, matching the top curves. On the front layout, the hat starts 10 mm to the right of the base’s leftmost edge, with both tops level. Reverse the arrangement for the back. Baste the hats in place and sew their lower edges with matching thread. Leave the shared outer edges ready for the final joining seam.
On the front only, place beard overlay C, then peach face D, following the full-size map. The beard’s top sits 67 mm below the base top, and its left edge is 2 mm in from the base’s leftmost edge. The face starts 53 mm below the base top and 15 mm in from the leftmost edge. These measurements refer to the shapes’ widest bounds, so the printed map is the easiest way to check them.
Sew the overlay and face to the front base with small, relaxed stitches. Where an edge meets the outside outline of the main base, leave it for the final seam. Keep the layers smooth and add no filling beneath these appliqués.
3. Stitch the Eyes and Add the Beard Layers
Transfer the two curved eye marks from the placement map to the peach face. Backstitch them with black floss, making short stitches that follow each curve. If you would like rosy cheeks, work a few short pink stitches on each side of the face. Keep both cheeks clear of the eyes and the area where the moustache will sit.
Arrange the two side beard locks F as a mirrored pair, then add center lock G. Their pointed ends face down toward the beard tip. Sew each layer through the front base with matching thread. Take smaller stitches near the pointed ends and stop to smooth the felt if it begins to curl.
Add the mirrored moustache halves H, with their inner ends meeting beneath the nose position. Sew them in place, then attach the two small eyebrows I above the eyes. Use tiny securing stitches for the brows rather than a heavy blanket-stitch border. Leave the nose pieces aside for now.
4. Attach the Cuff, Holly, and Berries
Lay cuff E across the lower hat edge, over the top of the face, as shown in the map. Its top-left bounding position is 3 mm from the base’s leftmost edge and 45 mm below the base top. Check that the eyebrows and eyes remain visible before sewing.
Some edges of the cuff may extend beyond the base. Stitch it securely wherever it overlaps supported felt, especially near its ends. Do not pull an overhanging edge inward to make it meet the base. Keep any free edge in its natural position, without trying to sew through empty space beneath it.
Place the two green holly leaves L at the left side of the hat as you look at Santa. Sew through the supported overlapping areas, keeping their pointed edges free where they extend beyond the base. Add the three flat red berries M over the leaf bases. Secure each small circle with several tiny stitches. No beads or separate round berry filling are needed.
5. Anchor the Hanging Loop
Fold the 220 mm cord in half and knot its cut ends together. Trim the cord before knotting if you prefer a shorter loop. Place the knotted ends against the hidden back of the front base at the marked top center, with both ends extending at least 15 mm inside the ornament.
Tack the cord firmly to the front base with several stitches through and around the ends. Keep the knot inside, below the top edge. Use matching thread where stitches reach the red hat, and give the loop a gentle pull before adding the back. The cord needs its own secure anchors as well as the edge seam.
6. Join and Lightly Fill the Main Ornament
Place the two main bases with their backs together and their decorated faces outward. Align the reversed outlines, checking the hat tip and lower beard point. Clip or baste the layers so they cannot slide. Keep the hanging loop above the top edge and the holly leaves clear of the seam.
Sew around the raw edges with small blanket or whip stitches, about 2 mm in from the edge and 2–3 mm apart. Catch the hat layers along their shared outer edges, and secure the cord tails again as you pass the top. Leave a 30 mm opening on one lower side.
Slide small, teased-out tufts of filling through the opening. Spread them into a thin layer rather than packing in a firm ball. The front should stay fairly flat so the face and beard layers keep their shape. Leave the opening accessible for the finishing attachments. Do not turn the ornament inside out.
7. Finish the Nose and Pom-Pom
Place the two peach nose pieces J together. Sew around their raw edges, leaving a small opening. Add a pinch of filling, then close it. Set the padded nose over the meeting point of the moustache halves, using the map, and stitch it securely to the front. Use the open main seam to reach the inside if needed, keeping the attachment stitches through the front layers.
Pair the two ivory pom-pom pieces K and sew partway around. Add a little filling, leaving room for the hat tip. Insert the hat tip between the two pom-pom layers at the position shown in the guide. Finish closing the pom-pom, sewing through the enclosed hat tip as you go.
Reinforce that join with several additional stitches through the pom-pom and hat tip. The pom-pom should be supported by the hat between its layers. Check the back as well as the front to make sure the tip is caught securely and no filling is escaping.
8. Close the Main Opening and Check the Details
Check the filling once more and remove any excess that makes the ornament bulge. Close the 30 mm main opening with the same edge stitch used around the rest of the base. Secure the thread and hide the end between the felt layers.
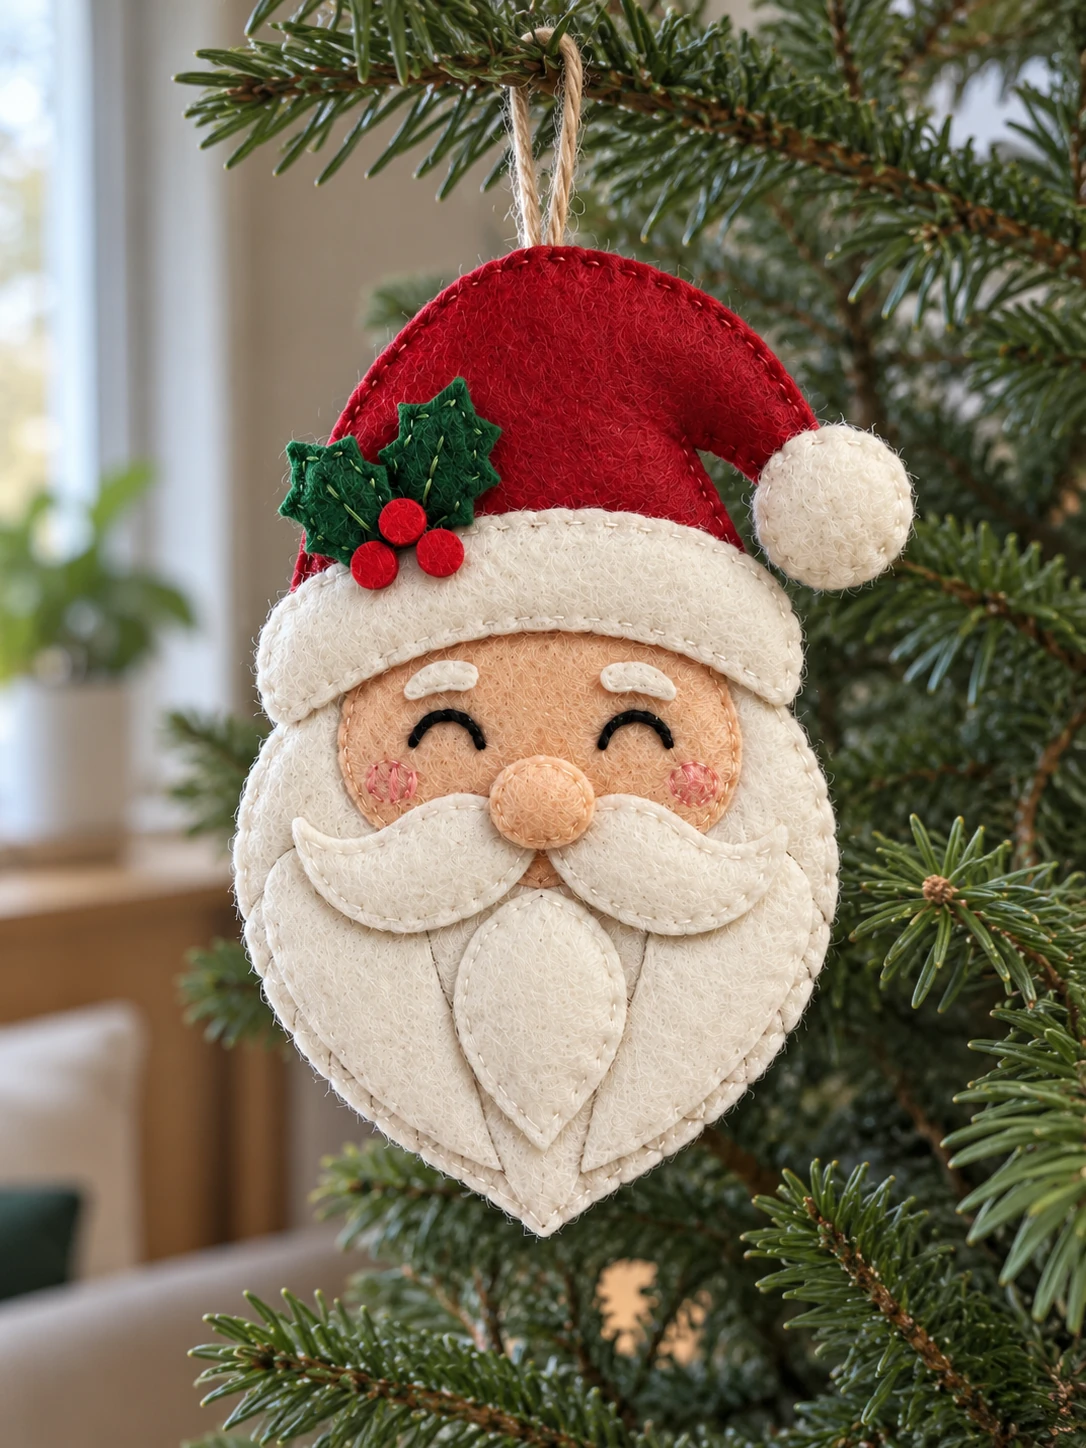
Gently check the loop, nose, pom-pom, cuff, leaves, and all three berries. Add stitches wherever something feels loose. Look for forgotten pins, open seams, loose thread ends, or exposed filling. Hang Santa briefly by his loop to check the way he sits before choosing a place on the tree.
Small Tips for a Neat Finish
Choose thread colors that blend with the felt for small attachments. Pale cream thread can help define the ivory layers without adding a dark outline. One or two strands of embroidery floss are easier to control around the small details than a full thick strand.
Turn the felt gradually as you sew a curve. If a piece begins to pucker, loosen the last few stitches and smooth it before continuing. A short length of thread is less likely to catch behind the holly points or twist into a knot.
You can change the hat or holly colors while keeping the same shapes and quantities. For a softer look, try a deep red hat with warm ivory details. Use the placement map each time you add a layer, especially around the face, where a small shift can cover an eyebrow or eye.
Store Your Santa Ornament Between Christmases
Keep the ornament flat in a dry box, with the holly points and hat tip protected from heavier decorations. Lift dust gently with a soft, dry brush. Avoid soaking or rough rubbing, which can disturb the felt layers and padding. Check the cord and small attachments again when you bring Santa out next Christmas.
Frequently Asked Questions
Do I need to cut all four pattern pages?
Choose either the two color pages or the two plain-outline pages. Both styles contain the same templates. Cut the quantities listed on those templates, for a total of 23 felt pieces. The full-size map in the sewing guide is for arranging them.
Does Santa have a decorated back?
The back has a red hat on an ivory main base. The face, layered beard, cuff, eyebrows, holly, and berries are on the front only. Remember to reverse the second main base and hat so the two outer outlines match when their backs are together.
Which parts need filling?
Add a thin layer inside the main ornament, a pinch inside the paired nose, and a little inside the paired pom-pom. The beard layers, face appliqué, moustache, eyebrows, cuff, holly, and berries stay flat. Too much filling can pull the main edges inward or make the small pieces hard to attach.
Why is my finished Santa a different size?
First check the 50 mm test line on your printout. The flat arrangement is 150 mm high and 103 mm wide, including the pom-pom but excluding the loop. Filling, thread tension, and slight placement differences can change the finished size. Use the full-size map rather than stretching the felt to reach a measurement.
Can I use glue instead of sewing?
Sew the structural joins, cord, and all small attachments. Glue alone will not give the same secure connection at the hanging loop or pom-pom. If you use a tiny amount of felt-compatible glue to help hold a large appliqué temporarily, try it on a scrap first and keep it away from the needle path.
Is this a suitable first hand-sewing project?
It helps to be comfortable with small running, back, and edge stitches. The layered face and tiny berries need patience. Practise the stitches on spare felt first, then work through one section at a time. There is no sewing machine or turned seam to manage.
More Felt Christmas Projects to Make
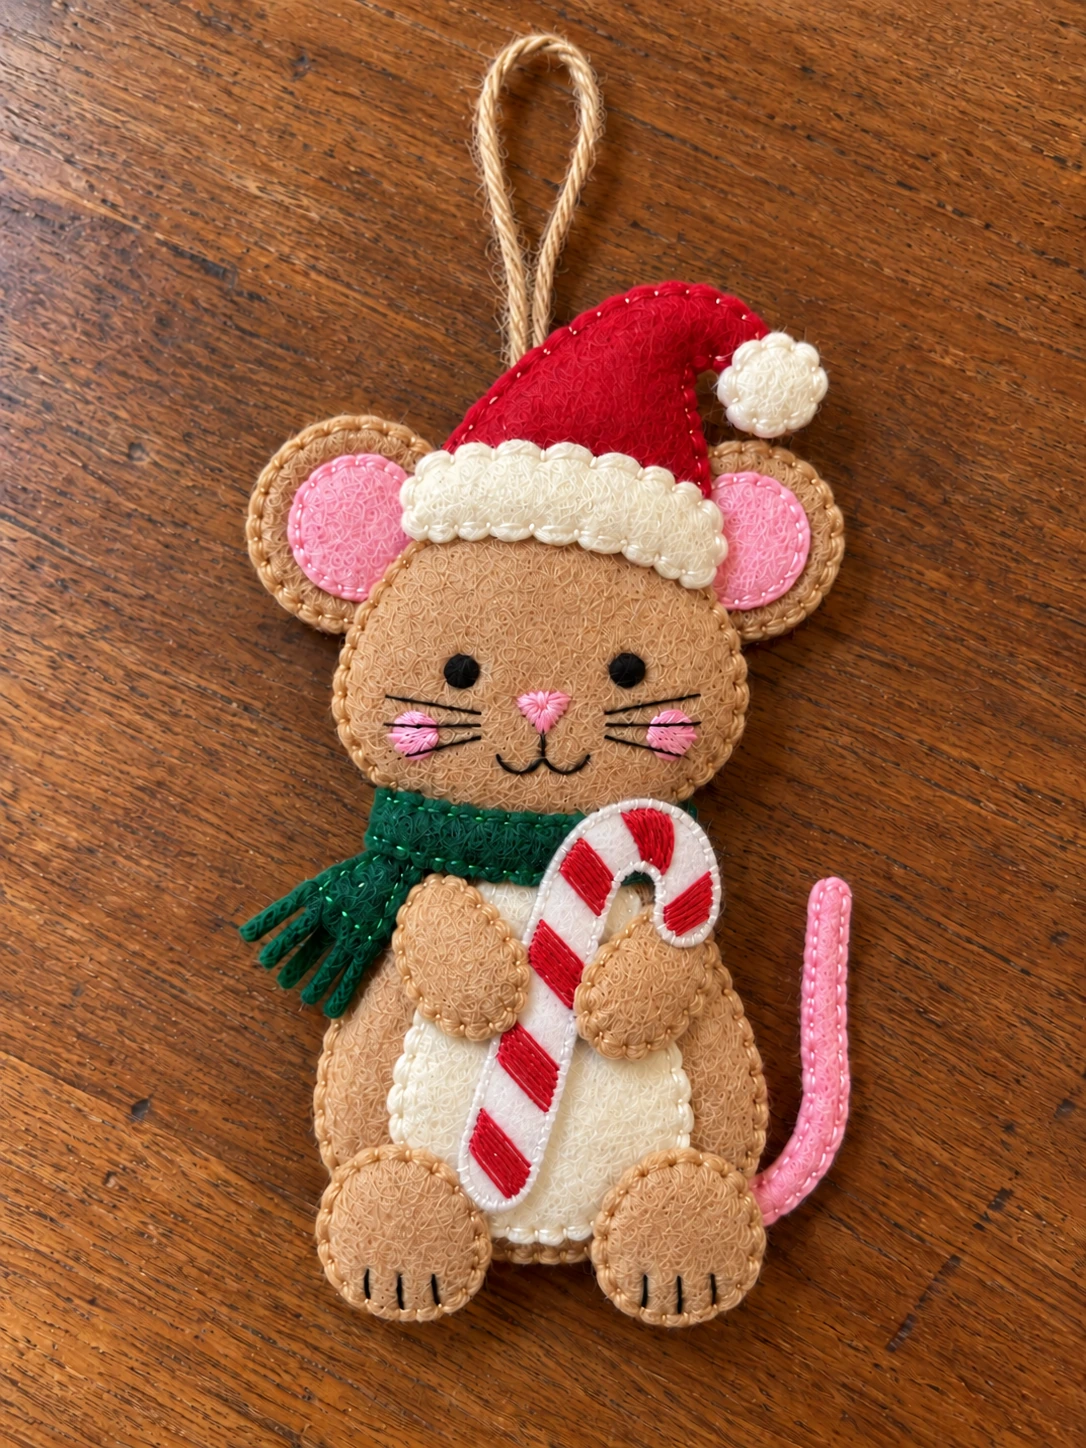
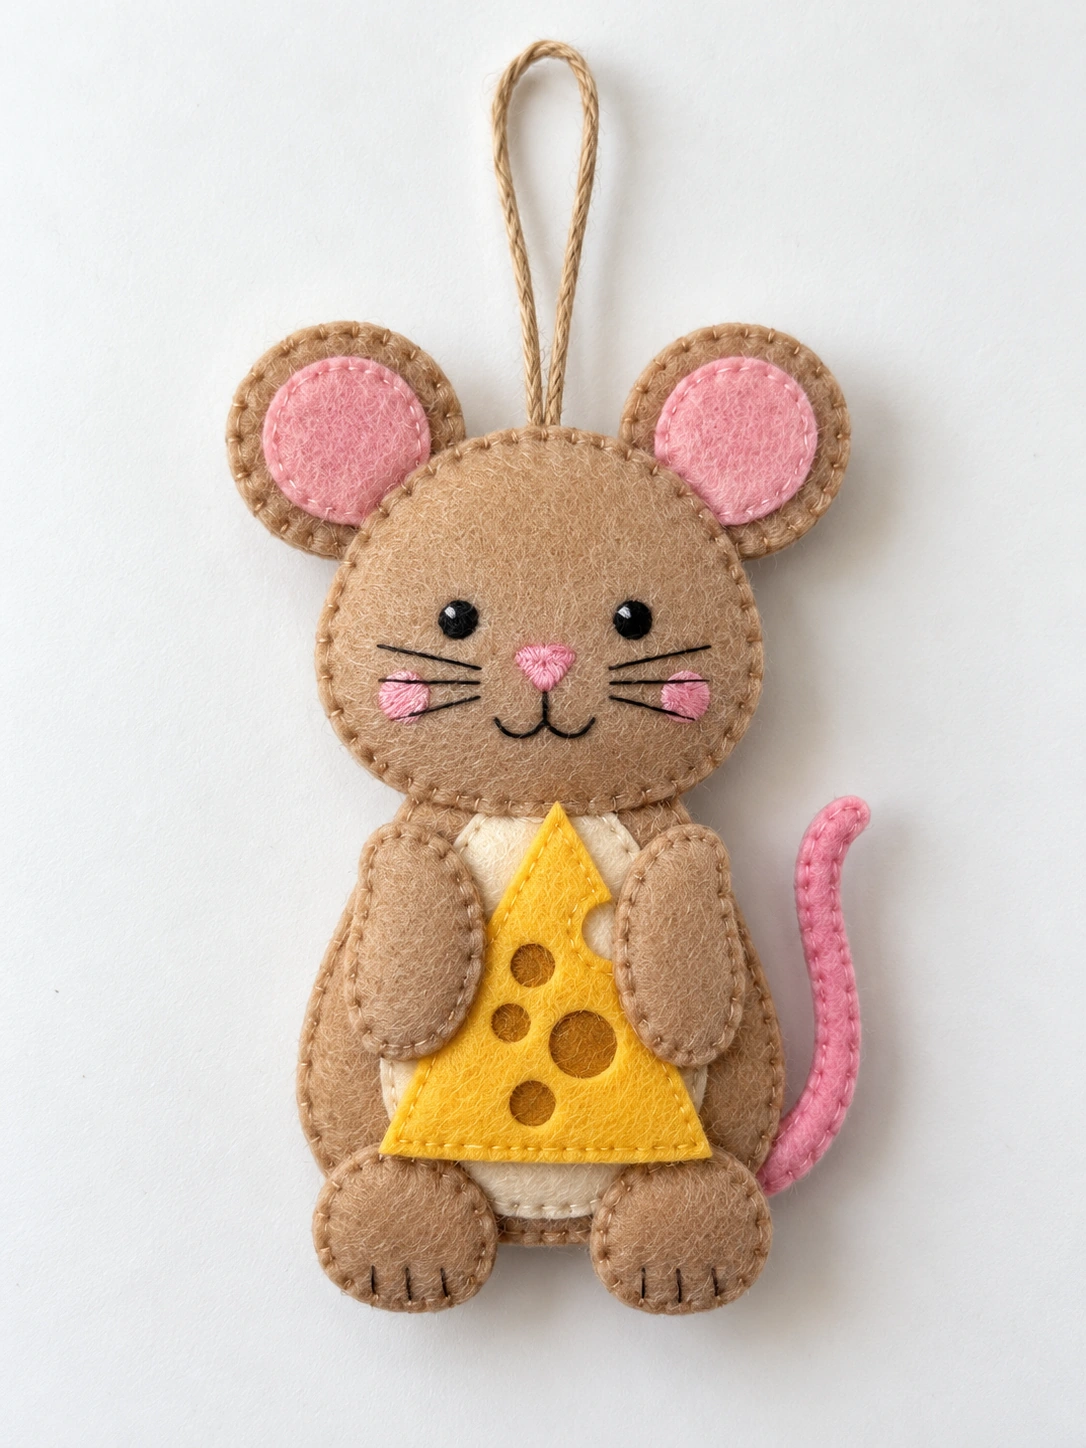
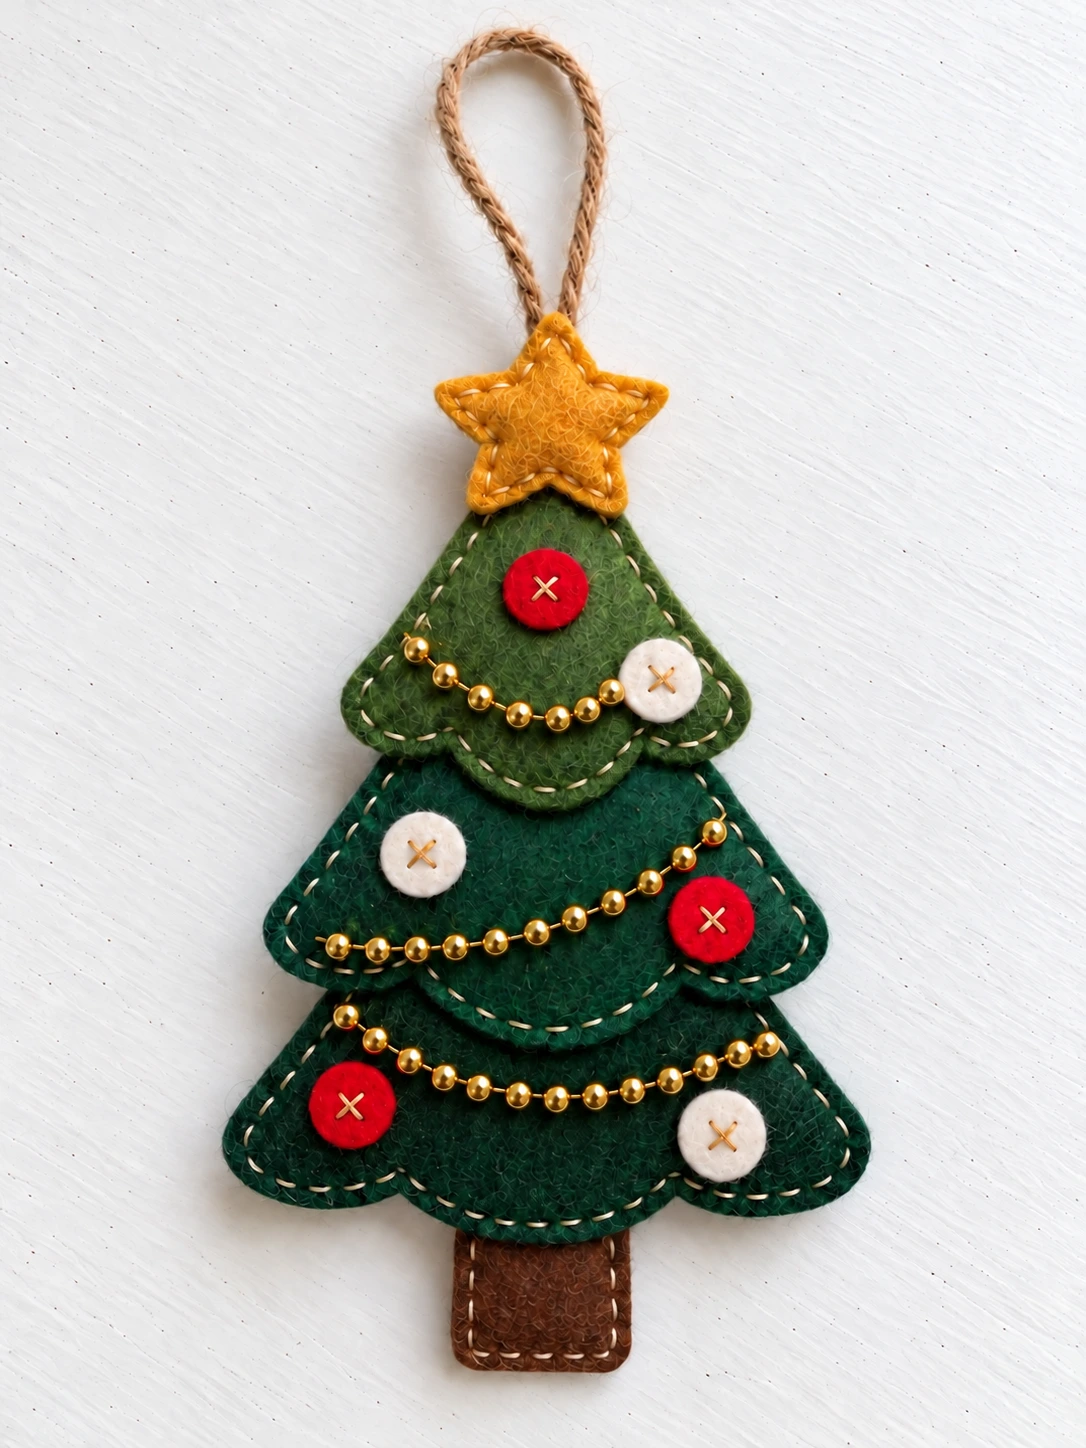
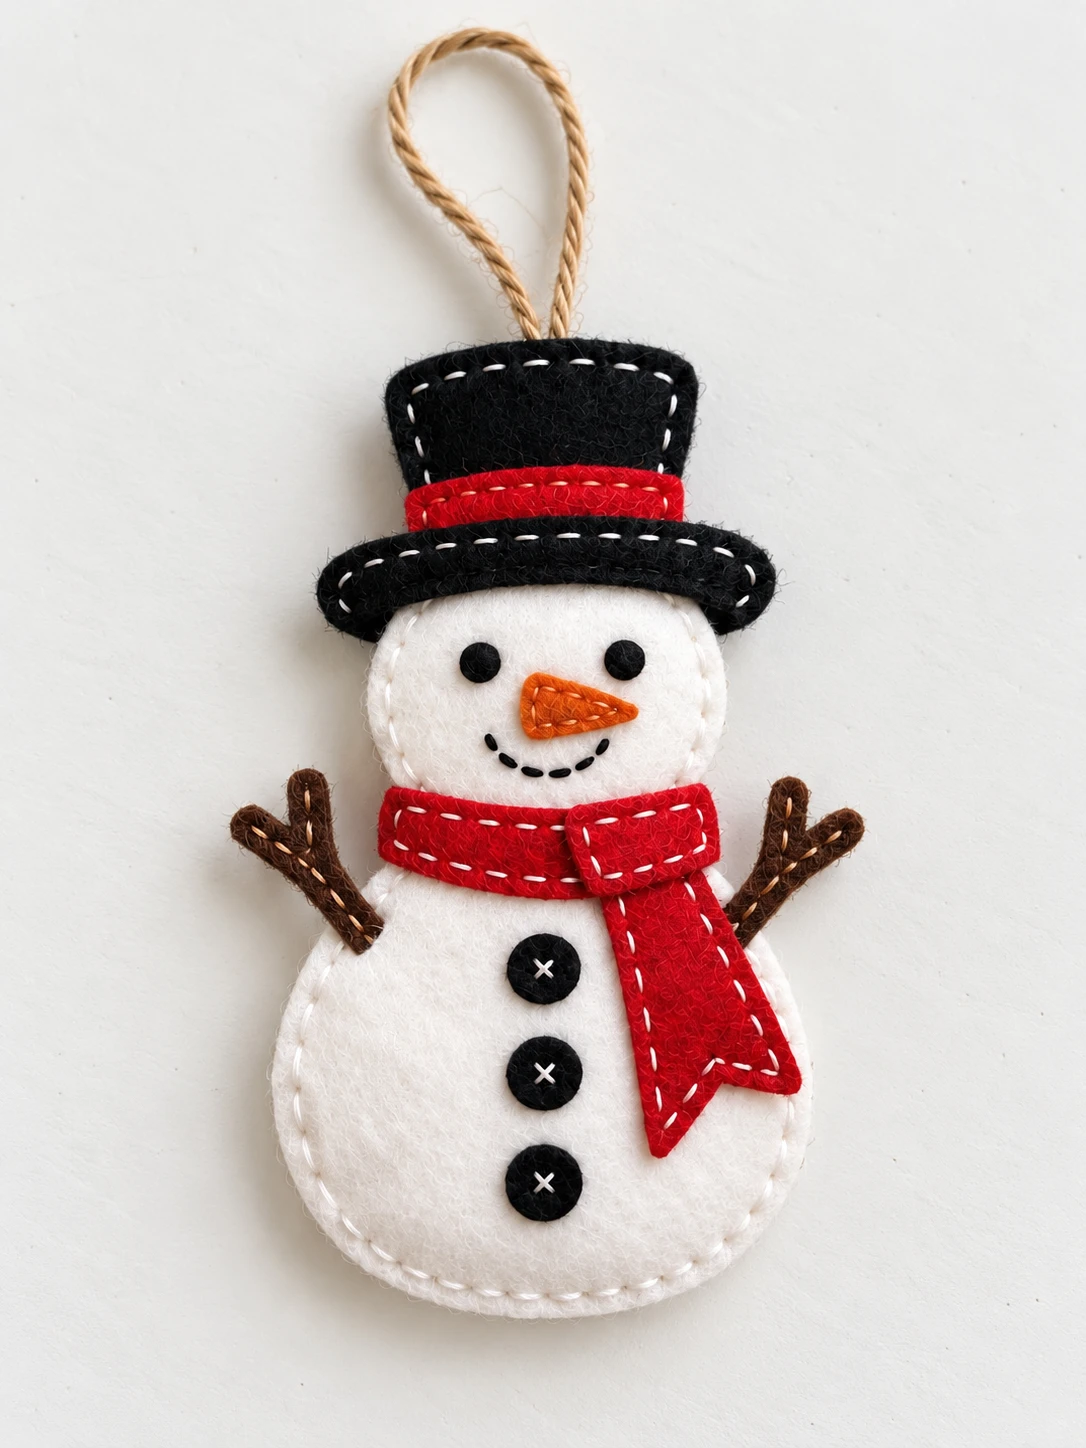
Give Santa a little company on the tree with the felt Christmas mouse ornament, complete with a scarf and candy cane. The layered felt Christmas tree is another way to use green felt, and the red-scarf felt snowman looks lovely alongside white-bearded Santa. Keep the same red, green, and cream colors if you would like your decorations to feel like a little set.

Leave a Comment