


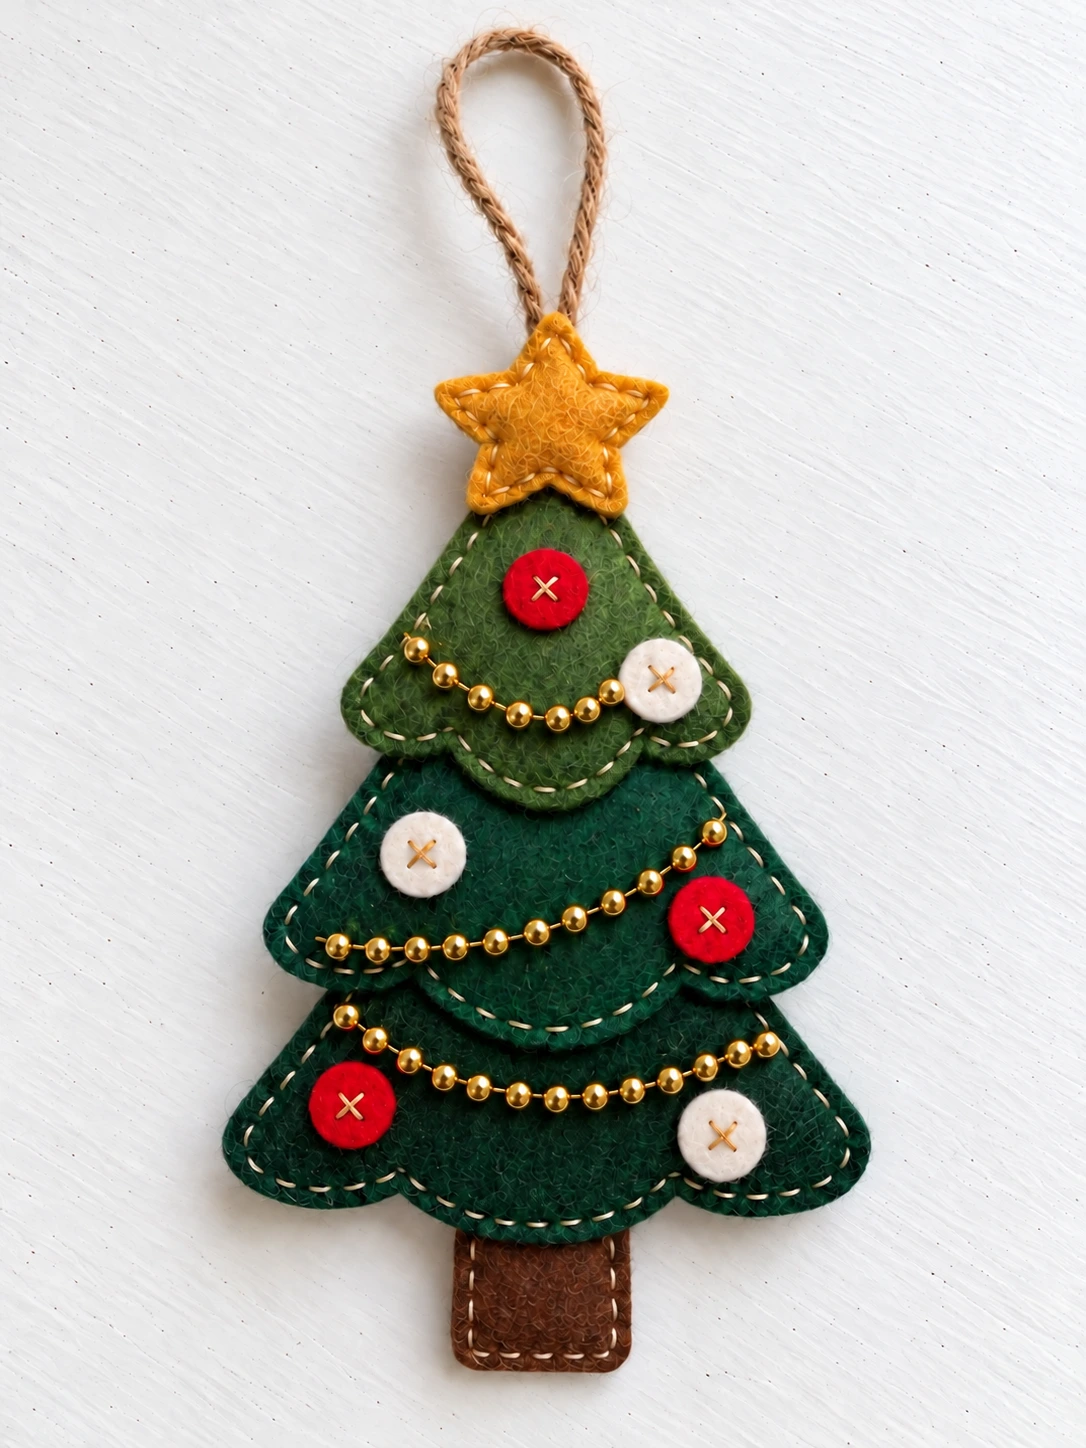
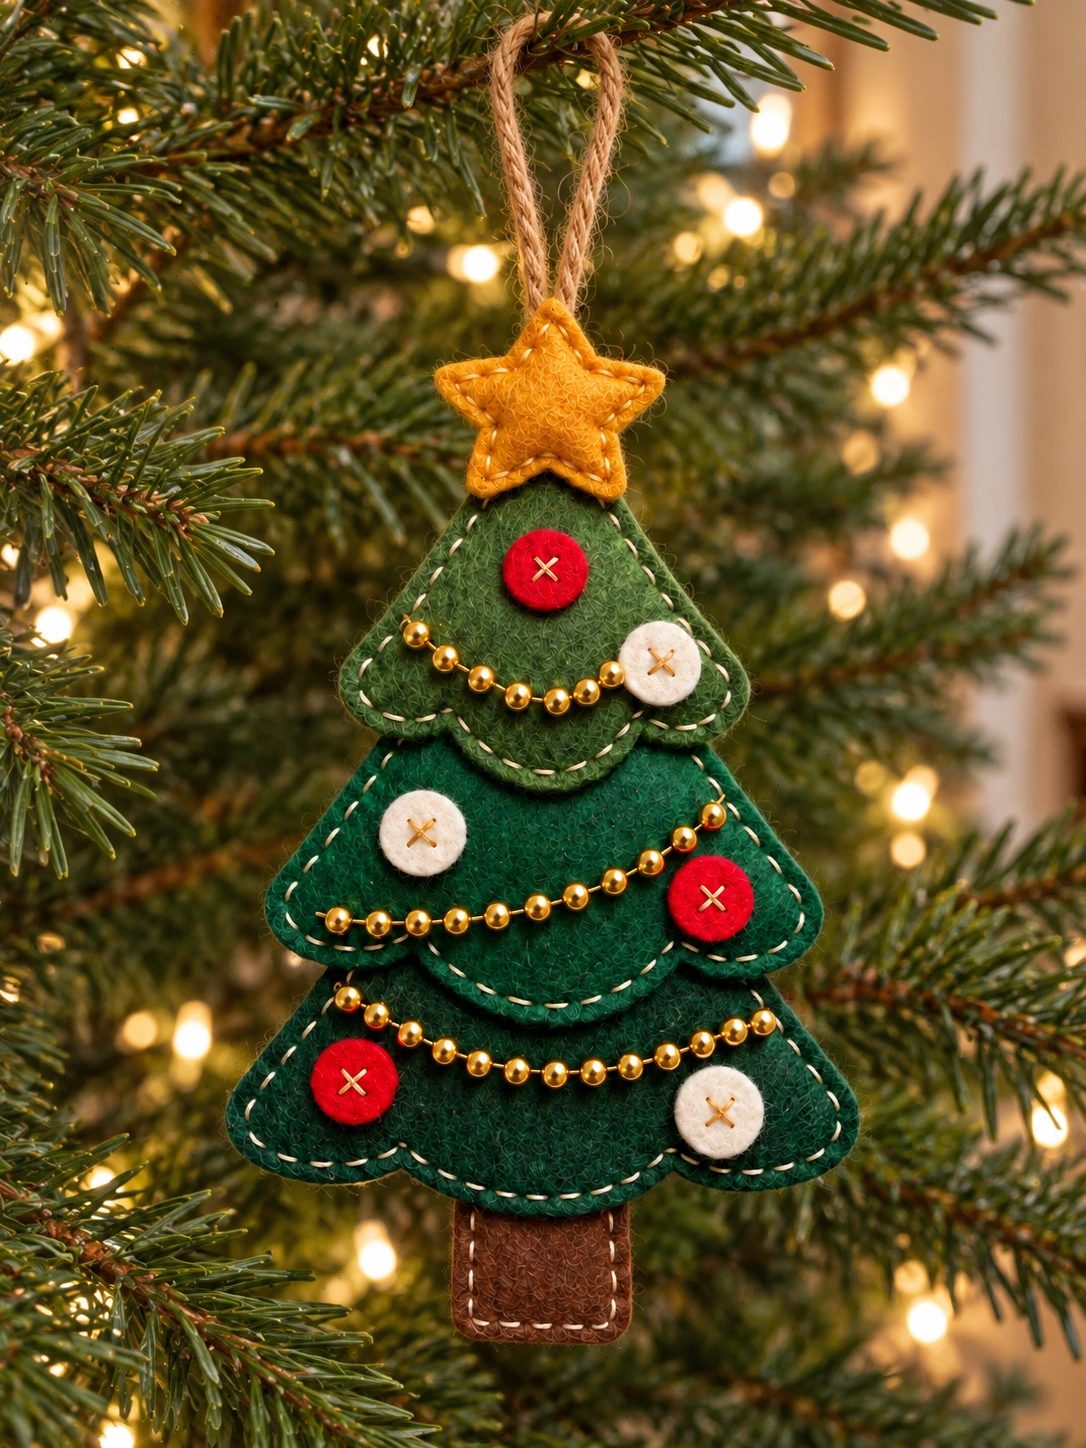
I love the little details on this felt Christmas tree: the scalloped green branches, the golden star, and the tiny red and cream decorations. Three curved bead garlands bring a little shine to the soft felt.
This tree is sewn by hand in separate, lightly padded sections. The tiers overlap, and a narrow support tape on the back helps hold the whole ornament together. Take the small details one at a time, then enjoy seeing the tree take shape.
Below you’ll find the full-size printable pattern and a separate illustrated sewing guide. The flat assembled layout measures 150 mm tall and 88 mm wide, excluding the hanging loop. Light stuffing and stitching can change the finished size a little.
Before You Start
Choose firm craft felt about 1–1.5 mm thick. Three shades of green make the branch layers easy to see, although one green shade also works. The raw edges stay visible, so there is no turning step and no need to add an extra seam allowance.
Each tree tier, the star, and the trunk use two matching felt pieces. The red and cream circles are single-layer appliqués. The gold garlands are made with small beads on fine gold cord, secured with sewing thread; there is no felt strip to cut for them.
This ornament is a decoration, not a toy. It has small beads, small felt pieces, stuffing, and a hanging loop. Keep it out of reach of young children and pets.
Materials You Will Need
- Olive-green felt: 70 × 110 mm
- Medium-green felt: 90 × 110 mm
- Dark-green felt: 100 × 110 mm
- Gold felt: 40 × 75 mm
- Brown felt: 30 × 65 mm
- Red and cream felt: 20 × 50 mm of each color
- A small amount of polyester stuffing
- Matching sewing thread and cream embroidery floss
- 31 gold beads, each 3 mm in diameter
- Fine gold cord that fits the bead holes: lengths of 120, 145, and 155 mm
- Hanging cord: 140 mm of cord approximately 1–2 mm thick
- Dark-green cotton tape: 6 × 160 mm
- Needles, sharp scissors, pins or clips, and a ruler
Check that your fine needle and cord can pass through the bead holes before starting. The sewing thread used to couch the garlands should be thin enough to hide between the beads. Choose a strong cotton tape for the rear support, rather than a stretchy ribbon.
Download the Tree Pattern and Sewing Guide
The pattern includes a colored page and a black-outline page with the same full-size cutting shapes. Print whichever version is easiest for you to use. The separate illustrated guide explains the construction and includes a full-size placement layout.
Download the free layered Christmas tree pattern PDF
Download the illustrated Christmas tree sewing guide PDF
Print and Check the Measurements
Print on A4 paper, 210 × 297 mm, at 100% or Actual Size. Switch off Fit, Shrink, and borderless enlargement. Measure both sides of the calibration square with a ruler. Each side must measure 50 mm.
If the square is not correct, adjust the print settings before cutting your felt. Use the printable PDF for cutting, rather than a photograph or screenshot from this page. The photographed pieces help show the shapes and quantities, but the photo itself is not a full-size template.
The measurements below describe the outer cutting edges. A 2 mm edge-stitch allowance is already included in the paired structural pieces. Do not add another allowance.
Felt Cutting List
| Piece | Color | Cut-line size | Quantity |
|---|---|---|---|
| Top tier | Olive green | 60 × 50 mm | x2 |
| Middle tier | Medium green | 78 × 48 mm | x2 |
| Bottom tier | Dark green | 88 × 46 mm | x2 |
| Star | Gold | 34 × 32 mm | x2 |
| Trunk | Brown | 24 × 28 mm | x2 |
| Round decorations | Red | 12 mm diameter | x3 |
| Round decorations | Cream | 12 mm diameter | x3 |
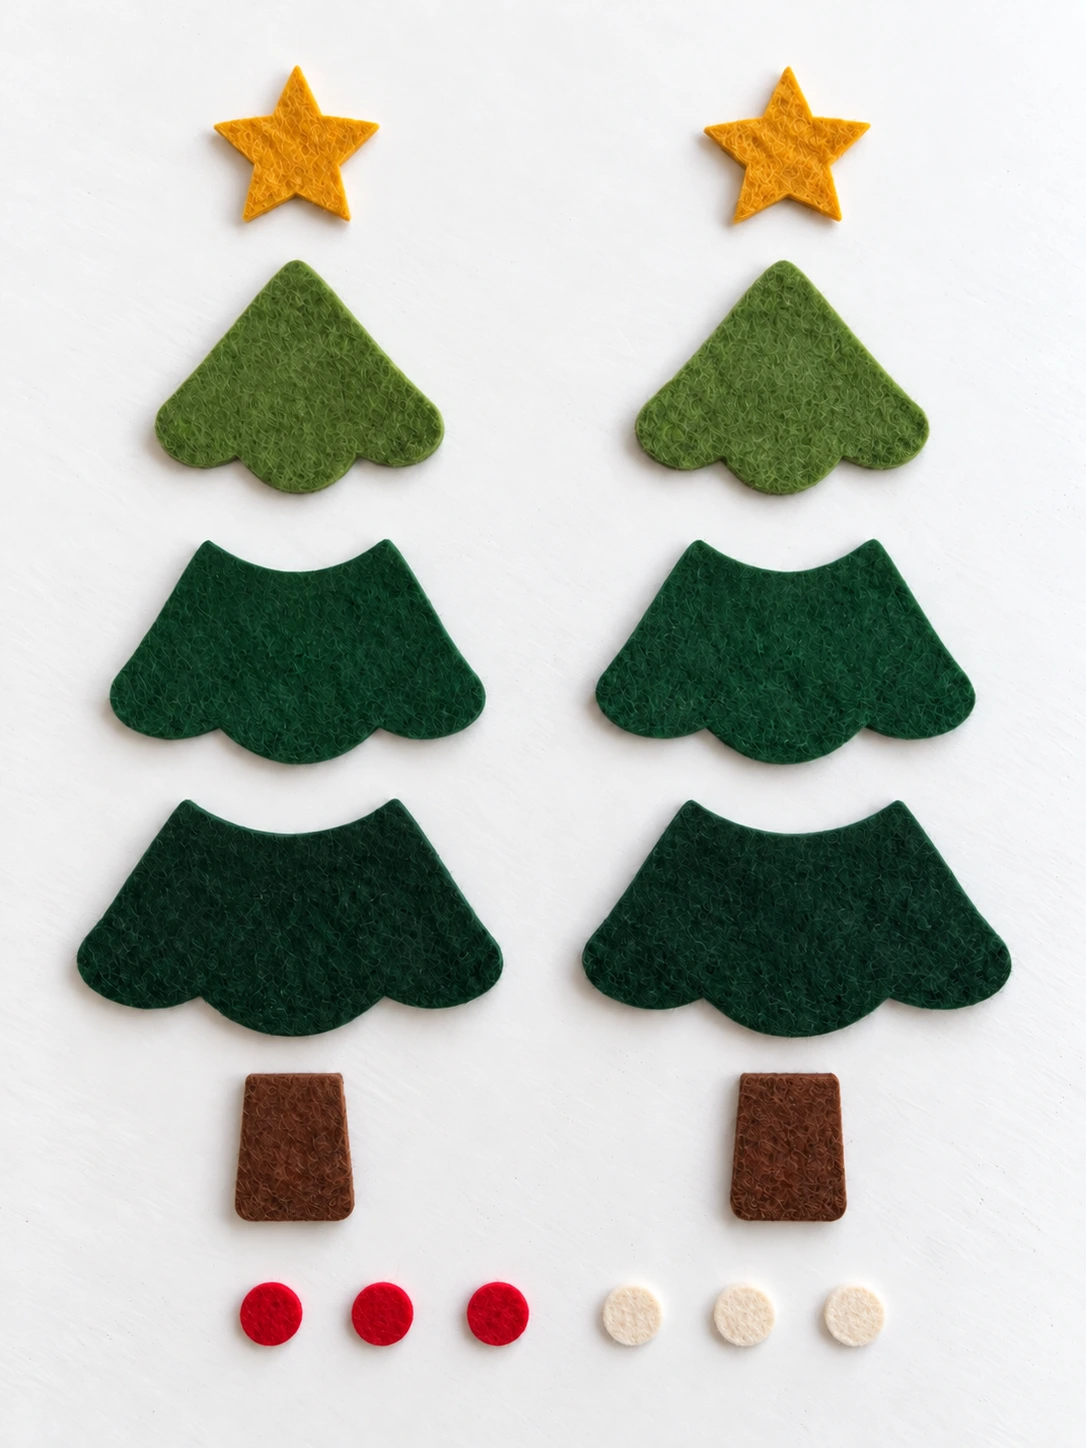
Cut sixteen felt pieces altogether. Each tier, the star, and the trunk have a front and a back. The six small circles are single-layer decorations. The same 12 mm circle shape is used for both colors.
1. Cut and Organize the Felt
Cut the paper templates on their outside outlines. Trace each shape onto the correct felt color and cut the quantity shown. Take your time around the shallow scallops at the bottom of each green tier. Keep the scissors upright so the front and back pieces match cleanly.
Pair the matching shapes and set the plain backs aside. You will decorate only the front green pieces before joining them to their backs. Keep the small circles in a little dish while working so all six stay together.
The middle and bottom tiers have curved upper edges that tuck behind the tier above. Do not cut away these hidden sections. They provide the overlap needed for assembly.
2. Sew the Red and Cream Decorations
Use the guide’s placement drawing to position one red circle and one cream circle on each front tier. The colors alternate down the tree: red above cream on the top, cream on the left and red on the right in the middle, then red on the left and cream on the right at the bottom.
Whipstitch each circle around its entire edge, working approximately 1 mm inside the cut edge. Then make a small cream cross through the center. Catch only the circle and front tier, leaving your knots on the wrong side where they will be enclosed later.
Leave the circle edges fully supported by the green felt. If your tracing has shifted a little, compare the piece with the printed placement drawing before sewing it down. Avoid pushing a circle over a scalloped edge.
3. Attach the Three Bead Garlands
Thread seven gold beads onto the 120 mm cord for the top tier, eleven beads onto the 145 mm cord for the middle tier, and thirteen beads onto the 155 mm cord for the bottom tier. These are cutting lengths with extra cord for securing the ends, not the finished visible lengths.
Lay the cords along the curved placement lines in the guide and space the beads evenly. The flat curves measure approximately 33.75 mm, 58.41 mm, and 65.25 mm. Keep them relaxed against the felt rather than pulling them tight.
Take each cord tail through the front felt at its marked endpoint. Knot it on the wrong side and secure the knot with several stitches. Leave a 10 mm tail after trimming. Couch the visible cord to the felt in every gap between beads with fine sewing thread.
The beads should stay in place when you gently move the felt. Check this now, while the back is still open and you can reach the knots easily.
4. Sew the Padded Sections
Place the matching green pieces wrong sides together. Blanket-stitch approximately 2 mm inside the cutting edge, spacing the stitches about 3 mm apart. Leave a 15 mm opening for a little stuffing.
Add small tufts of filling rather than one firm lump. The tiers should have a soft padded surface while their joining areas remain fairly flat. Too much stuffing makes the overlaps bulky and can pull the scalloped edges out of shape.
Close each opening and bury the finishing knot. Sew and lightly stuff the brown trunk in the same way. Keep the gold star open until the hanging loop and the top of the rear support tape are anchored.
5. Secure the Hanging Loop and Star
Fold the 140 mm hanging cord in half. Each cut end sits 25 mm inside the star, leaving approximately 90 mm of cord outside for the loop. Position the tails on either side of the centerline, splaying their lower ends slightly into the lower star arms as shown in the guide.
The dark-green support tape begins 12 mm below the star tip. Turn its top 10 mm under and sew it to the back of the star. Anchor the cord tails through the star back and the overlapping tape with several firm stitches before closing the star. The tape and cord must be connected securely.
Join the gold star layers with small edge stitches, add a thin layer of stuffing, and close it neatly around the loop. Gently pull on the loop to check the sewn anchors. Do not rely on glue to carry the ornament.
6. Arrange and Join the Tree
Use the full-size assembly drawing in the guide. Measure downward from the star’s top point: the star begins at 0 mm, the top tier at 20 mm, the middle tier at 55 mm, the bottom tier at 86 mm, and the trunk at 122 mm. The trunk ends at 150 mm.
Center all five sections. The trunk sits behind the bottom tier; the middle tier overlaps the bottom; the top tier overlaps the middle; and the star sits in front of the top tier’s tip. Pin the arrangement before sewing.
Make small hidden tacking stitches at both sides of each overlap. Catch the back felt of the upper section and the front felt of the lower one. Keep the joining stitches away from the decorative bead cords.
7. Finish the Rear Support
Lay the 6 mm cotton tape down the back centerline, from 12 mm below the star tip to 142 mm below it. Start with the 160 mm length and fit it over the padded backs without tension. Retain a 10 mm turned-under end at the bottom and trim only the excess.
Sew two short bar tacks through the tape and the back felt of every section. The guide marks the positions: 15 and 20 mm for the star, 35 and 45 mm for the top tier, 75 and 85 mm for the middle tier, 105 and 115 mm for the bottom tier, and 135 and 140 mm for the trunk.
This support tape joins the hanging loop to every padded section. It is concealed from the front and helps prevent the tree from separating at a small overlap.
Final Checks Before Hanging
- Count the six round decorations and check their edge stitches.
- Check all thirty-one beads and the stitches between them.
- Gently test the hanging loop and its sewn anchors.
- Check that the support tape is sewn to all five padded sections.
- Make sure no stuffing shows and all openings are closed.
- Remove pins, loose threads, and temporary marks.
The intended flat layout is 15 cm tall excluding the loop. Your finished tree may be slightly smaller after edge stitching and stuffing. Store it flat in a dry box so the bead strands and scalloped layers keep their shape.
Frequently Asked Questions
Do I print both pattern pages?
No. The color and black-outline pages have identical cutting shapes at the same scale. Choose one, print at 100%, and measure the 50 mm square before cutting.
Why does each tier need two pieces?
Each green tier is a separate padded section with a decorated front and a plain back. The star and trunk also use two layers. Only the small circles use one felt layer each.
Can I use embroidery instead of beads?
Yes. You can sew a curved line of gold embroidery along each garland path. Keep the same felt pieces and rear support construction. The pictured version uses the thirty-one beads listed above.
Do I need a sewing machine?
No. This project uses small hand stitches. A sharp pair of scissors and a needle suited to your felt and thread are enough for the sewing.
Can I use one shade of green?
Yes. The three separate tier shapes still create the layered outline. Contrasting cream edge stitches will help show the scallops.
More Felt Christmas Projects
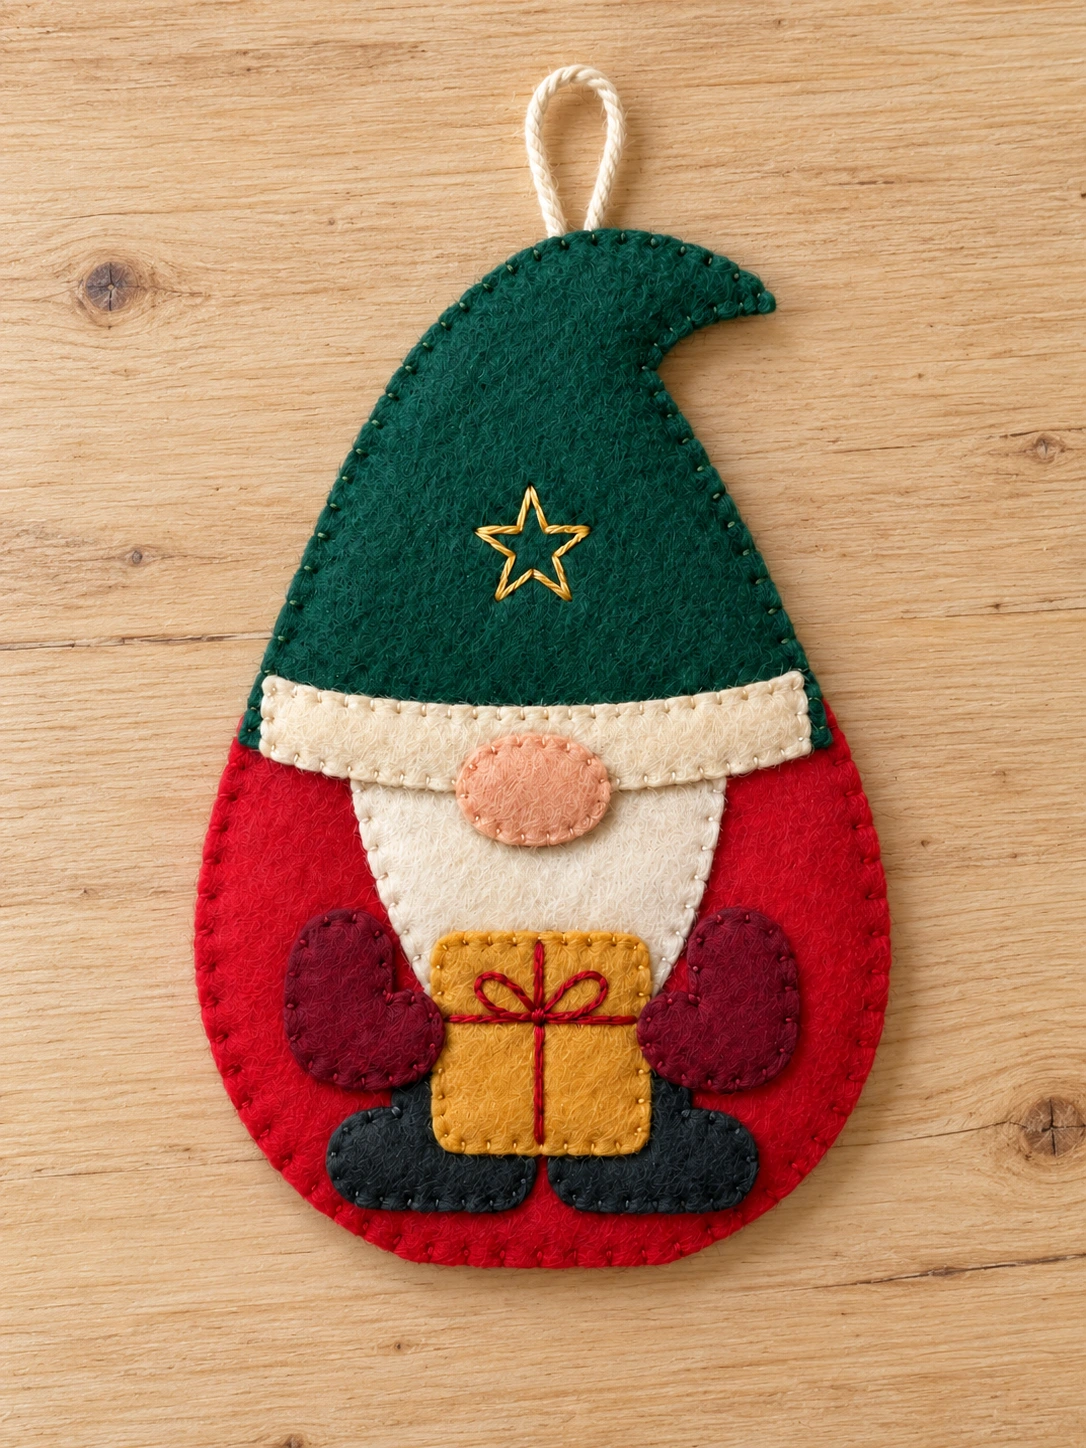
Make a little collection with the red-scarf felt snowman ornament and the Winter Gift Gnome felt ornament. For more shapes and ideas, browse these 20 easy felt Christmas ornaments to sew.


Leave a Comment