


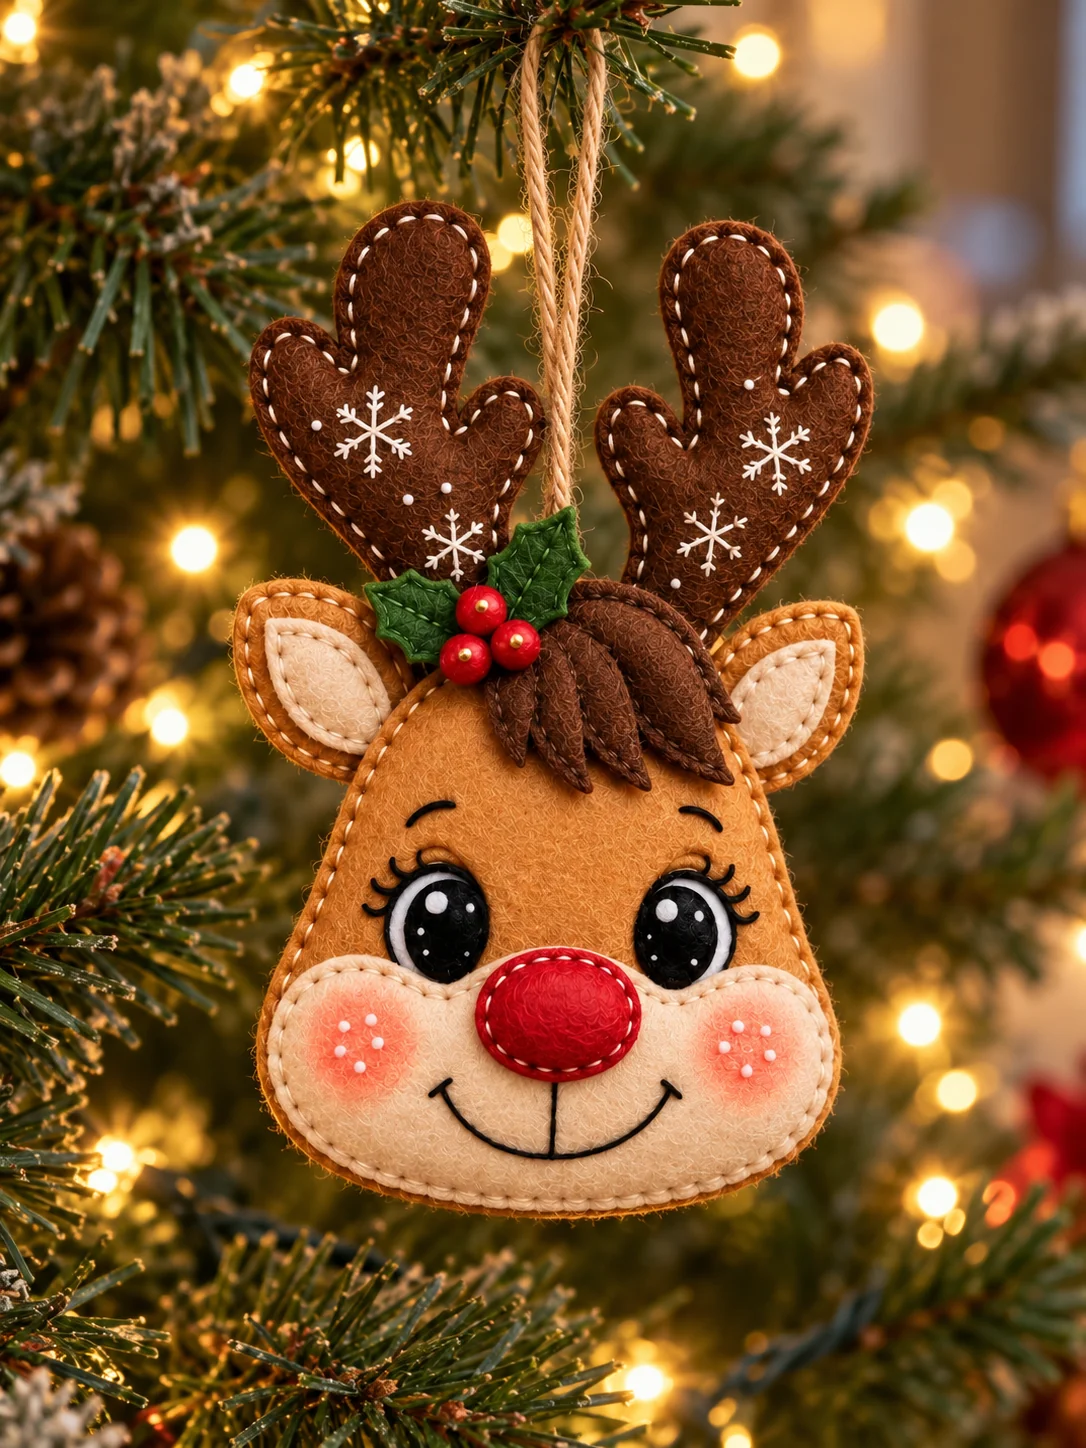
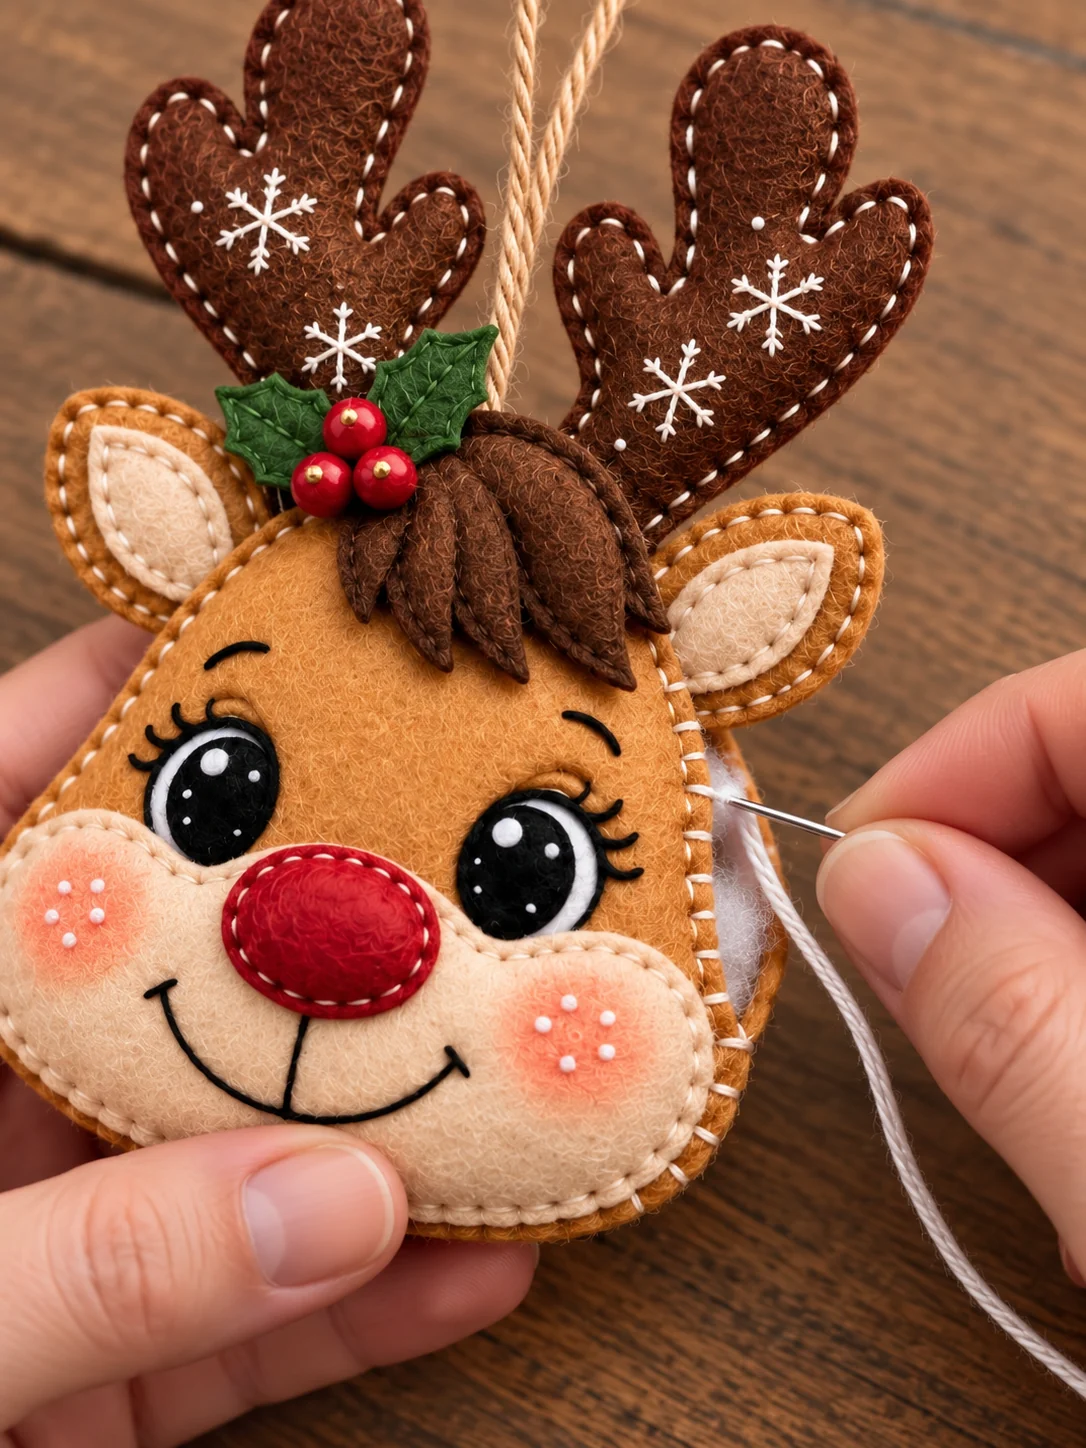
When I decorate our tree, the little handmade faces always make me smile first. This felt reindeer has a bright red nose, soft cream cheeks, and two tall antlers with tiny white snowflakes.
I like to make the face slowly and let the stitches show. The holly leaves and berries are such small details, but they make the whole ornament feel ready for Christmas.
If you have a few felt scraps and a quiet afternoon, this is a lovely project to sew by hand. I’ll show you how to prepare the pieces, add the face, sew the antlers, and finish the hanging loop with the free pattern below.
What Is This Felt Reindeer Ornament?
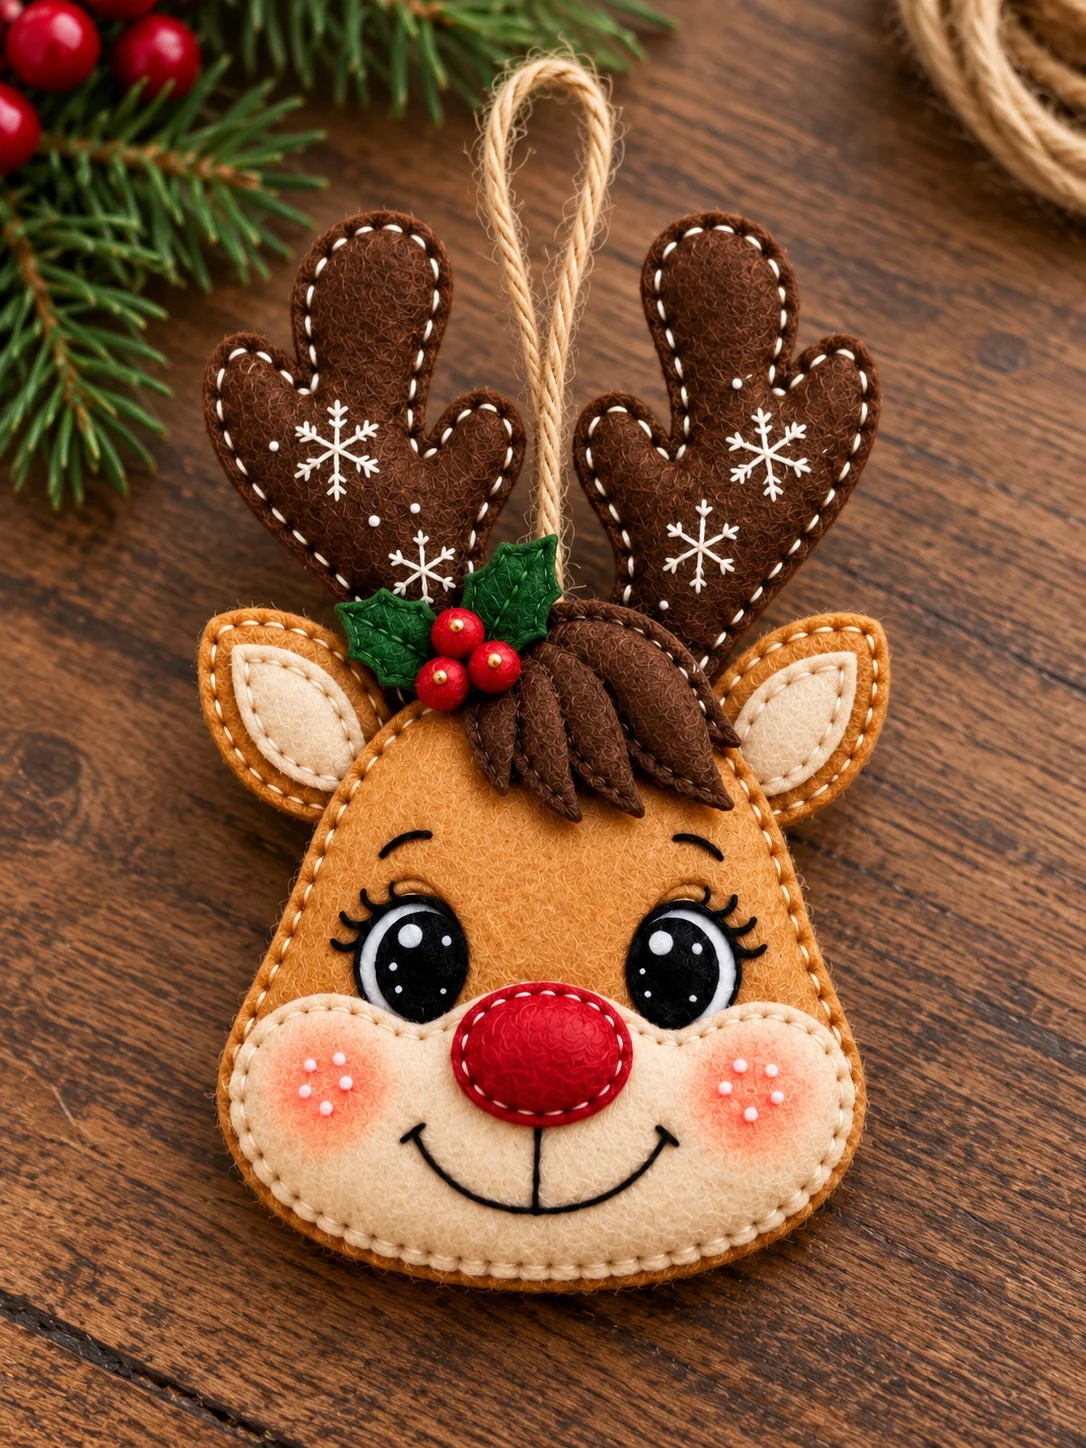
This reindeer is a softly padded, hand-stitched head ornament. Its caramel-brown face has a cream muzzle, red oval nose, black eyes, pink cheeks, cream inner ears, and a dark-brown hair tuft. Two dark felt antlers rise above the head, with embroidered white snowflakes and a small holly cluster between them. The jute loop at the top lets it hang from a tree, a wreath, or a wrapped present. You do not need a sewing machine, and the basic stitches are easy to practice on felt scraps.
Free Printable Felt Reindeer Pattern
Download the felt reindeer ornament free pattern (PDF).
The printable is one A4 page of cutting outlines. Print at Actual Size or 100%, and turn off “fit to page.” Follow the solid outside lines for cutting. The dashed lines show a suggested stitch path, not another shape to cut. Hold the paper head and antlers together to check the finished size before tracing. If you want a smaller ornament, reduce the print scale evenly so the pieces still fit together.
I checked the pattern against the finished ornament. The original outline includes the paired antlers and ears, two head layers, one hair tuft, one muzzle, two eyes, and one nose. The finished photo also has holly at the top, although those pieces were missing from the supplied cutting outline. I added two holly leaves and three berry circles to the PDF. The snowflakes, smile, brows, lashes, and cheek dots are sewn details, so you do not need extra tiny paper pieces for them.
Materials and Tools
Affiliate disclosure: This post contains Amazon affiliate links. If you buy through these links, I may earn a commission at no extra cost to you. As an Amazon Associate I earn from qualifying purchases.
- Caramel or tan felt for two head shapes and the outer ears
- Dark-brown felt for the antlers and small hair tuft
- Cream felt for the muzzle and inner ears
- Black and white felt scraps for the eyes, and red felt for the oval nose
- Green felt for two holly leaves and red scraps for three berries
- White, tan, black, and green embroidery floss or sewing thread
- Hand-sewing needle, small scissors, pins or clips, and a removable marker
- About 7 inches (18 cm) of jute twine or narrow ribbon for a hanging loop
- A small handful of polyester filling and the printed pattern
Firm craft felt holds the antlers upright best. If your brown felt is very soft, use two layers for each antler and stitch them together before attaching them to the head. Keep the stuffing light so the muzzle stays rounded and the outer seam remains smooth.
How to Make a Felt Reindeer Ornament
1. Print, trace, and cut the pieces
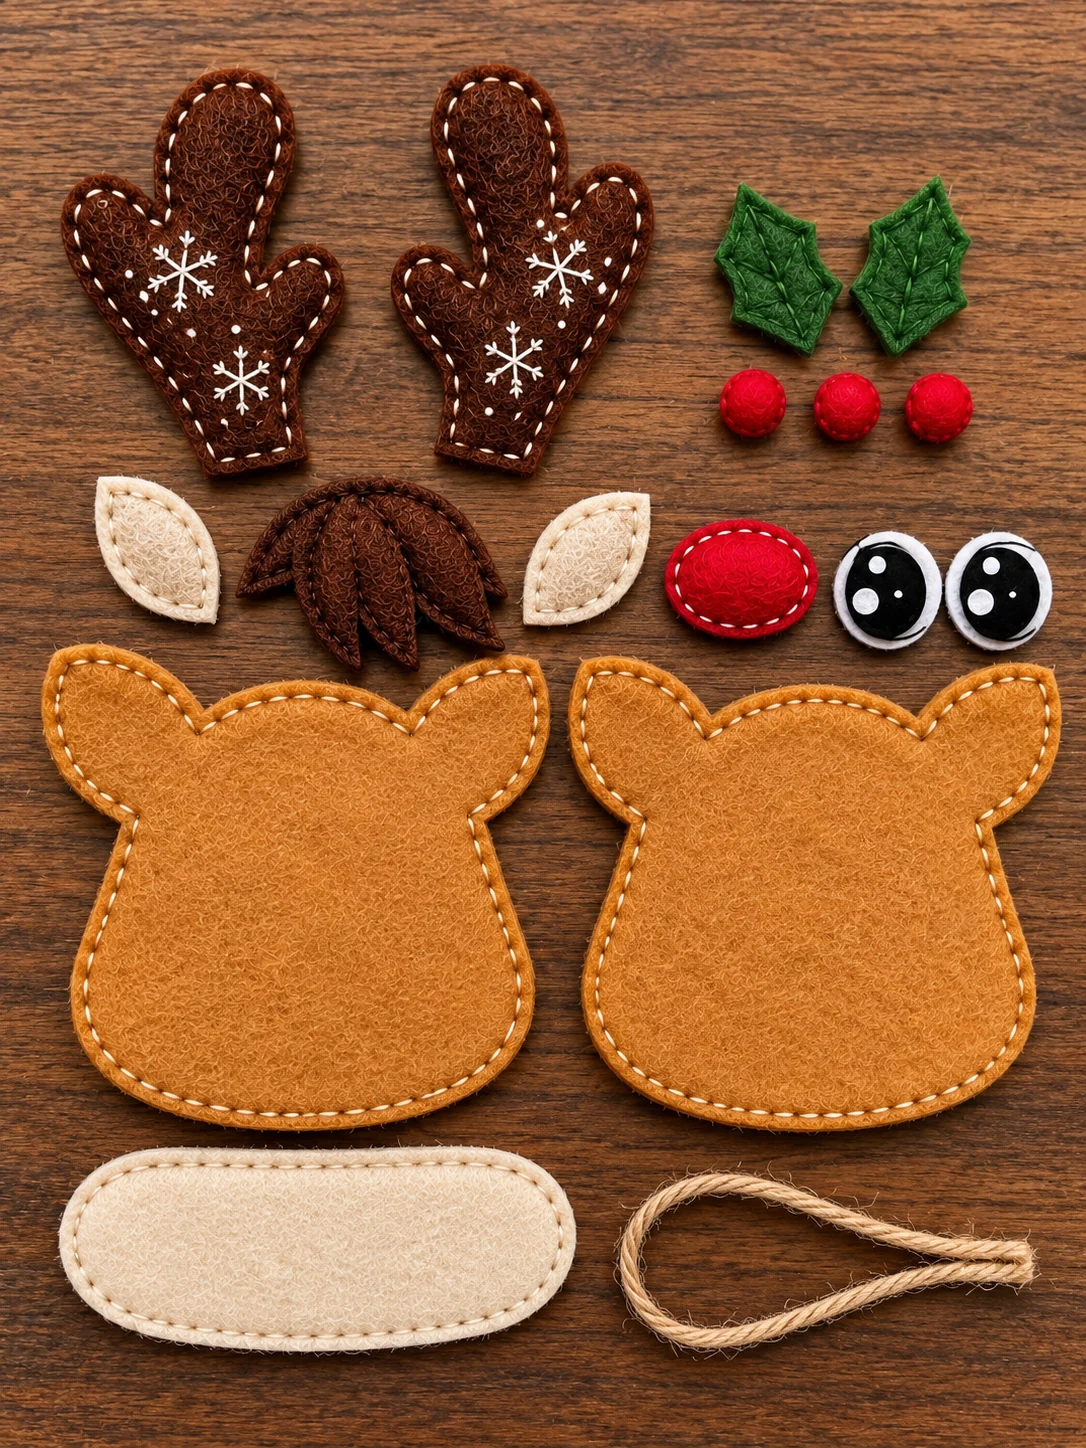
Cut the paper shapes from the PDF and trace them on the back of the felt. Cut two matching tan head shapes. For the antlers, cut two matching layers for the left and two for the right, as labeled. Cut the ear shapes and add a smaller cream insert for each visible front ear. You also need one cream muzzle, two eye pieces, one red oval nose, one dark hair tuft, two green holly leaves, and three red berries. Keep the left and right pieces in separate little piles so they do not get flipped during sewing.
2. Stitch the antlers and snowflakes
Put each antler pair together with the good sides facing out. Sew around the edge with small blanket stitches, leaving the straight base open. A tiny bit of filling can make the antlers look plump, but do not pack them tightly. Use white embroidery floss to add a simple six-armed snowflake to the front of each antler. Start with three lines crossing at the center, then make little branches near their ends. A few white dots around them echo the reference without demanding perfect symmetry.
3. Make the face while it is flat
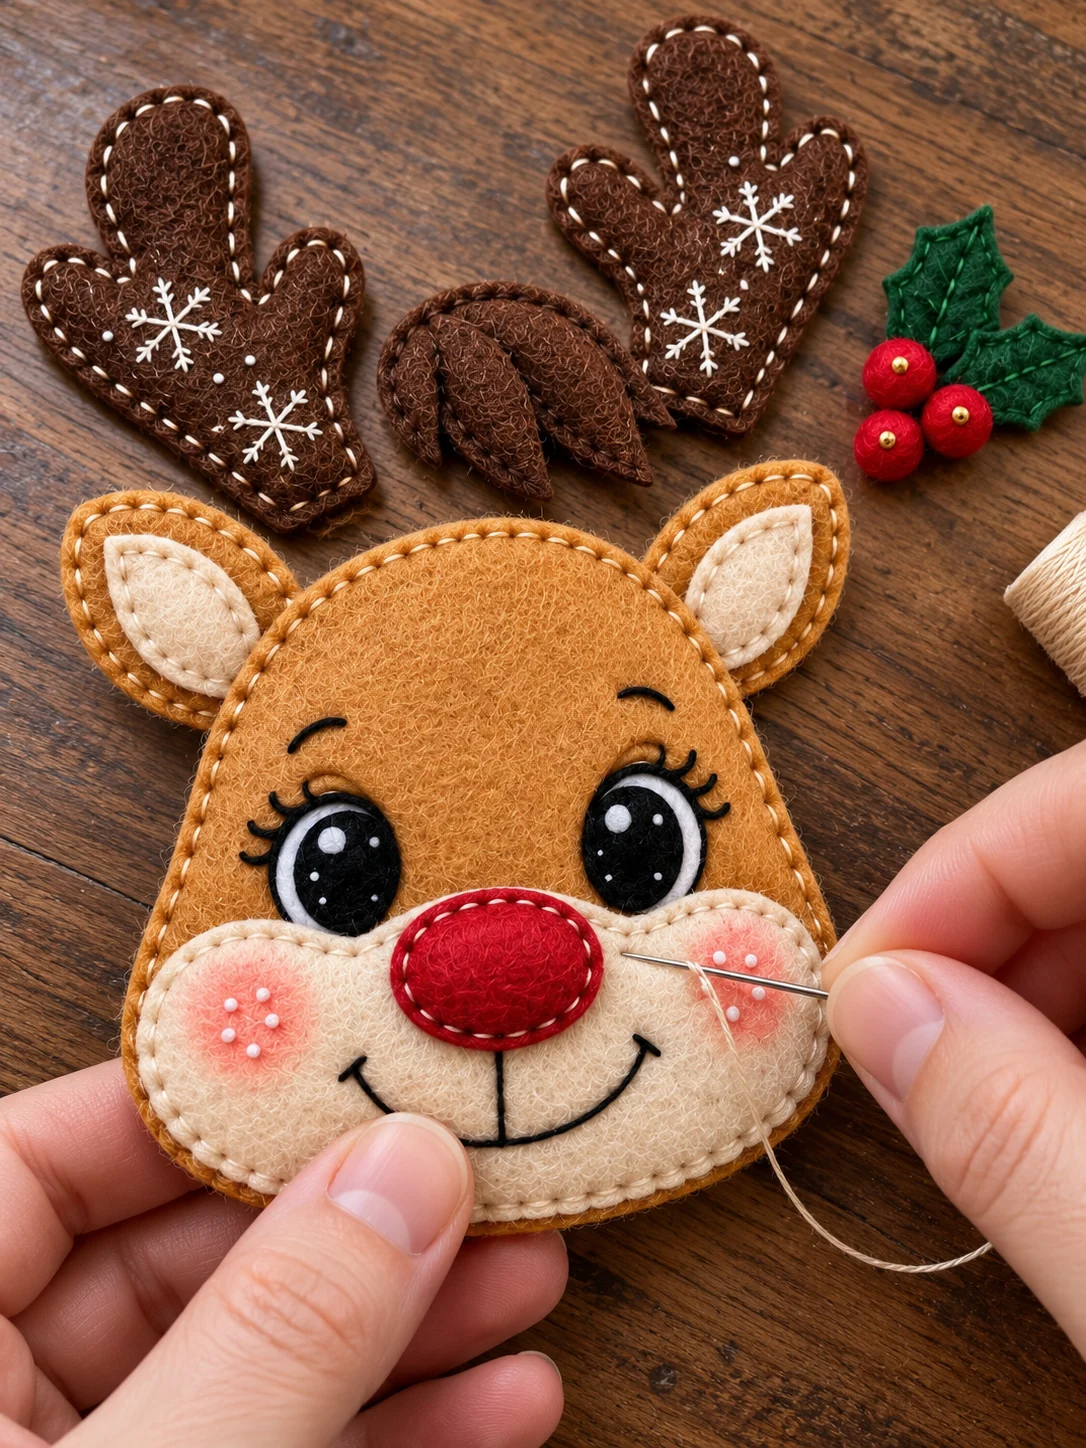
Lay the cream muzzle over the lower half of the front head. Pin it in place and sew around its edge. Set the red nose above the smile line and stitch around it with red thread. Arrange both eyes so they sit evenly above the muzzle. Add the small white highlights with felt or white thread. Embroider a curved smile from beneath the nose, a short center line, and two gentle brows. Pink thread or a little pink felt makes the cheeks; a few white stitches add the little freckles.
4. Add ears, hair, and holly
Stitch a cream insert inside each front ear, then place the ears behind the upper corners of the head. Try the antlers above them before sewing anything permanently. The dark hair tuft should sit between the antlers without hiding the eyes. Layer two green holly leaves over one side of the tuft and add three red felt berries at their base. Short green stitches can mark the leaf veins. Sew through the bases of the ears and antlers several times so they will stay firm when the ornament hangs.
5. Add the loop and join the head
Fold the twine in half to make the hanging loop. Place its two ends between the front and back head layers at the top, centered between the antlers. Stitch over those ends securely. Now line up the two tan head shapes with their good sides outward and blanket stitch around the outside. Work carefully where the ears and antler bases meet the head so the needle catches every layer. Leave a small opening along one side for the filling.
6. Stuff lightly and close the seam
Push little tufts of filling into the cheeks first, then fill the middle of the face. Use the blunt end of a pencil to move it toward the corners without poking through the felt. The reindeer should feel soft rather than firm. Close the opening with the same blanket stitch, tuck the final knot between the two layers, and snip any loose ends. Give the loop a gentle pull to test it before hanging the ornament.
Helpful Sewing Tips
Make the face before joining the front and back. It is much easier to hide the little knots while the back is open. Keep the muzzle centered and check the eye spacing from a short distance away. Small pieces can be held with pins or a tiny dot of fabric glue, but wait until the glue is dry before putting a needle through it. On curved edges, rotate the felt after every few stitches so the spacing stays even.
The antlers are the part that benefits most from a firm seam. If one leans, add a few hidden stitches where its base meets the head. You can replace the jute with thin red ribbon or skip the filling for a flat ornament. White edge stitching looks festive against brown felt; matching tan thread gives a softer finish. Either way, let the small handmade differences show.
More Christmas Felt Patterns
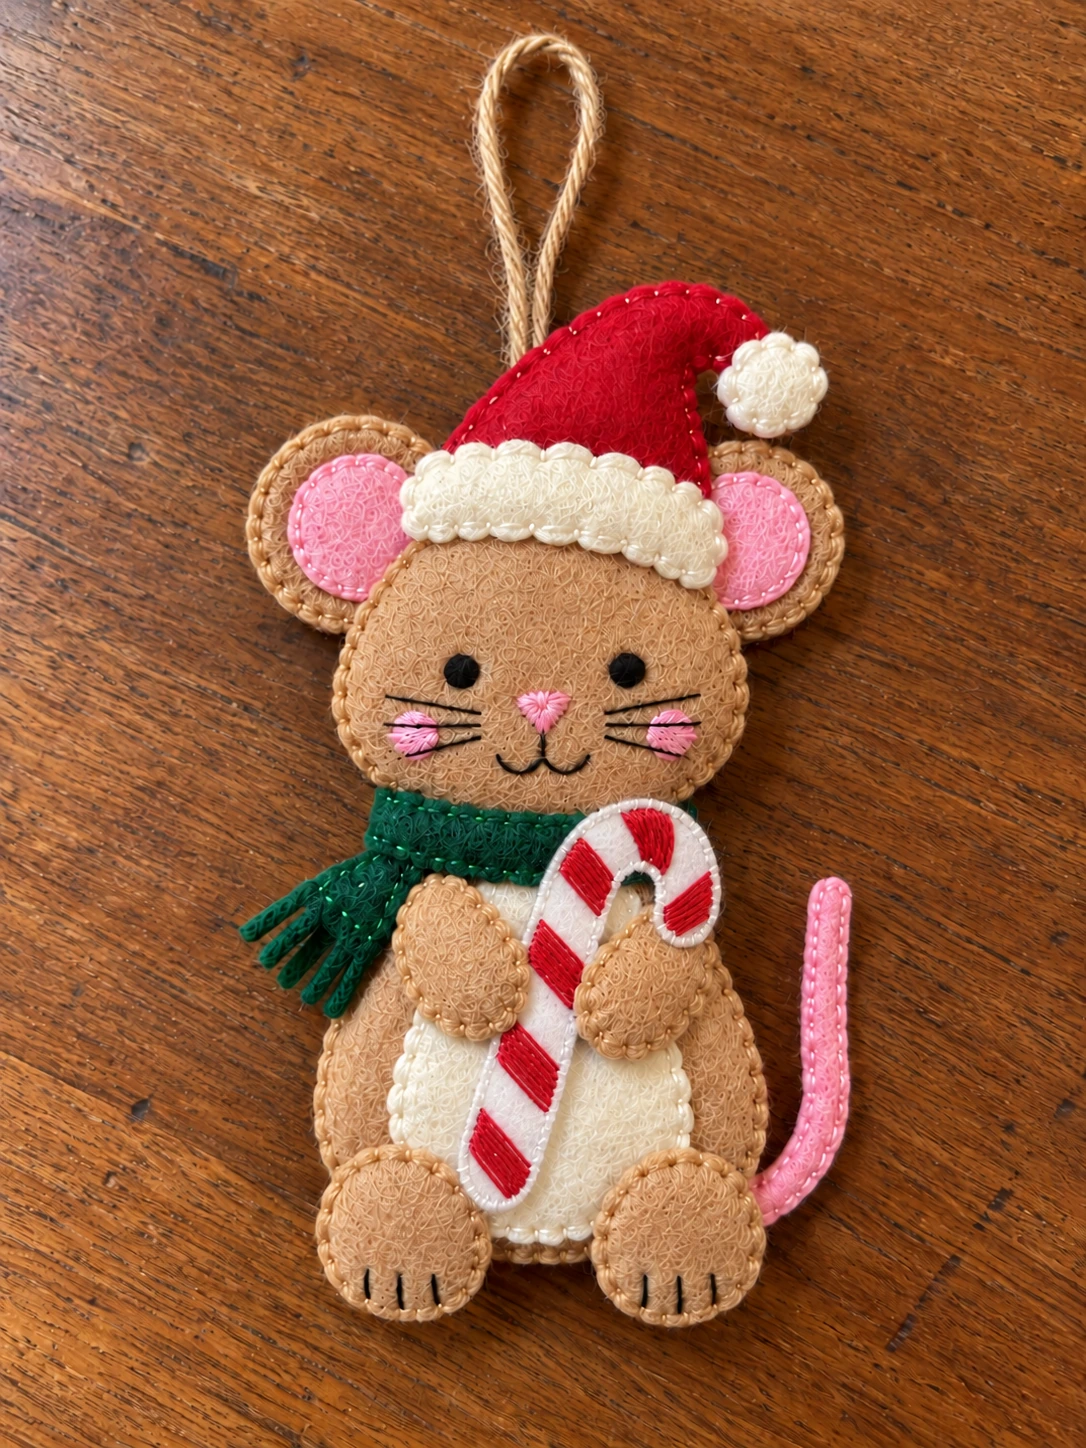
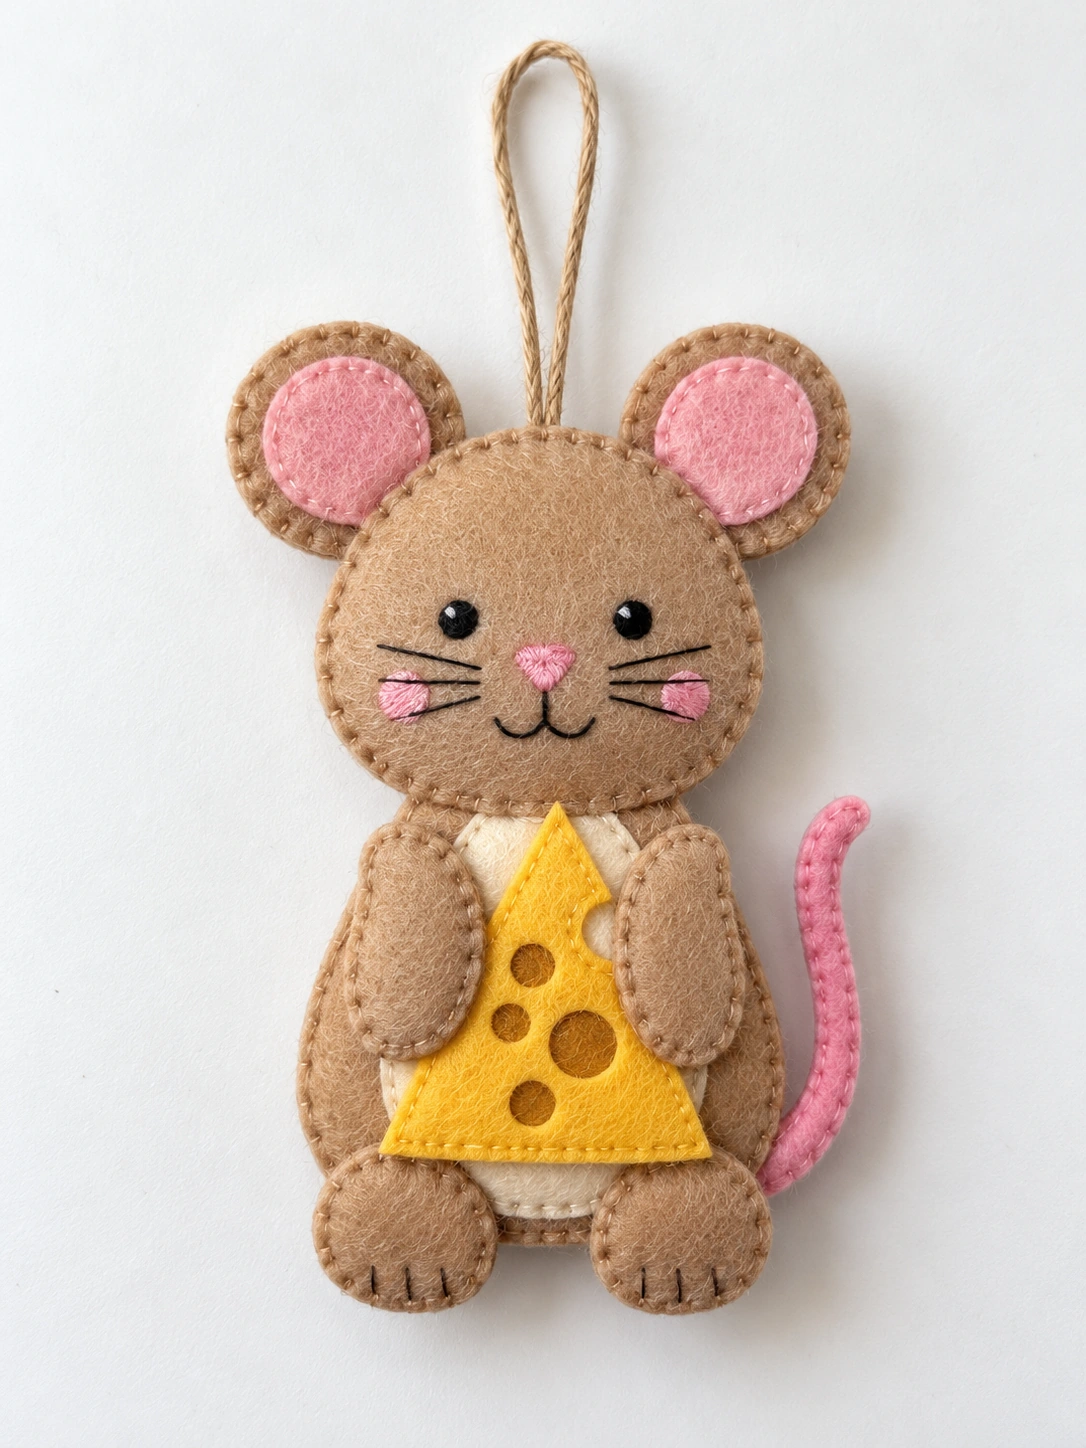
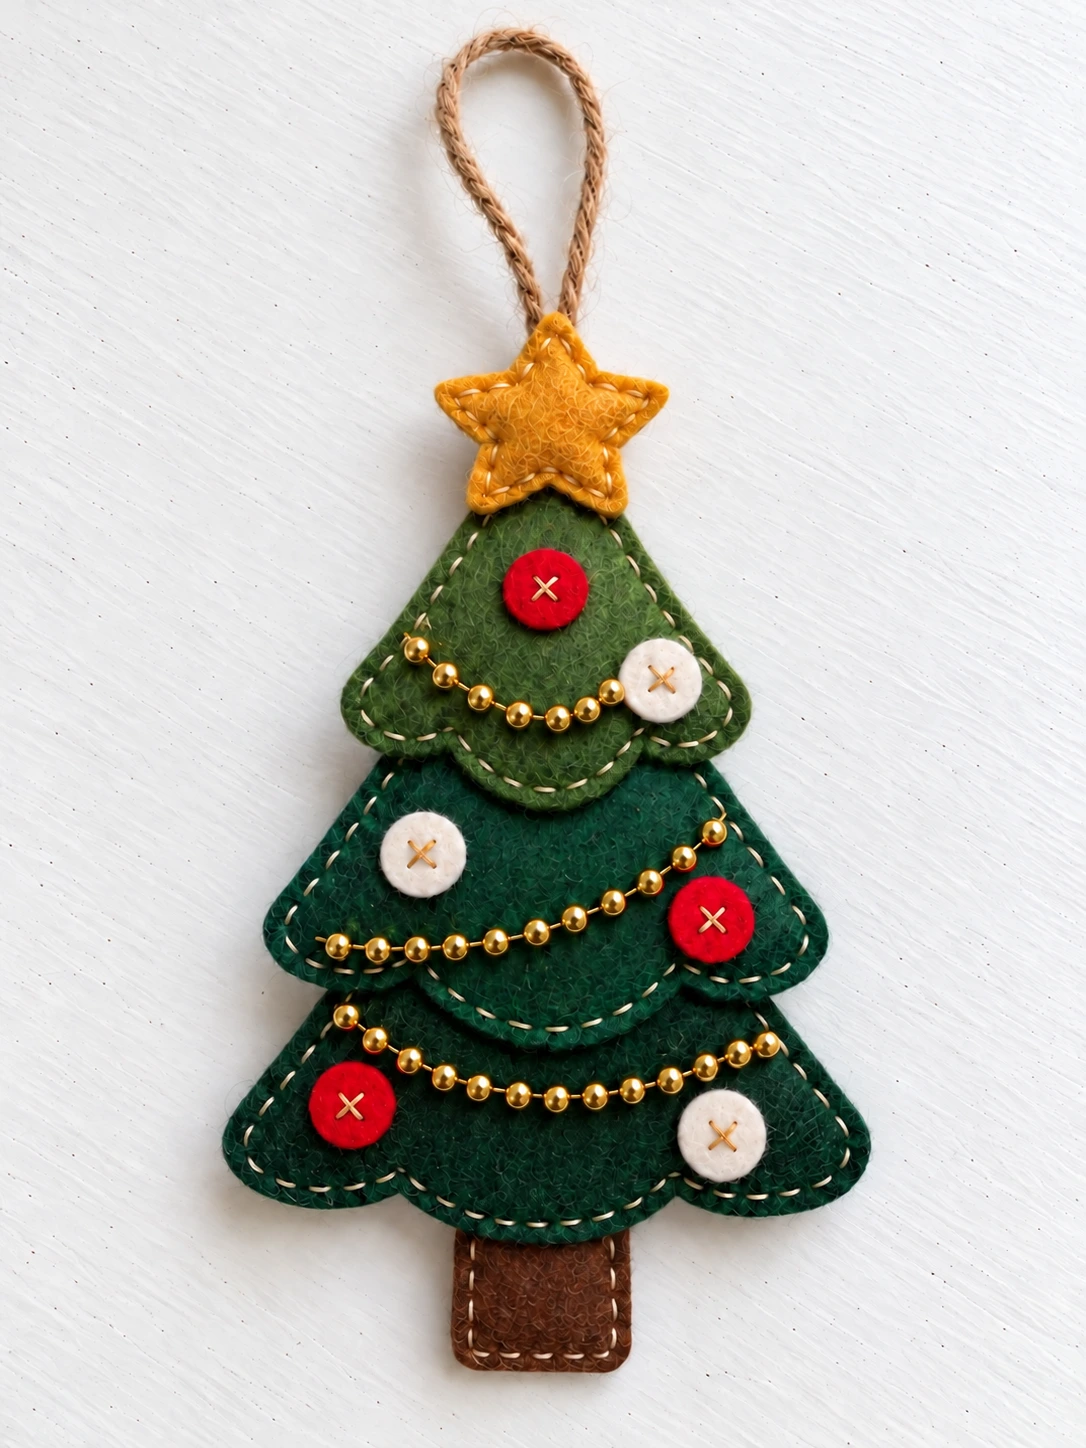
For a tree full of handmade friends, try the felt reindeer cat ornament beside this one. A felt Santa cat adds another sweet face, while the felt Christmas stocking free pattern uses little scraps in a different shape. Mix them on the tree or tie one onto each holiday gift.
Care and Storage
Dust the ornament with a soft brush and spot clean with a barely damp cloth if needed. Let it air dry flat. Do not soak or machine wash it, since the tiny berries and embroidered details may loosen. After Christmas, lay it in a small box with tissue around the antlers so they are not bent under heavier decorations. The small pieces and loop make this a decoration to keep away from babies and pets.
Frequently Asked Questions
Is the pattern suitable for beginners?
Yes, if you are comfortable cutting small felt shapes and trying a blanket stitch. Practice the snowflake on scrap felt before sewing the antlers.
Do I have to add the holly leaves?
No. The reindeer looks sweet without them, but the PDF includes leaf and berry outlines because they appear on the finished design.
Can I leave the ornament flat?
Yes. Skip the filling and sew the front to the back. A flat reindeer is especially nice for gift wrapping or mailing.
What paper size should I use?
The one-page PDF is set up for A4 paper. Print at 100% or Actual Size and check the paper pieces before cutting your felt.

Leave a Comment