


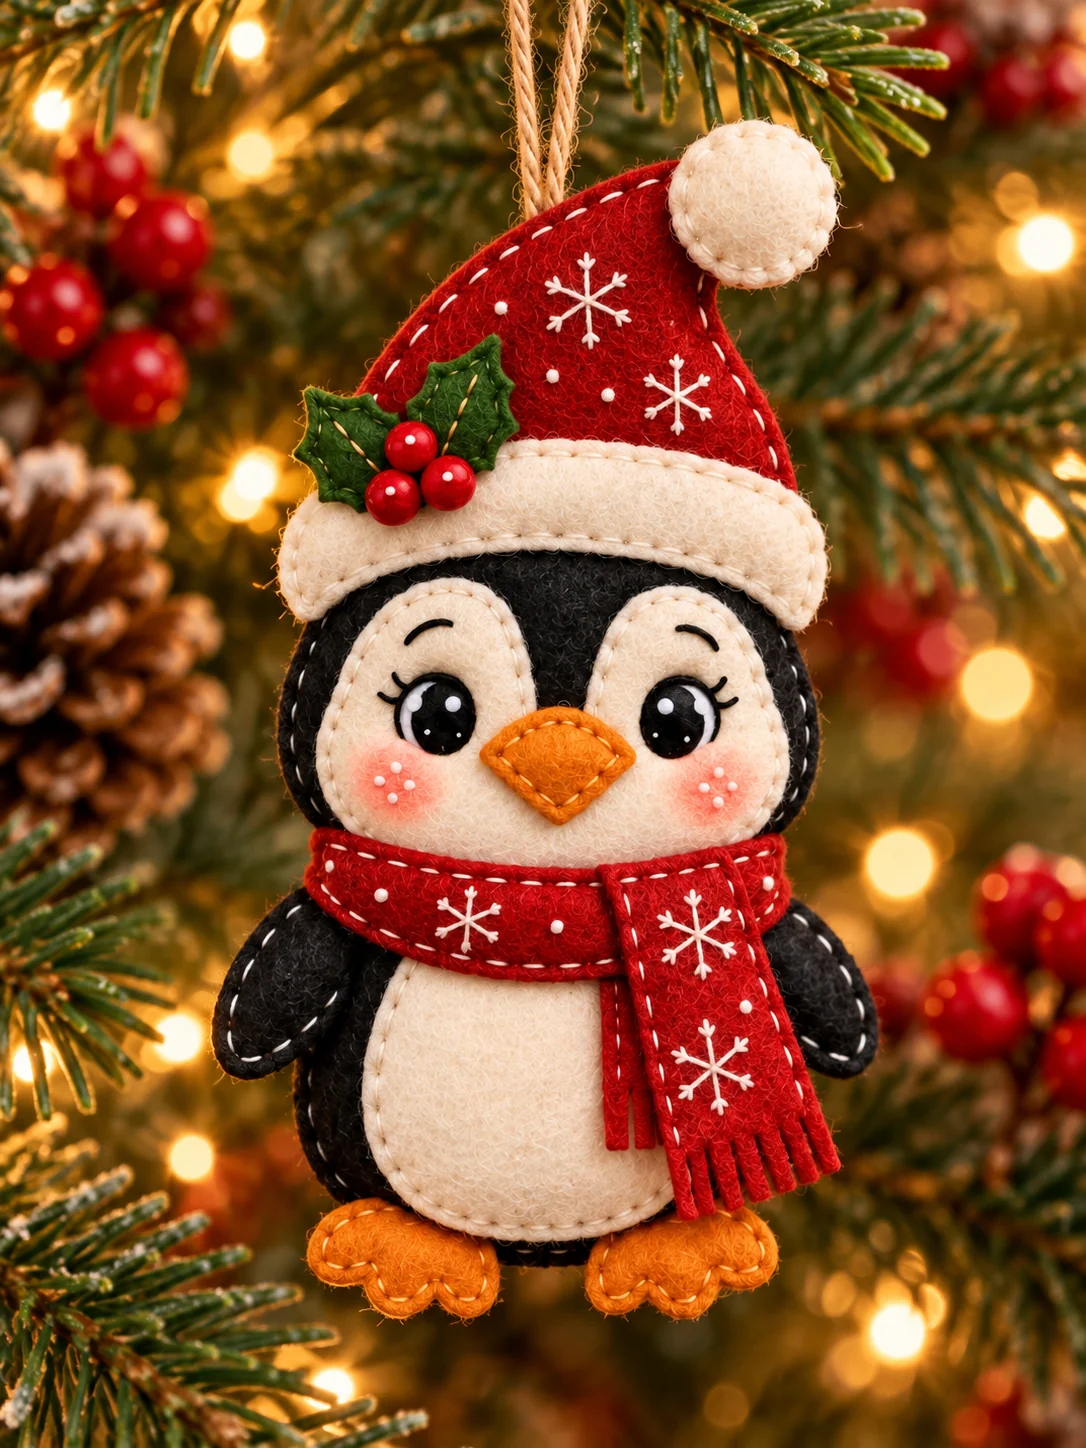
A little penguin in a red Santa hat is the sort of ornament I cannot resist making for the tree. His round black shape, cream face, and bright orange feet look sweet among the evergreen branches.
I especially love the tiny holly on his hat and the white stitches on the scarf. Those small details turn a few pieces of felt into a character with so much personality.
If you have a quiet evening for hand sewing, make one with me. The free printable gives you the cutting pieces, and these steps walk through the face, wings, scarf, and hanging loop.
What Is This Felt Penguin Ornament?
This is a softly padded, hand-sewn Christmas penguin with a black rounded body, four black wing layers, a cream belly, and two cream patches framing the face. A small orange beak sits between the eyes, with two orange three-toed feet below. The red Santa hat has a cream brim and pompom, green holly leaves, and three red berries. A red scarf with white embroidered snowflakes wraps around the neck. The finished ornament hangs from a natural twine loop. Keep the head and body in one continuous silhouette, just like the printable: the head is rounded at the top and the plump belly curves beneath it. The separate face patches are a supplemental correction to the supplied blueprint.
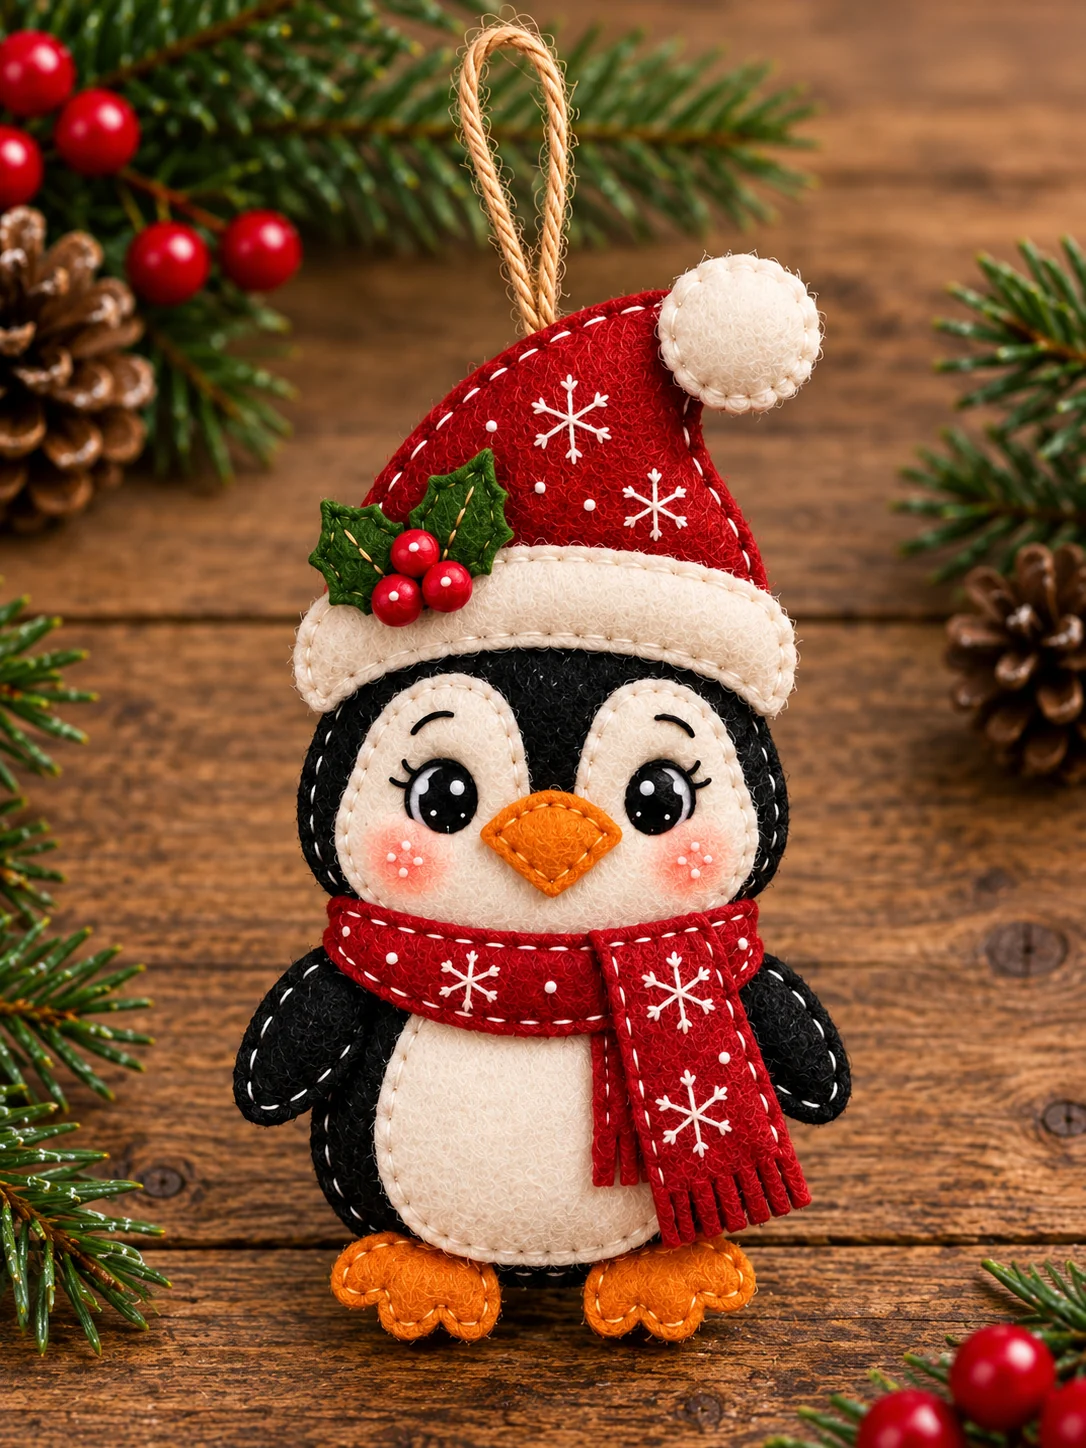
Free Printable Felt Penguin Pattern
Download the felt penguin ornament free pattern (PDF).
The two-page A4 printable includes the original body, hat, brim, pompom, wing, scarf, belly, foot, beak, holly leaf, and berry outlines. The second page adds the pair of cream face patches, black eyes, and pink cheeks visible on the finished design but missing from the original cutting diagram. Print both pages at Actual Size or 100%, with any “fit to page” setting turned off. Cut on the solid outline; the dashed line indicates a suggested stitch path, not another cut line. Check that the two paper body silhouettes align before tracing them onto felt.
The body is cut twice for a front and back. The four wings make two layered wings, with a front and back for each. Cut two mirrored cream face patches and two orange feet. The black eyes and pink cheeks may be cut from small felt scraps or embroidered; the cream patches are needed to reproduce the characteristic face. The PDF is the size reference for the cut pieces. Photos show assembly and may differ in apparent size because of camera distance, so do not trace shapes from a photo.
Materials and Tools
Affiliate disclosure: This post contains Amazon affiliate links. If you buy through these links, I may earn a commission at no extra cost to you. As an Amazon Associate I earn from qualifying purchases.
- Black felt for two body shapes and four wing layers
- Cream felt for one belly, two face patches, hat brim, and pompom
- Red felt for the Santa hat, scarf, and three berries
- Orange felt for one beak and two feet; green felt for two holly leaves
- Black, cream, red, orange, and green sewing thread or embroidery floss
- A small amount of pink felt or pink embroidery floss for the cheeks
- White floss for eye highlights and little snowflakes on the scarf and hat
- Hand-sewing needle, sharp small scissors, pins, and a removable fabric marker
- A small pinch of polyester stuffing, a short length of twine, and the printed pattern
Firm craft felt holds the small wing and foot shapes neatly, while softer wool blend felt gives a lovely hand-sewn texture. Keep the stuffing light so the body stays rounded without distorting the face. If your felt is thick, use a fine needle and a short stitch length around the tight curves of the beak and feet. Arrange every feature on the flat body front before taking the first stitch.
How to Make a Felt Penguin Ornament
1. Print and cut the pattern
Print the PDF at 100% and cut the paper templates. Trace two matching black bodies, four wings, one cream belly, two mirrored cream face patches, two orange feet, one orange beak, one red hat, one cream brim, one pompom, one red scarf, two green holly leaves, and three red berries. Use the paper body as the proportion check: the belly belongs on the lower half, while the paired cream patches fit in the rounded upper head without extending beyond its black edge. Sort the pieces by section before sewing. Cut eyes and cheeks from scraps if you prefer appliqué to embroidery.
2. Build the face on the flat front
Place the two cream patches side by side on the upper body front, leaving a slim black border around the head and a narrow black line between the patches. Mirror them so they frame the beak evenly. Stitch along their outer edges with small cream stitches. Center the orange beak at the lower meeting point. Add two black eyes above it, then a tiny white catchlight on each eye. Pink cheek circles or a few satin stitches sit low and toward the outer edges of the patches. Step back and check the expression before securing every small piece; a slight change in eye spacing makes a surprising difference.
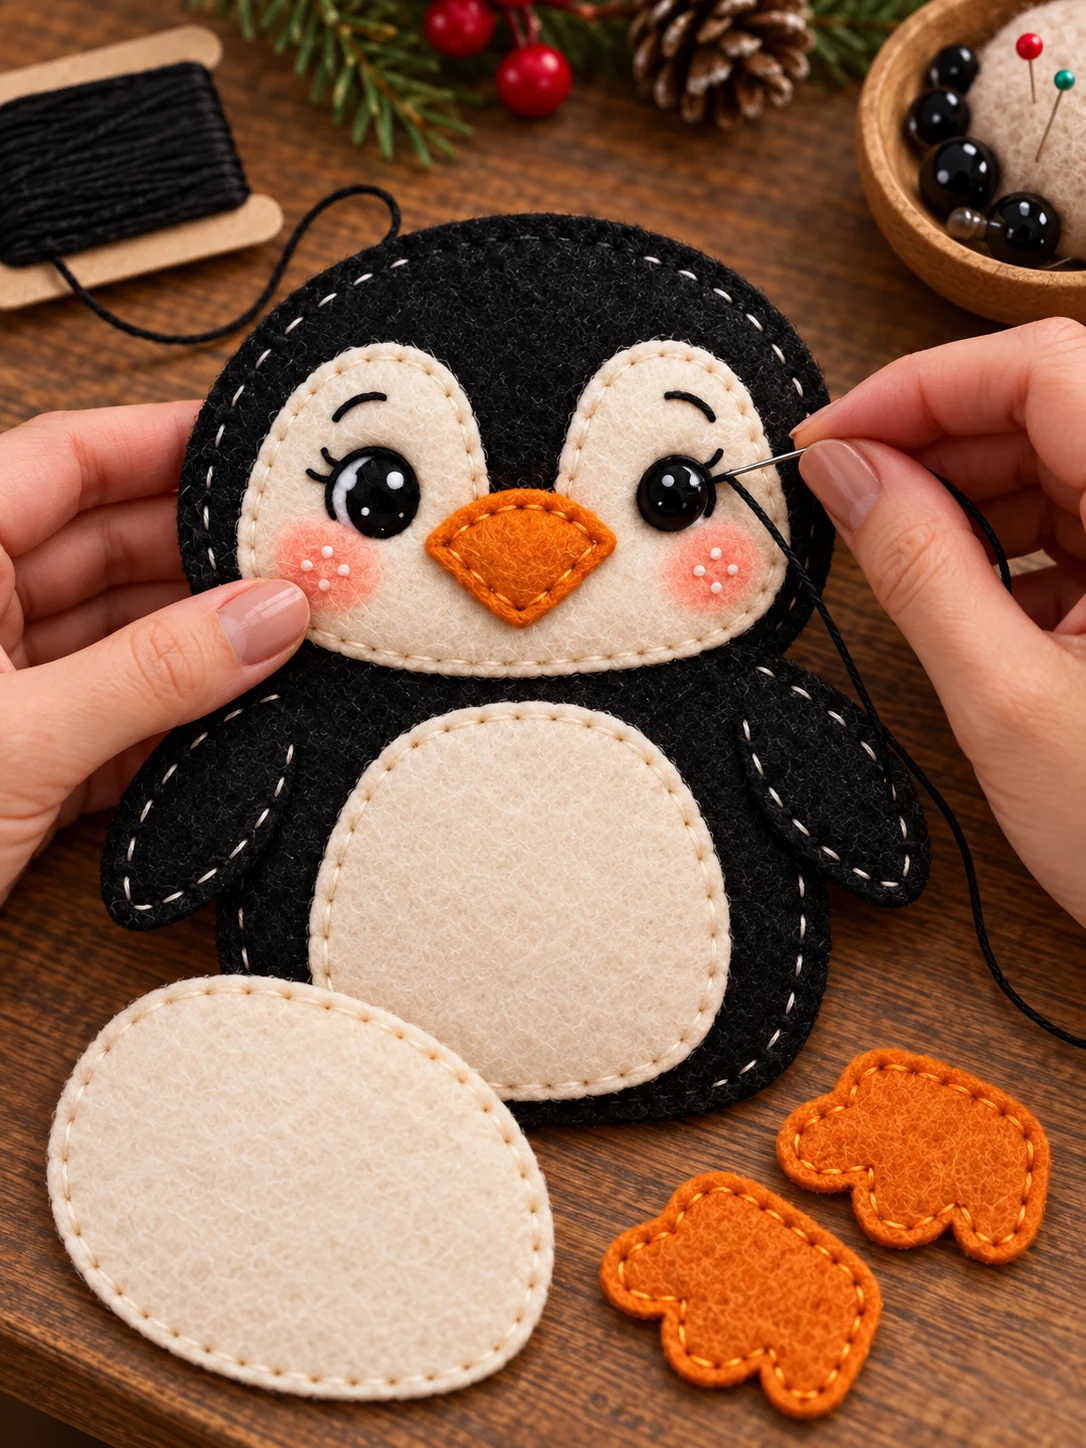
3. Add belly, feet, and wings
Center the cream belly below the face, leaving an even black border at both sides and the bottom. Blanket stitch or use tiny running stitches around its curve. Place the two orange feet at the lower edge so only their toes extend beneath the body; their top edges will be caught in the body seam. For each wing, pair two matching black pieces and stitch around the edge, leaving a little opening if you want a touch of filling. Attach each finished wing at the side of the body with a few firm stitches near its upper end. Check that they hang at similar angles before tying off the thread.
4. Sew the Santa hat and holly
Place the cream brim across the lower edge of the red hat and stitch it in place. Attach the cream pompom at the curved tip. Embroider a few simple white snowflakes on the red felt, keeping them sparse so the hat remains easy to read. Overlap the two small green holly leaves near one end of the brim, then stitch on three red berries. Set the hat over the top of the penguin’s head and secure its lower edge. Fold a short piece of twine into a loop and sew both ends firmly behind the hat and upper body. Tug lightly on the loop to test it.
5. Join and lightly stuff the body
Put the decorated black front over the matching black back with the good sides outward. Keep the foot tops and wing attachments tucked neatly between the layers. Work around the edge with an even blanket stitch, stopping before the final short gap. Add a small amount of filling to the head and lower body, using the blunt end of a pencil to distribute it without poking through the felt. Close the gap with the same stitch. The head should remain the same width and rounded shape as the paper outline; too much filling can make the face look stretched or cause the feet to twist.
6. Finish the scarf
Wrap the red scarf around the join between face and belly, letting one end hang down at the side. Add little white snowflakes with straight stitches and cut a few narrow fringe snips in the loose end. Tack the scarf behind the neck and beneath the hanging section so it will not slide. Hold the ornament by its loop and check that the feet face forward. If it leans, shift the scarf slightly or add a small anchoring stitch to the back of the hat. A final gentle brush removes stray felt fibers.
Tips for Neat, Consistent Pieces
Trace each paper shape once and use that same template for every duplicate. Cutting a second body freehand can make one side too broad, and oversized feet will change the whole silhouette. For the face patches, fold the paper template over to mirror the second side rather than drawing a new curve. Place both patches and the belly on the front before sewing to confirm that they fit inside the black outline. Keep the two wing pairs matched and lay the feet beside each other to check their widths.
Sew the smallest details while the front is flat. Hide knots on the back of that front panel so they do not show through the cream felt. A removable fabric marker helps position the snowflakes; test it on a scrap first. If you prefer a flatter ornament, use almost no stuffing and still join the two body layers. For a soft plush look, add small amounts in stages and compare the shape to the pattern between additions.
More Christmas Felt Patterns
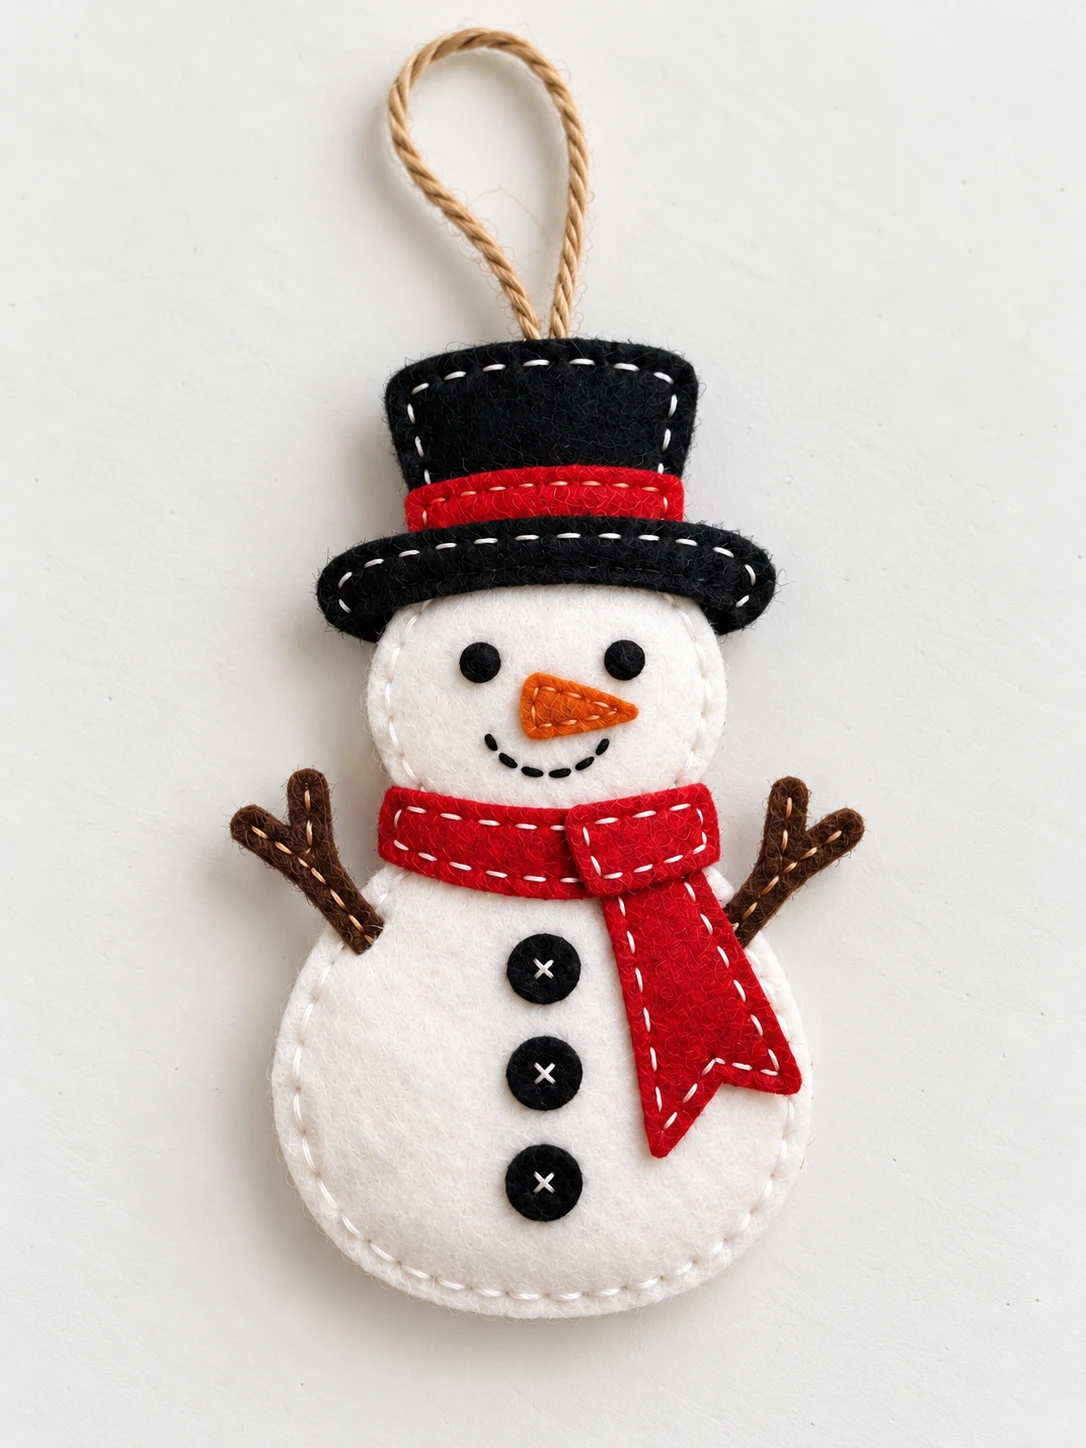
I like this penguin beside the felt snowman ornament and the felt reindeer ornament. The felt Christmas stocking is another lovely small project for using holiday scraps. Keep a few finished ornaments for the tree and tie an extra one to a wrapped gift.
Care and Storage
Brush off dust gently and spot clean with a barely damp cloth. Let the felt air dry completely before storage. Do not soak the stuffed body or rub the tiny berries and eye details. Pack the penguin in tissue so the hat, wings, and feet lie naturally, without a heavy decoration pressing on them. Keep small embellishments away from babies and pets.
Frequently Asked Questions
Why is there a second pattern page?
The source blueprint leaves out the cream face patches seen on the finished penguin. Page two adds matching patch outlines and optional eyes and cheeks.
How many feet and wings do I cut?
Cut exactly two orange feet and four black wing pieces. The four wing pieces make two layered wings, one for each side.
Can I make a flat penguin?
Yes. Join the two body layers without stuffing, then add the hat and scarf. Keep the foot tops inside the lower seam.
What setting should I use to print the PDF?
Use A4 paper at 100% or Actual Size and turn off fit-to-page scaling. Check the paper pieces together before cutting felt.

Leave a Comment