


A little lavender bat with pink cheeks and a golden star makes such a sweet Halloween decoration. This felt star bat ornament has small pointed ears, wide wings, and two tiny white fangs. The soft colors give it a friendly look for a branch, seasonal tree, or wall hook.
In this tutorial, I’ll walk you through cutting the felt, adding the face, and joining the pieces in the right order. Everything is sewn by hand, with the felt edges left on show. A little stuffing gives the head and body shape while the ears and wings stay flat.
The free printable pattern includes full-size shapes and an assembly guide. The finished target size is about 124 × 104 mm, excluding the hanging loop. Keep the PDF nearby as you sew, especially for the small placement marks. Let’s get the supplies ready and make this cheerful little bat.
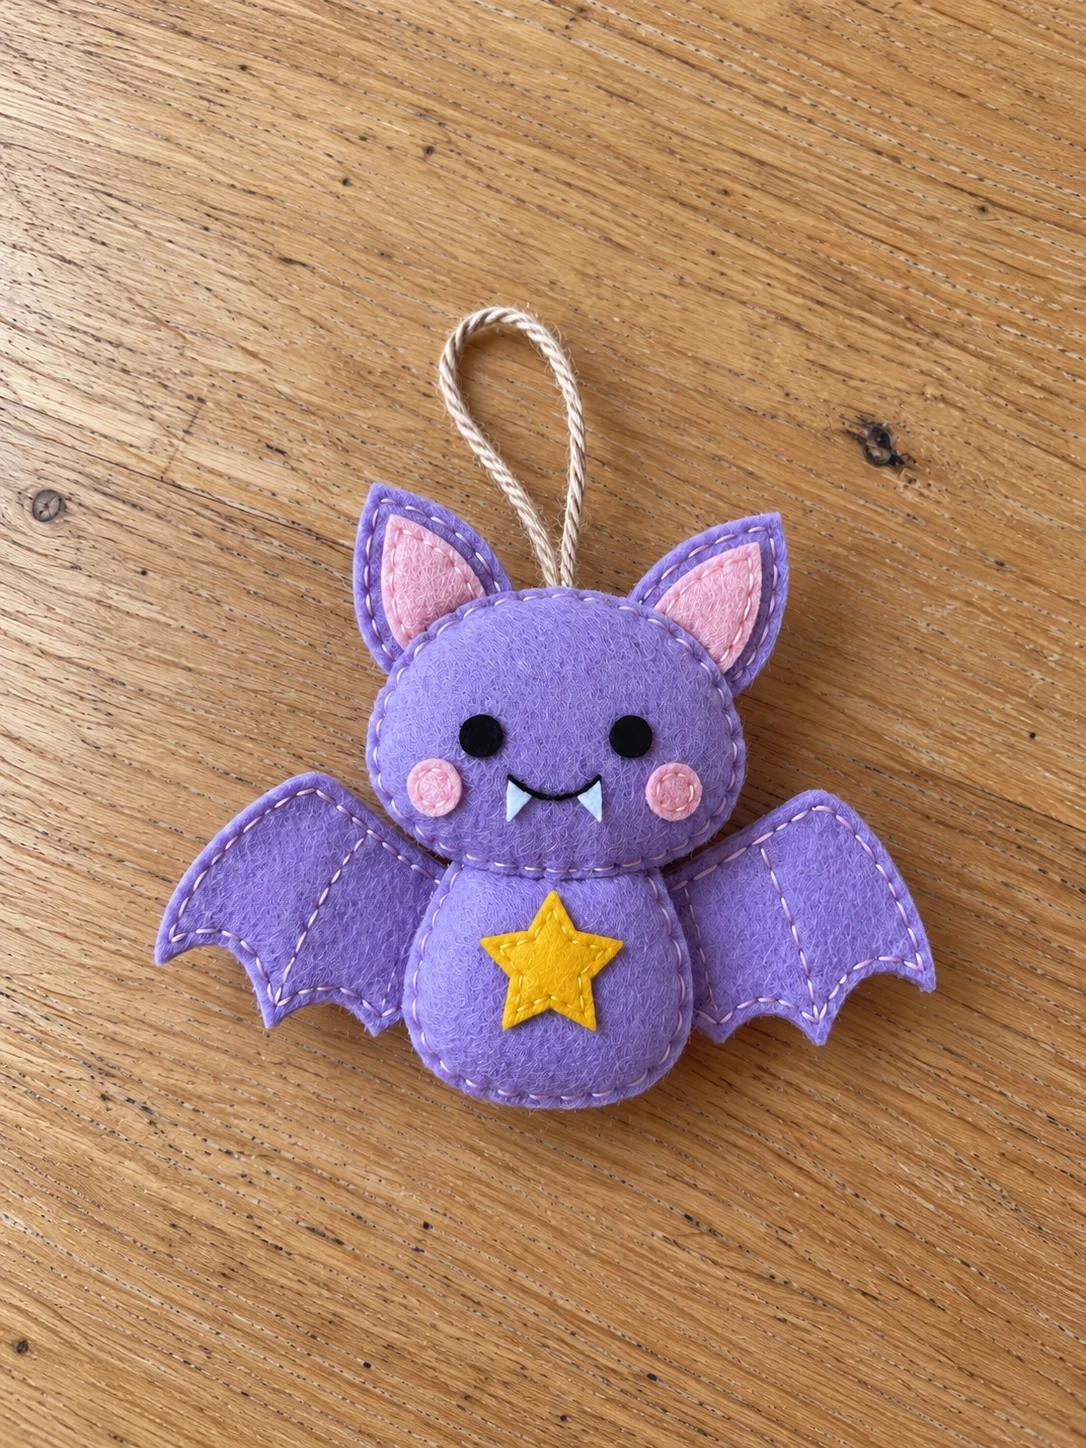
Before You Start
This project uses layered felt construction. You sew the pieces with their wrong sides together, so there is no turning inside out. The pattern already includes the allowance. Cut on the solid outline and use the dashed line as the 2 mm stitching guide where it is shown.
Keep the stuffing light. A firmly packed head or body can change the outline and make the joins harder to sew. If you plan to make several bats, first arrange the paper pieces or sew one sample before cutting the whole batch.
This is a decorative ornament, not a toy. Small pieces and the hanging cord are hazards. Keep the finished ornament, loose supplies, scissors, and needles away from children and pets.
Materials You Will Need
- 1–1.5 mm wool-blend felt in lavender for the head, body, outer ears, and wings
- Pink felt for the inner ears and cheeks
- Golden-yellow felt for the star
- Small scraps of white felt for the fangs and black felt for the eyes
- Matching embroidery thread, plus black thread for the smile
- A hand-sewing needle and sharp scissors
- A little stuffing
- 180 mm of twine for the hanging loop
- A ruler, removable marking pen, and the printed pattern
The pattern uses felt or embroidered eyes. Beads are not needed. For the star version shown here, cut the two black felt eyes listed below. A tiny white embroidered highlight is optional.
Download and Print the Free Star Bat Pattern
Download the original two-page PDF for the full-size cutting shapes and the assembly guide.
Download the free felt star bat pattern PDF
Print page 1 on A4 paper at 100% or Actual Size. Turn off Fit to Page and Shrink options. Measure both sides of the test square: each side must be exactly 50 mm. If either measurement is different, correct the printer settings and print again before cutting felt.
The assembly drawing on page 2 is a placement guide, not a full-size cutting template. Use the PDF pattern page for your pieces, rather than tracing an article photo or resizing a preview image.
Felt Cutting List
All measurements below are width × height. The quantities are the total number of felt pieces needed, not the number for each side. The letters in this table are handy checklist labels; the PDF identifies the pieces by name.
| ID | Piece | Total | Color | Dimensions |
|---|---|---|---|---|
| A | Head | 2 | Lavender | 64 × 54 mm |
| B | Body | 2 | Lavender | 45 × 43 mm |
| C | Outer ear | 4 | Lavender | 24 × 31 mm |
| D | Inner ear | 2 | Pink | 16 × 22 mm |
| E | Wing, including tab | 4 | Lavender | 51 × 42 mm |
| F | Star | 1 | Golden yellow | 23 × 23 mm |
| G | Cheek | 2 | Pink | 8 × 8 mm |
| H | Fang | 2 | White | 5 × 6 mm |
| I | Eye | 2 | Black | 6 × 6 mm |
For the outer ears and wings, cut two pieces in the direction shown and two reversed. For the inner ears, cut one as shown and one reversed. Keep each mirrored pair together so that the finished left and right sides face the correct way.
1. Cut the Felt and Mark the Layout
Cut out the paper shapes, then cut the felt pieces using the totals above. Do not add any extra seam allowance. Transfer the face and placement marks to the front pieces with a removable pen. Test the pen on a scrap first so that you know the marks will come out.
For the overall layout, imagine a rectangle 124 mm wide and 104 mm high. Measure from its top-left corner. The top-left cut edge of the head sits at 30 mm across and 15 mm down. The body sits at 39.5 mm across and 61 mm down.
The outer ears start at (28, 0) and (72, 0), and the wings at (0, 56) and (73, 56), with all values in millimeters. These are positions for the pieces’ top-left cut edges. Mirror the right ear and wing. A paper layout is useful for checking the shape before you sew.
2. Sew the Ears and Wings
Place a pink inner ear on the front of one lavender outer ear. Position it 4 mm from the outer ear’s left edge and 5 mm below its top, as shown in the pattern. Sew it securely in place, then repeat with the mirrored pieces for the second ear.
Put each decorated ear front against its matching back, wrong sides together. Sew around the pair 2 mm from the edge. Leave the ears flat, without stuffing, and keep the stitches small and even.
Pair the four wing pieces to make two mirrored, double-layer wings. Sew each pair the same way, following the 2 mm guide. Leave the wings flat too. You can add the optional decorative fan lines, but keep the root tabs clear for the body attachment. Each wing includes an 8 mm hidden root tab.
3. Add the Bat’s Face
Lay the head front flat. For these face measurements, use the head piece’s own top-left corner as the starting point. Place the eye centers at (20, 31) and (44, 31). The cheek centers sit at (12, 39) and (52, 39). All measurements are in millimeters.
Sew the eyes and cheeks securely to the head front. The tiny face pieces need central securing stitches or satin stitches; do not try to force a 2 mm seam around each small shape. Keep your stitches neat without pulling the felt into a pucker.
Position the two white fangs with their top-left edges starting at (24, 40) and (35, 40). Tack them in place. Embroider the smile over their top edges, running from (23, 39), through (32, 42), to (42, 39). A small backstitch works well for this curved line. Add an optional tiny white stitched highlight to each eye.
4. Sew the Golden Star onto the Body
Place the star on the body front, centered from side to side. Its top edge should be 11 mm below the top of the body. Check that a point faces upward, then sew the star in place with matching thread.
Keep the decoration below the area where the head will overlap the body. This matters because the top of the body includes a hidden neck section. The star should remain visible when the bat is assembled. Lay the head over it briefly to check the placement before tying off your thread.
5. Attach the Wings and Stuff the Body
Lay the completed wings behind the body back in the mapped positions. Their 8 mm root tabs go under the body. Secure each tab through the body back with two rows of stitches, placed 2 mm and 4 mm inward from the tab end. Keep the wing seams flat while you stitch.
Place the decorated body front over the back, wrong sides together. Match the edges and sew 2 mm from them, leaving a 20 mm opening. Add a small amount of stuffing through this gap. Spread it gently into the body without packing it tightly.
Check that both wings spread out evenly and that neither tab is loose. Close the opening with the same edge stitching and secure the thread. The body should have a soft shape, while the wings stay flat beside it.
6. Add the Ears and Hanging Loop to the Head
Baste the completed ears behind the head back, using the placement map. Check the pink inner ears face forward and the two ears make a mirrored pair. These temporary holding stitches help prevent the ears from shifting when you close the head.
Fold the 180 mm length of twine in half. Insert both cut ends 15 mm between the head layers at the top center. Stitch through both ends repeatedly to secure the loop. The loop needs a firm attachment inside the head, rather than a single loose stitch at the edge.
Place the finished face over the head back, wrong sides together. Sew along the 2 mm guide, leaving a 20 mm gap. Lightly stuff the head, spreading the filling evenly behind the face. Close the gap and secure your thread. Avoid pulling the stitches so tightly that the head becomes distorted.
7. Join the Head and Body
Lay the completed head over the body with the 8 mm hidden-neck overlap shown in the guide. Use the earlier layout measurements to check the position. The head should sit in front of the body, with the golden star showing below it.
Ladder-stitch securely across the overlap on the back. Then make hidden anchoring stitches behind the lower edge of the head. These extra stitches help hold the layers together without leaving a visible line across the face.
Work slowly through the felt layers, checking the front as you go. Secure the thread and hide the end. Do not pull the join so tightly that it squashes the stuffing or changes the bat’s silhouette.
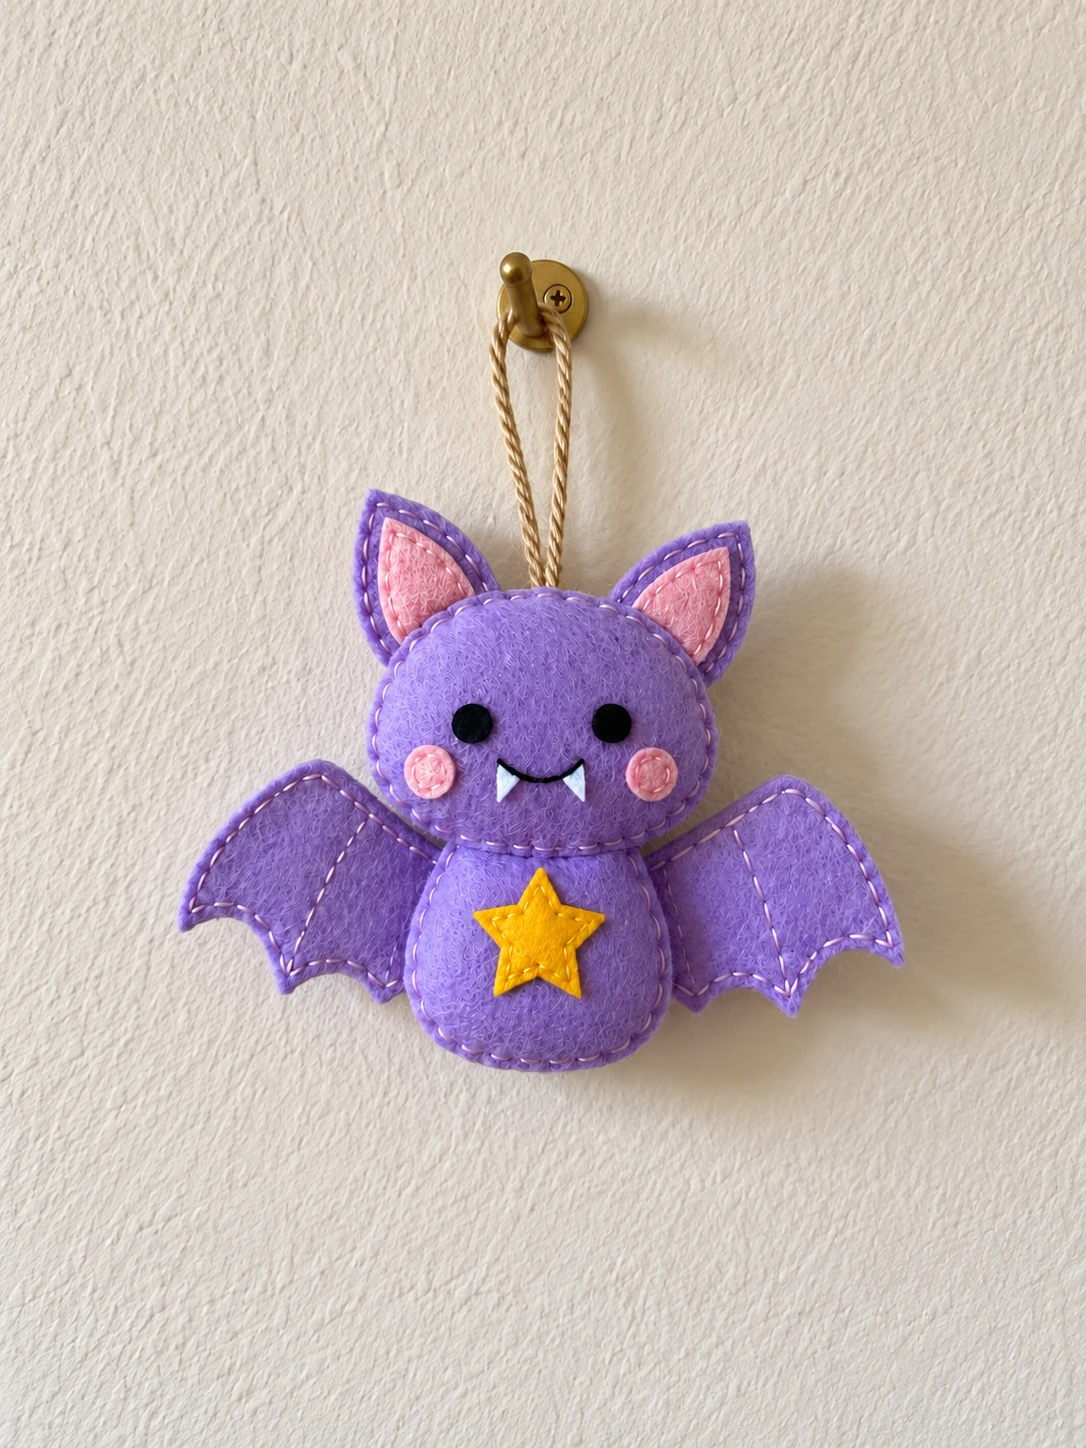
Final Checks Before Hanging
- Check that the ears, wings, head, and body are firmly joined.
- Check the star, cheeks, eyes, and fangs for loose edges or threads.
- Gently check that the hanging loop is secure.
- Remove visible marking-pen lines using the pen’s instructions.
- Look at the front and back for gaps in the stitching.
The finished target is about 124 × 104 mm, excluding the loop. Light stuffing can change the size slightly. Hang your bat in a dry indoor spot, safely away from children and pets.
Frequently Asked Questions
Do I need to add seam allowance?
No. The allowance is already included in the PDF shapes. Cut on the solid lines and follow the 2 mm stitching guide where it is provided. The tiny facial pieces use securing stitches rather than a full perimeter seam.
Can I sew the eyes instead of using black felt?
Yes. The guide allows felt or embroidered eyes. Keep the same eye-center positions so the face stays balanced. Beads are not required for this pattern.
Should I stuff the ears and wings?
No. The ears and wings are made from paired felt layers and left flat. Add only a little stuffing to the head and body. Too much filling can change the shape and make the final overlap harder to join.
Why is the printed test square important?
Printer settings can resize the page without making the change obvious. Measuring both sides of the 50 mm square confirms the pattern printed at the intended size. Reprint if either side is different.
Can I make this bat in different colors?
Yes. Keep the same pieces and measurements, and choose another main felt color if you like. Give the eyes and star enough contrast to stand out.
Enjoy Your Little Star Bat
I hope this little felt bat brings a cheerful touch to your Halloween decorating. Take your time with the small face pieces, keep the stuffing light, and check each join as you go. A tidy hanging loop is the last little detail before your bat is ready for its new spot.

Leave a Comment