


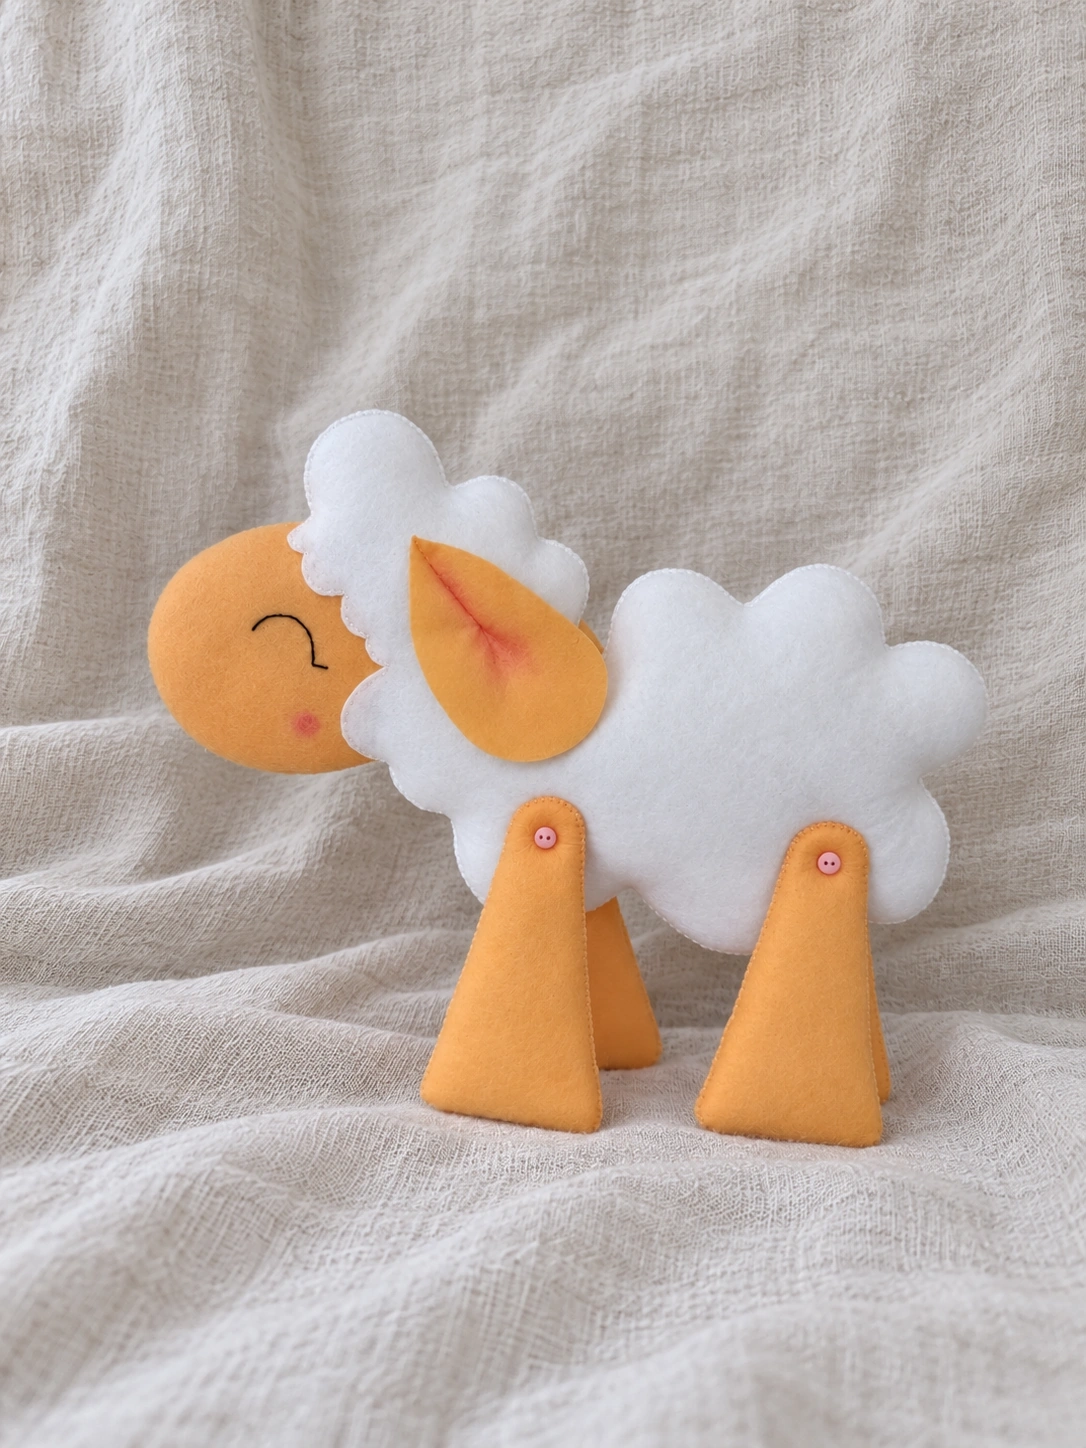
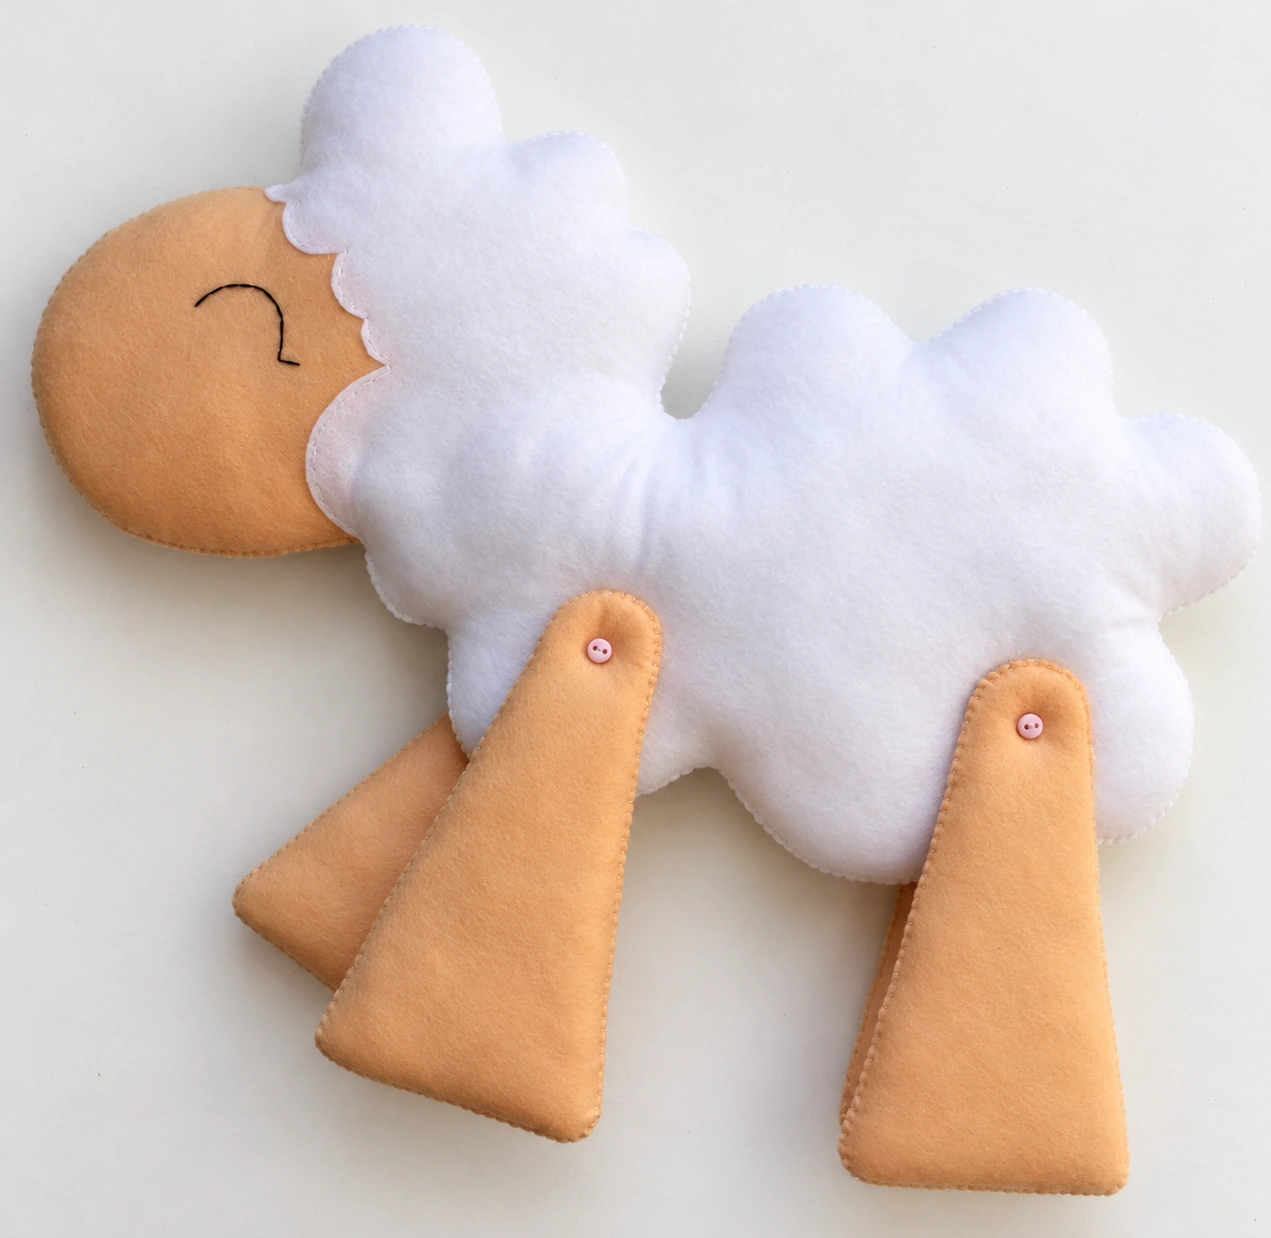
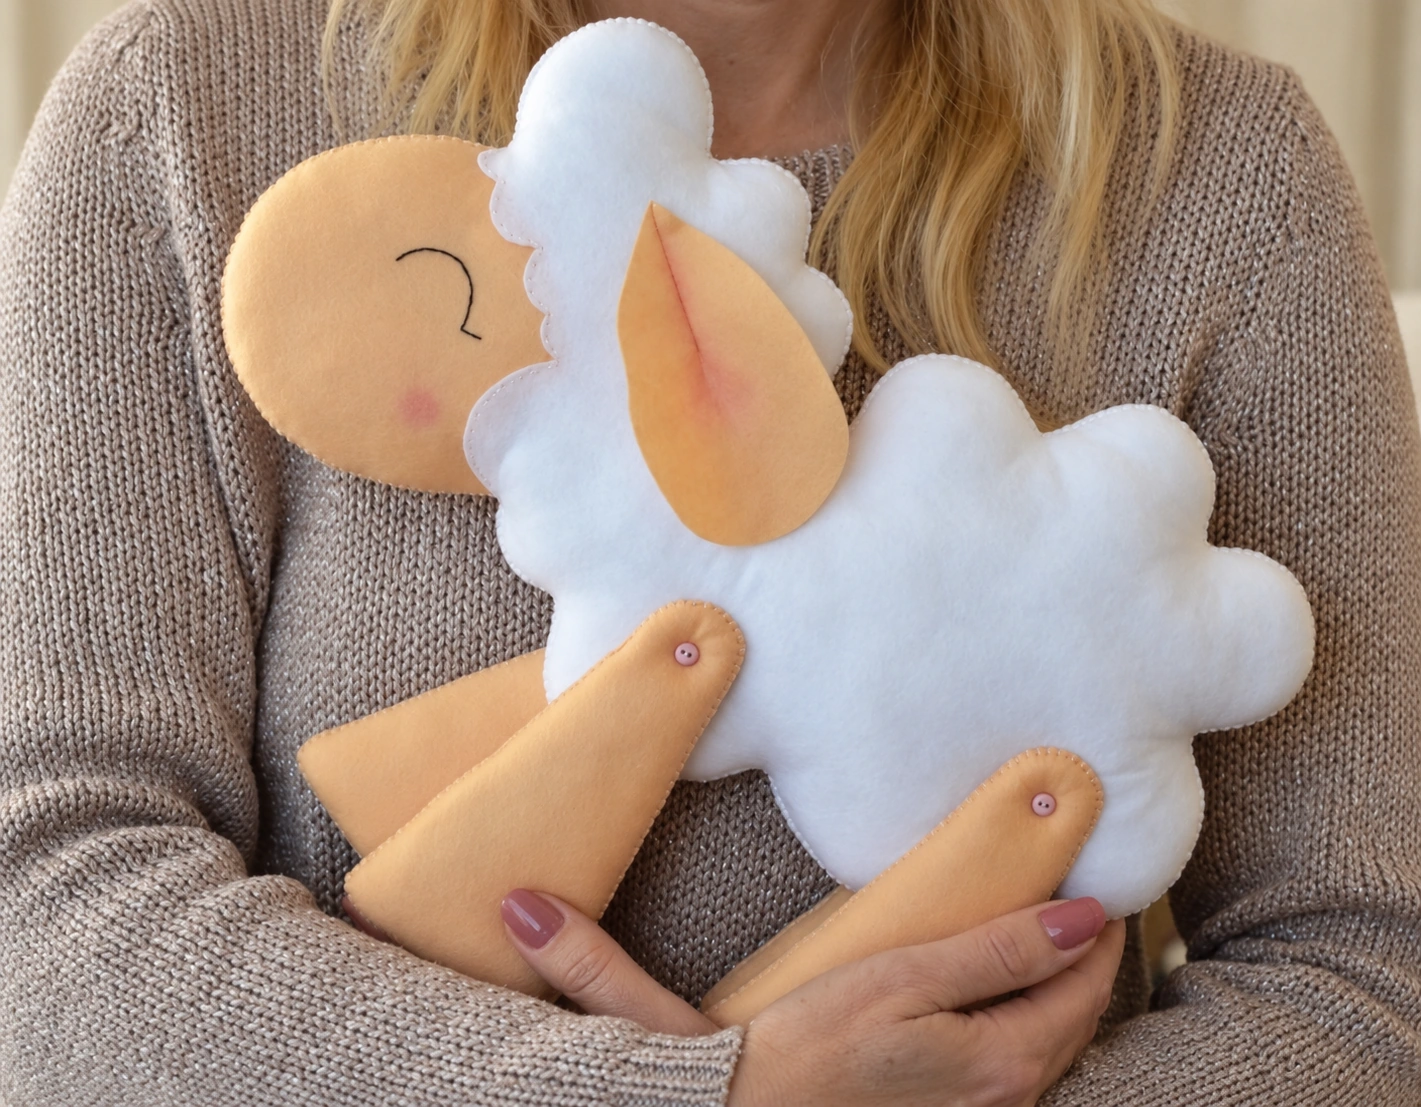
A fluffy outline, sleepy embroidered eyes, and four little moving legs give this felt sheep such a gentle character. With just white and beige felt, you can make a softly padded decoration full of lovely hand-sewn details.
The folded ears give the sheep a soft, floppy look, while the button joints let you change the position of the legs. There are no complicated machine seams here, just careful cutting, two simple hand stitches, and a little patience with the finishing touches.
Below, I’ll walk you through the free pattern and every stage of assembly, with photos to help along the way. Gather your felt and thread, and let’s give this sweet sheep its shape.
Materials and Pattern
Affiliate disclosure: This post contains Amazon affiliate links. If you buy through these links, I may earn a commission at no extra cost to you. As an Amazon Associate I earn from qualifying purchases.
You’ll need:
- White felt for two matching body pieces.
- Beige felt for two face pieces, two single-layer ears, and eight leg panels, which make four legs.
- White, beige, and black sewing thread.
- Four small sew-through buttons for the movable leg joints.
- Polyester fiberfill or soft synthetic stuffing.
- A hand-sewing needle that fits your button holes, plus a longer needle if needed to pass through the body.
- Sharp scissors, a disappearing fabric marker, and pins or basting thread.
- Optional textile glue for holding the face pieces temporarily.
- Optional pink blush and a small soft brush for the cheeks and ears.
The photographed sample uses very thin, soft polyester felt, approximately 0.5 mm thick. The source recommends wool-blend white felt for a softer, fluffier finish. Choose a flexible beige felt as well, since the ears need to fold easily. Test your marker, glue, and blush on scraps before using them on the actual pieces.
We’ll use backstitch for attaching the face and embroidering the eyes, then blanket stitch to join the edges. If you’d like another animal project using the same two stitches, the felt fawn ornament tutorial is a lovely companion project.
Keep needles, pins, scissors, and loose buttons away from children and pets. The button-jointed sheep is intended as a decorative adult craft, rather than a toy for babies or toddlers.
Step 1 Prepare Your Supplies and Pattern
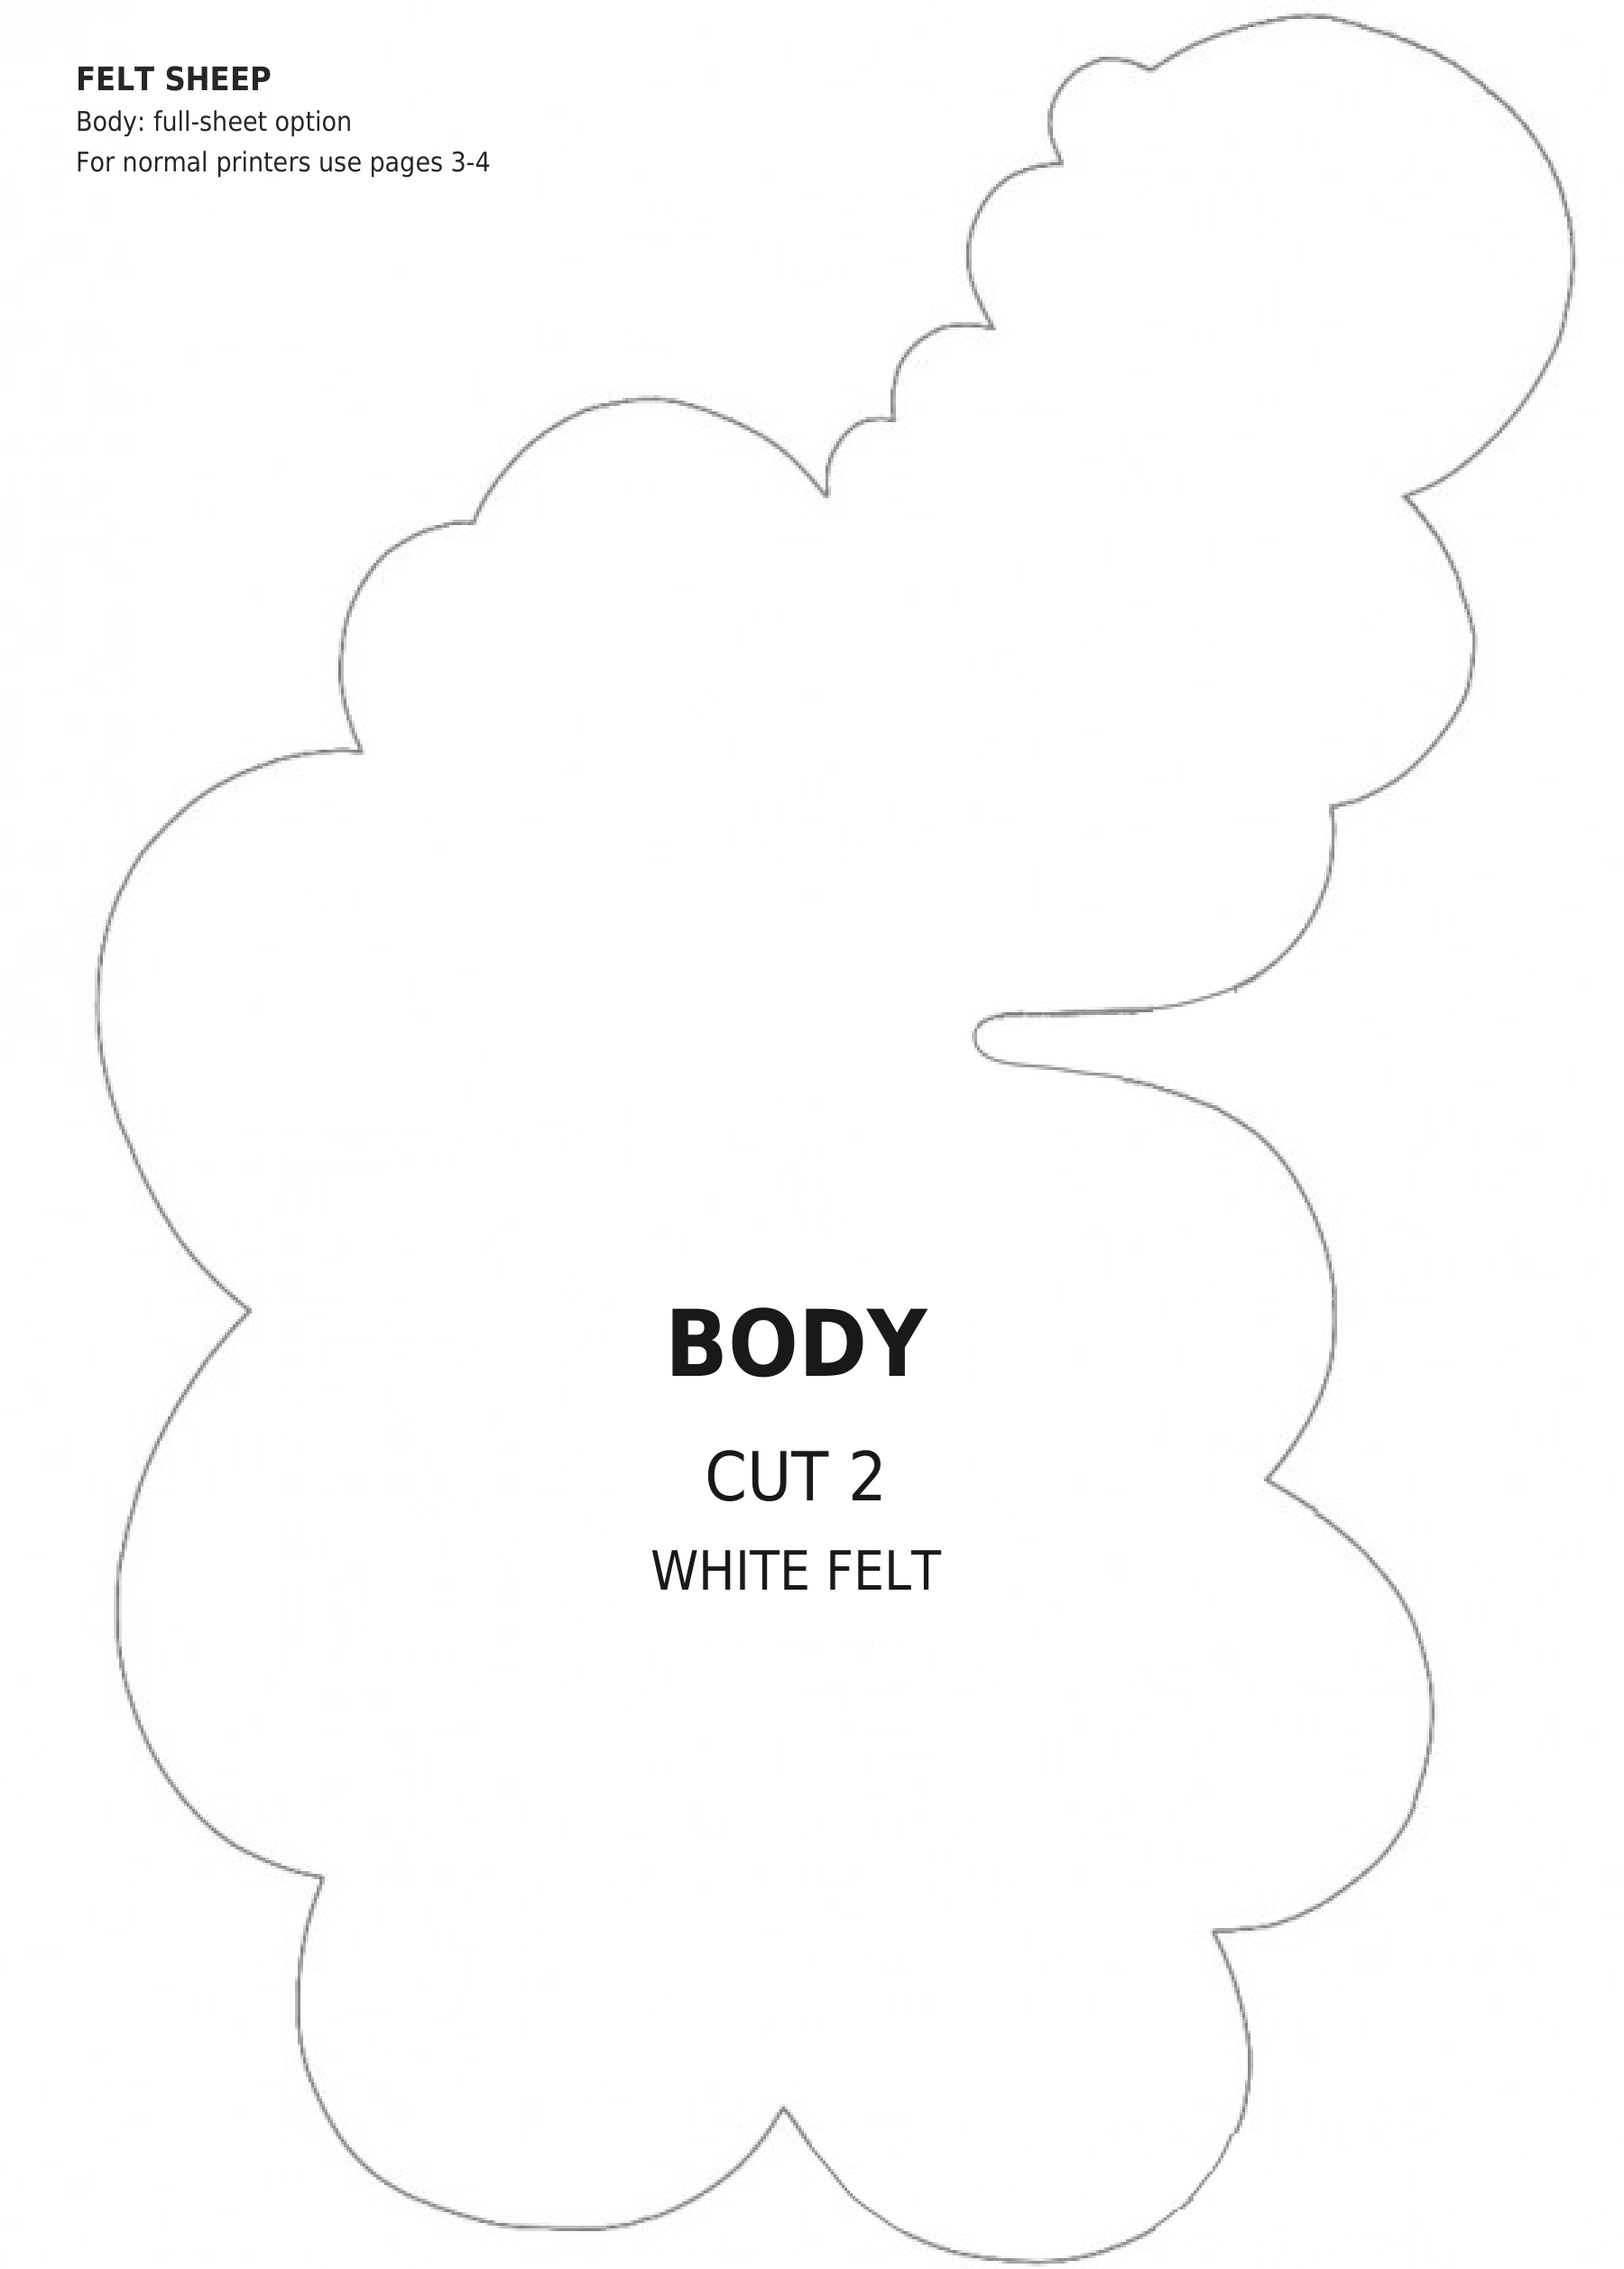
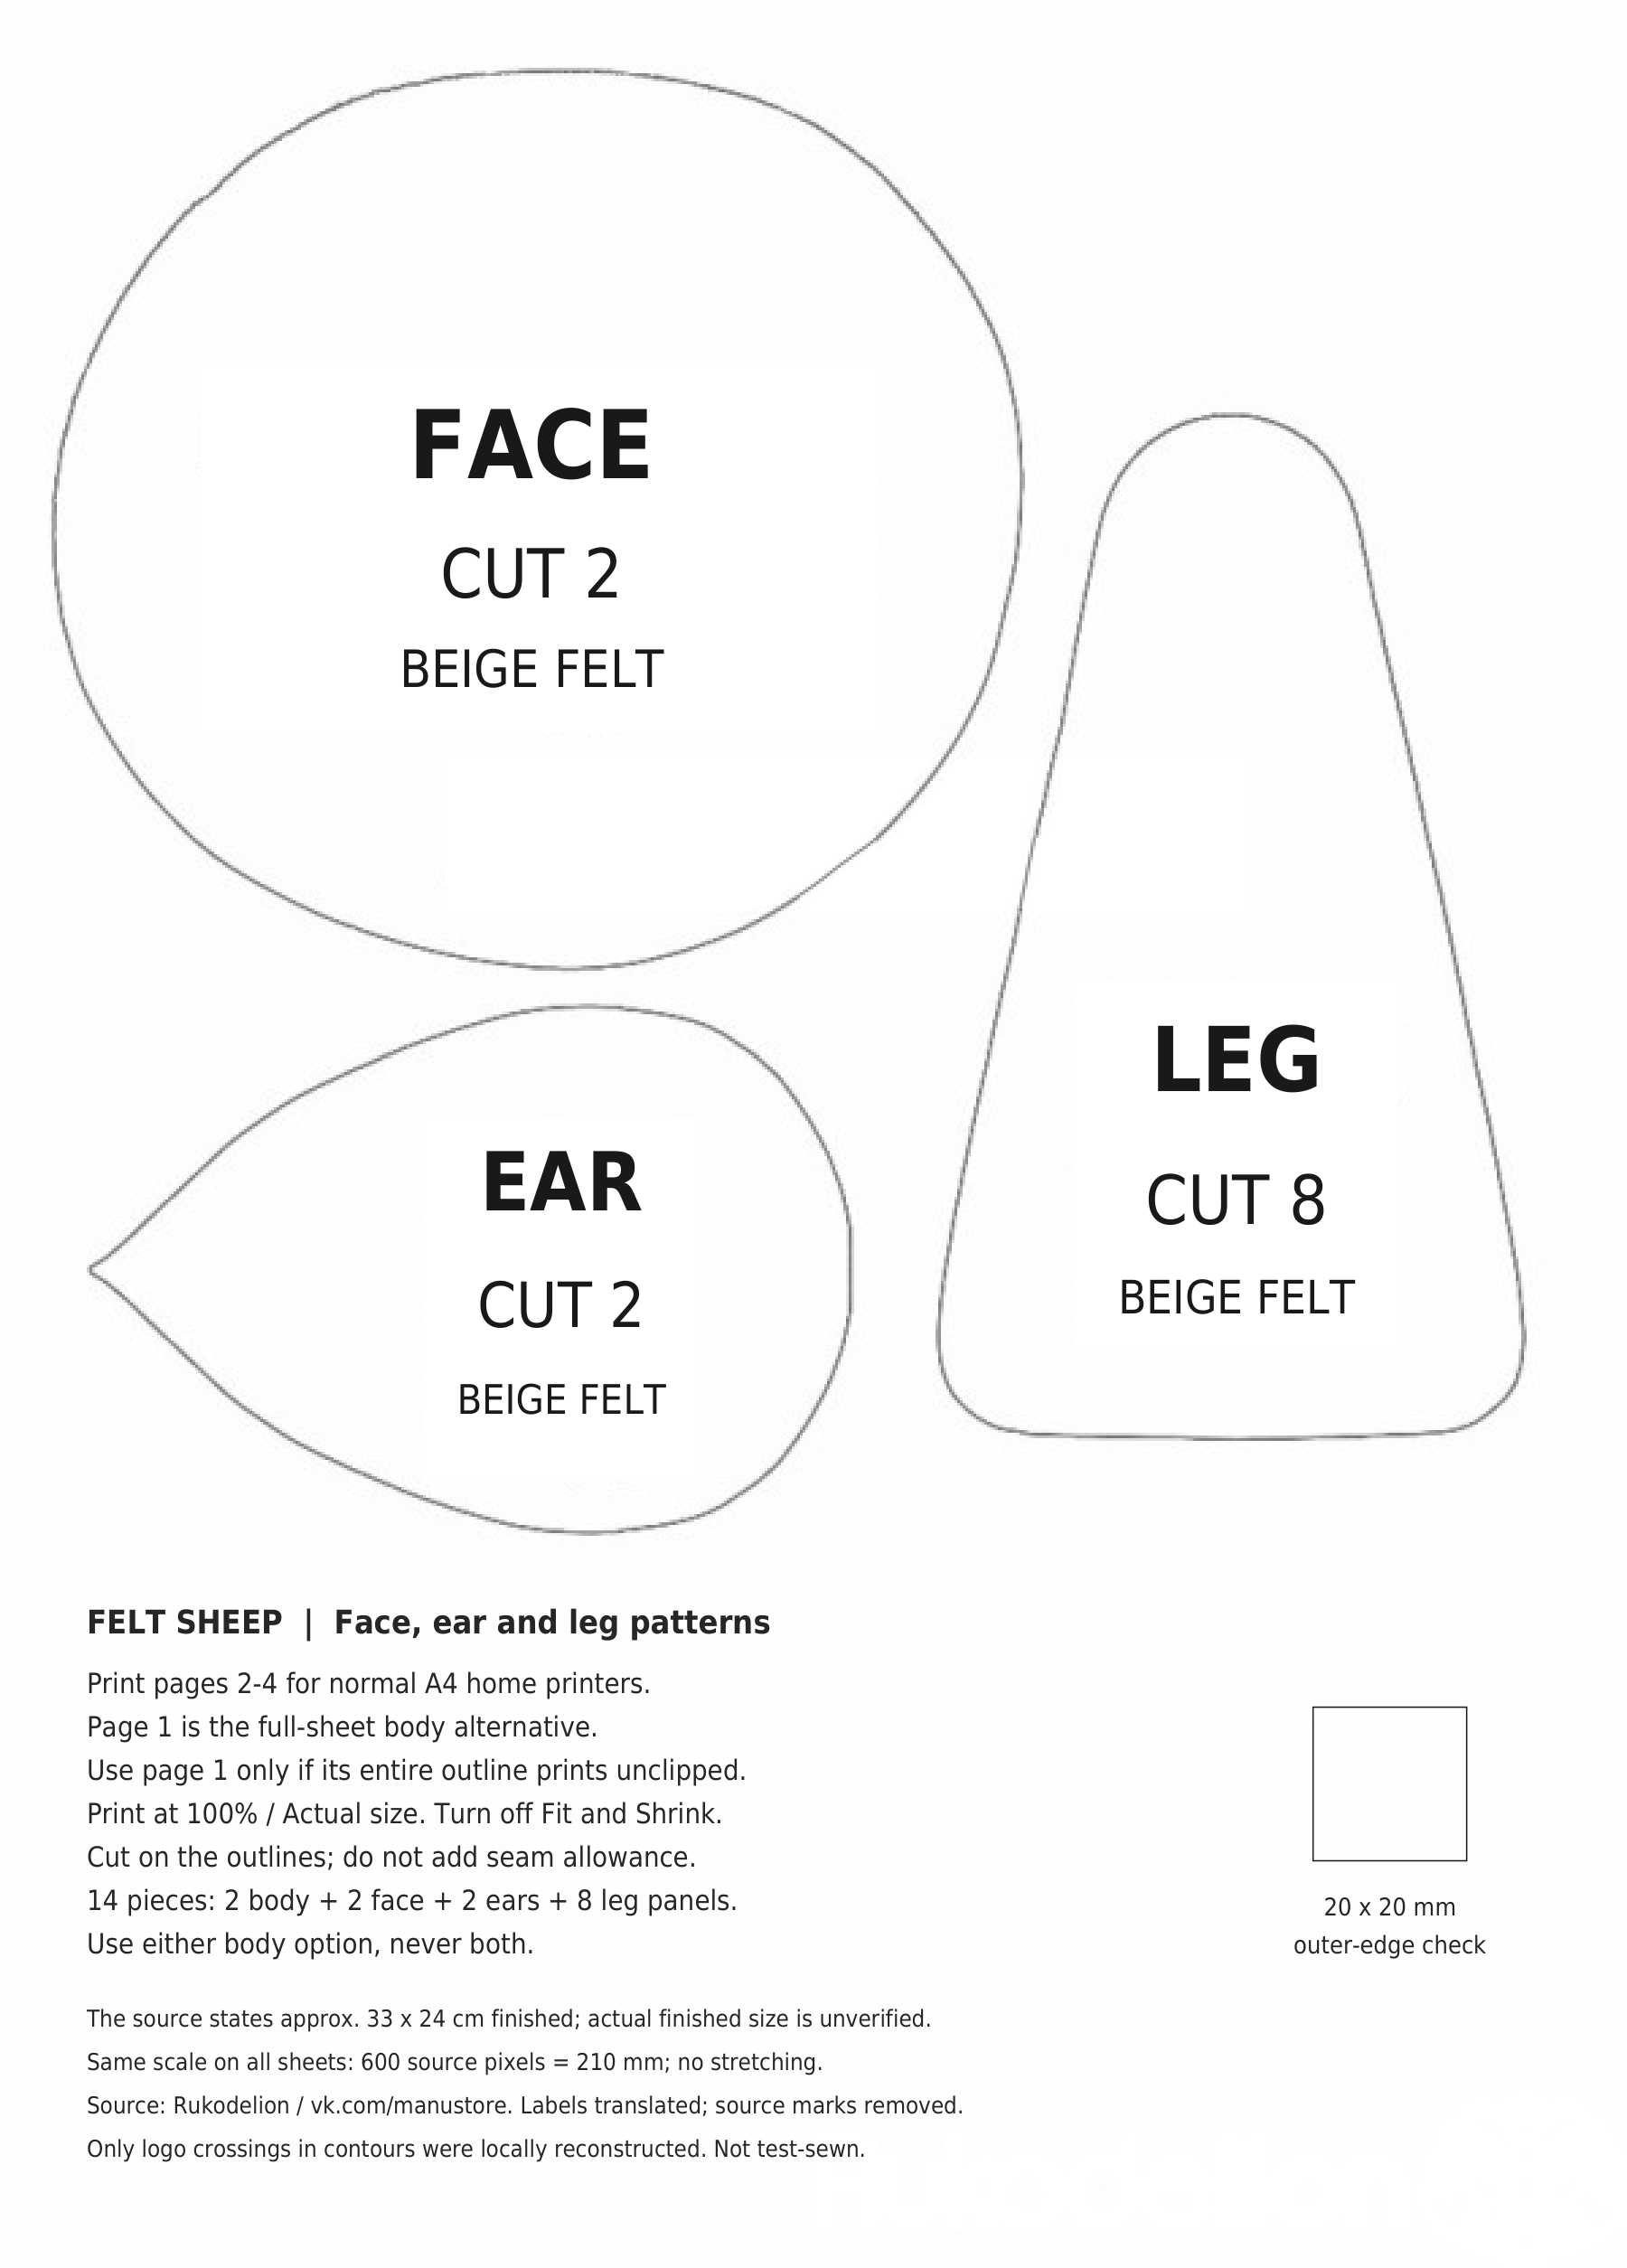
The free PDF contains four A4 pages. For a normal home printer, print pages 2–4: page 2 has the face, ear, and leg templates plus instructions, while pages 3–4 form the body from overlapping tiles. Follow the supplied directions to join the body tiles. Page 1 offers the same body outline on a single sheet, close to the paper edges. Use pages 1–2 instead only if your printer can reproduce that whole outline without clipping it; you do not need both body versions.
Print at Actual Size or 100%, with Fit to Page turned off, and keep all pieces at the same scale. The previews below show the two original template sheets so you can identify every shape. The original tutorial describes a finished sheep approximately 33 cm wide and 24 cm tall; treat those measurements as a source reference rather than a guaranteed finished size.
Download the English felt sheep pattern PDF.
Cut the Felt Pieces
Step 2 Trace the Templates
Lay the paper templates on the felt and trace around them with a disappearing fabric marker. Leave enough room between shapes to cut cleanly. If your felt has a noticeably different front and back, turn the templates over for the opposite-facing pieces so the finished sides can face outward.

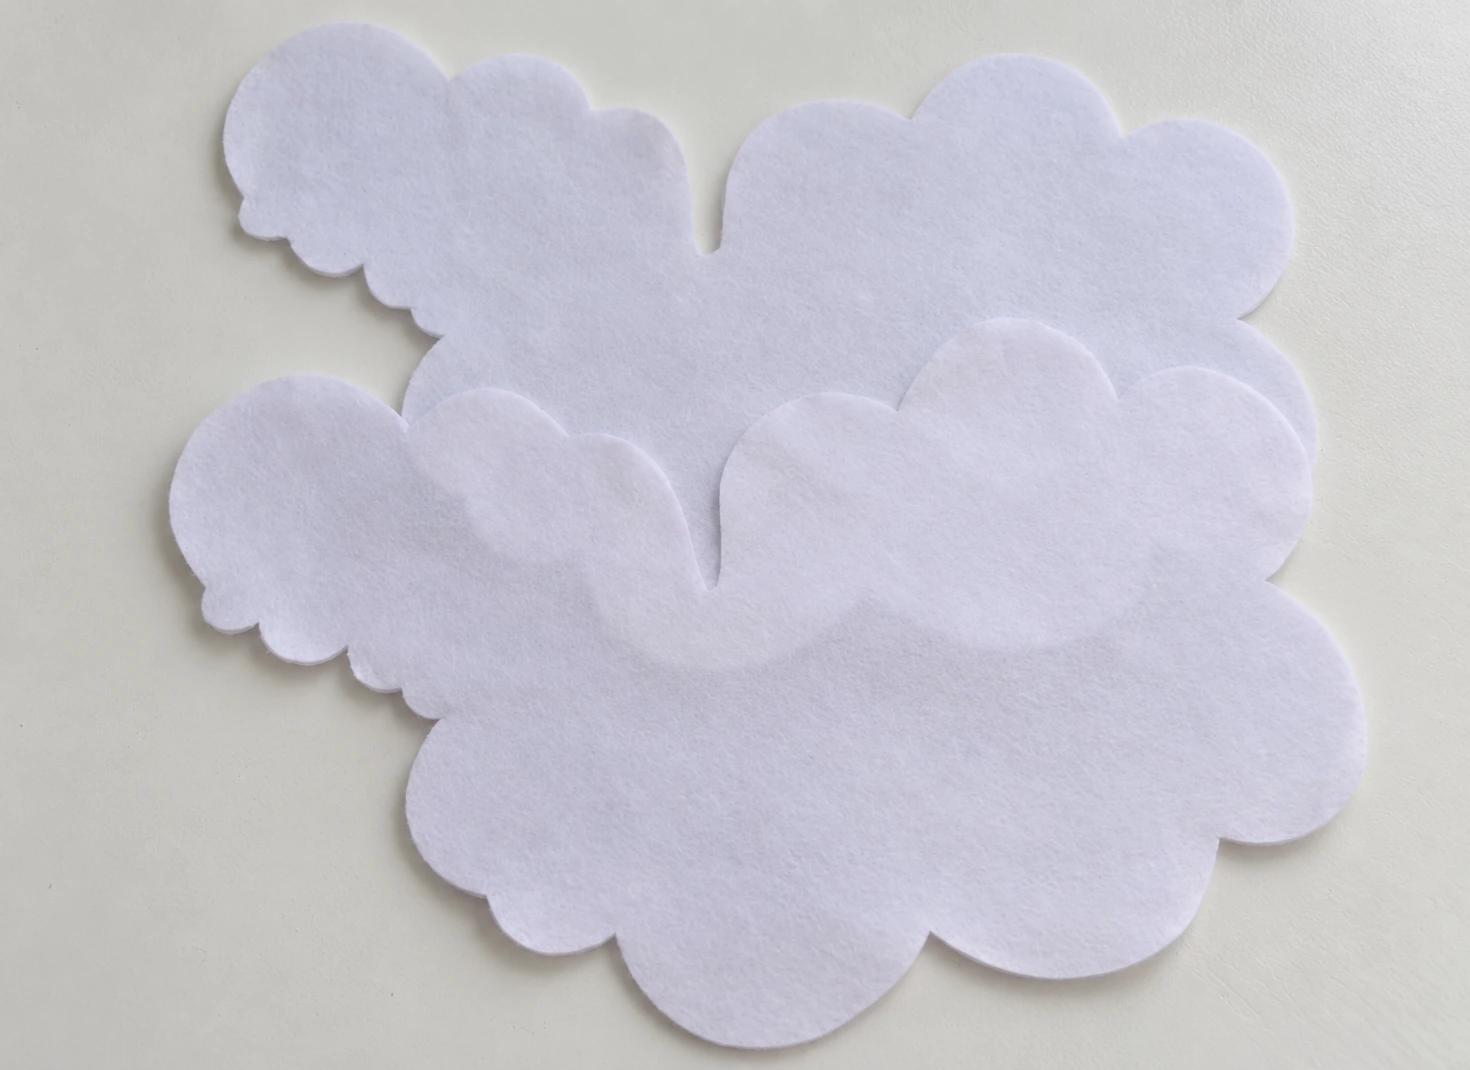
Step 3 Cut Two White Bodies
Cut two matching body pieces from white felt, following the scalloped outline carefully. Keep the little curves smooth rather than making deep snips into the valleys. Lay the pieces together afterward and check that their edges match.
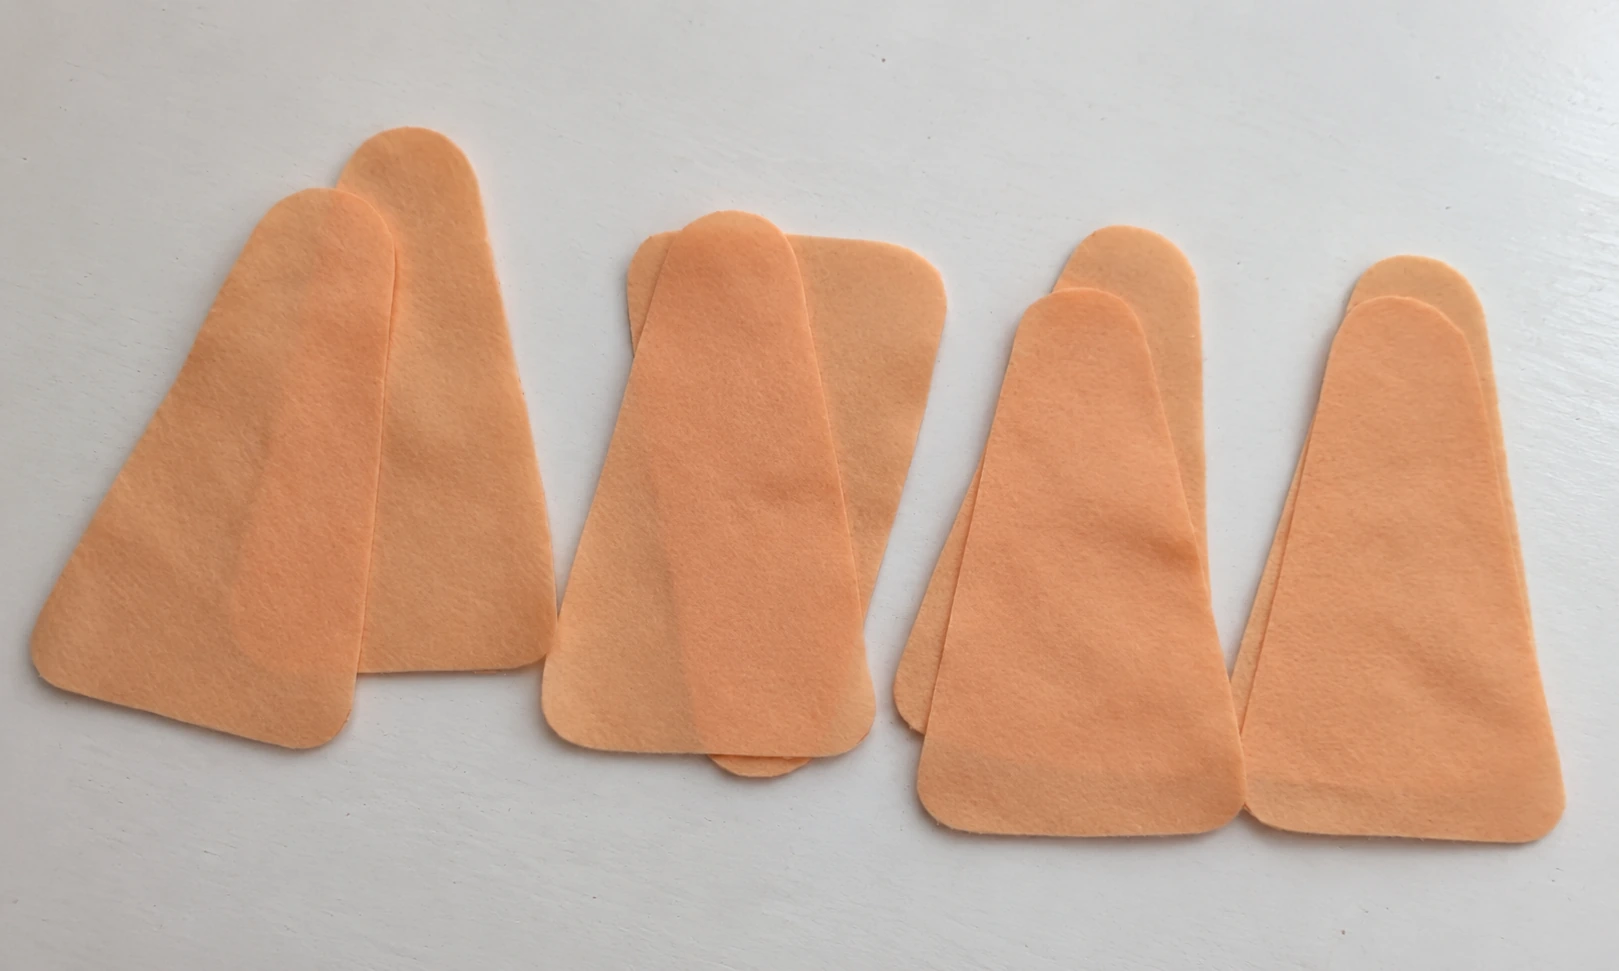
Step 4 Cut Eight Leg Panels
Cut eight leg panels from beige felt. Each finished leg needs two panels, so you’ll eventually have four softly stuffed legs. Keep the rounded tops and wider lower ends consistent across the pieces.
Step 5 Cut the Faces and Ears
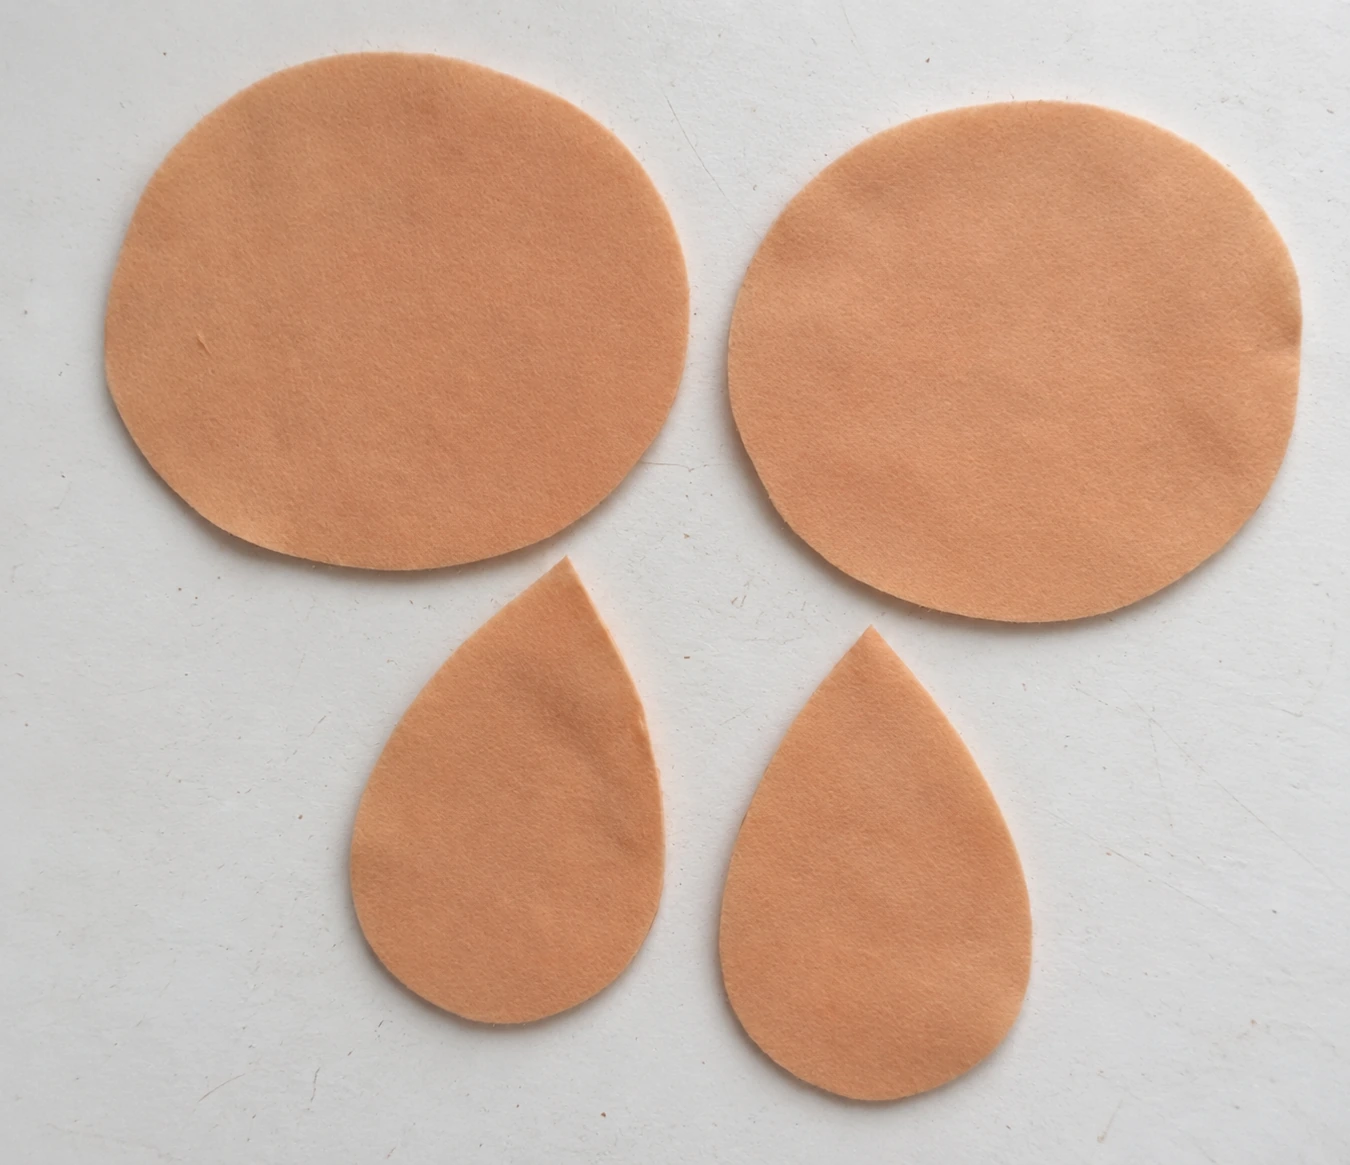
Cut two beige face pieces and two beige ear pieces. The ears are single shapes that will be folded later; they do not need a second backing layer. You should now have fourteen felt pieces altogether.
Position and Embroider the Face
Step 6 Set Out the First Body
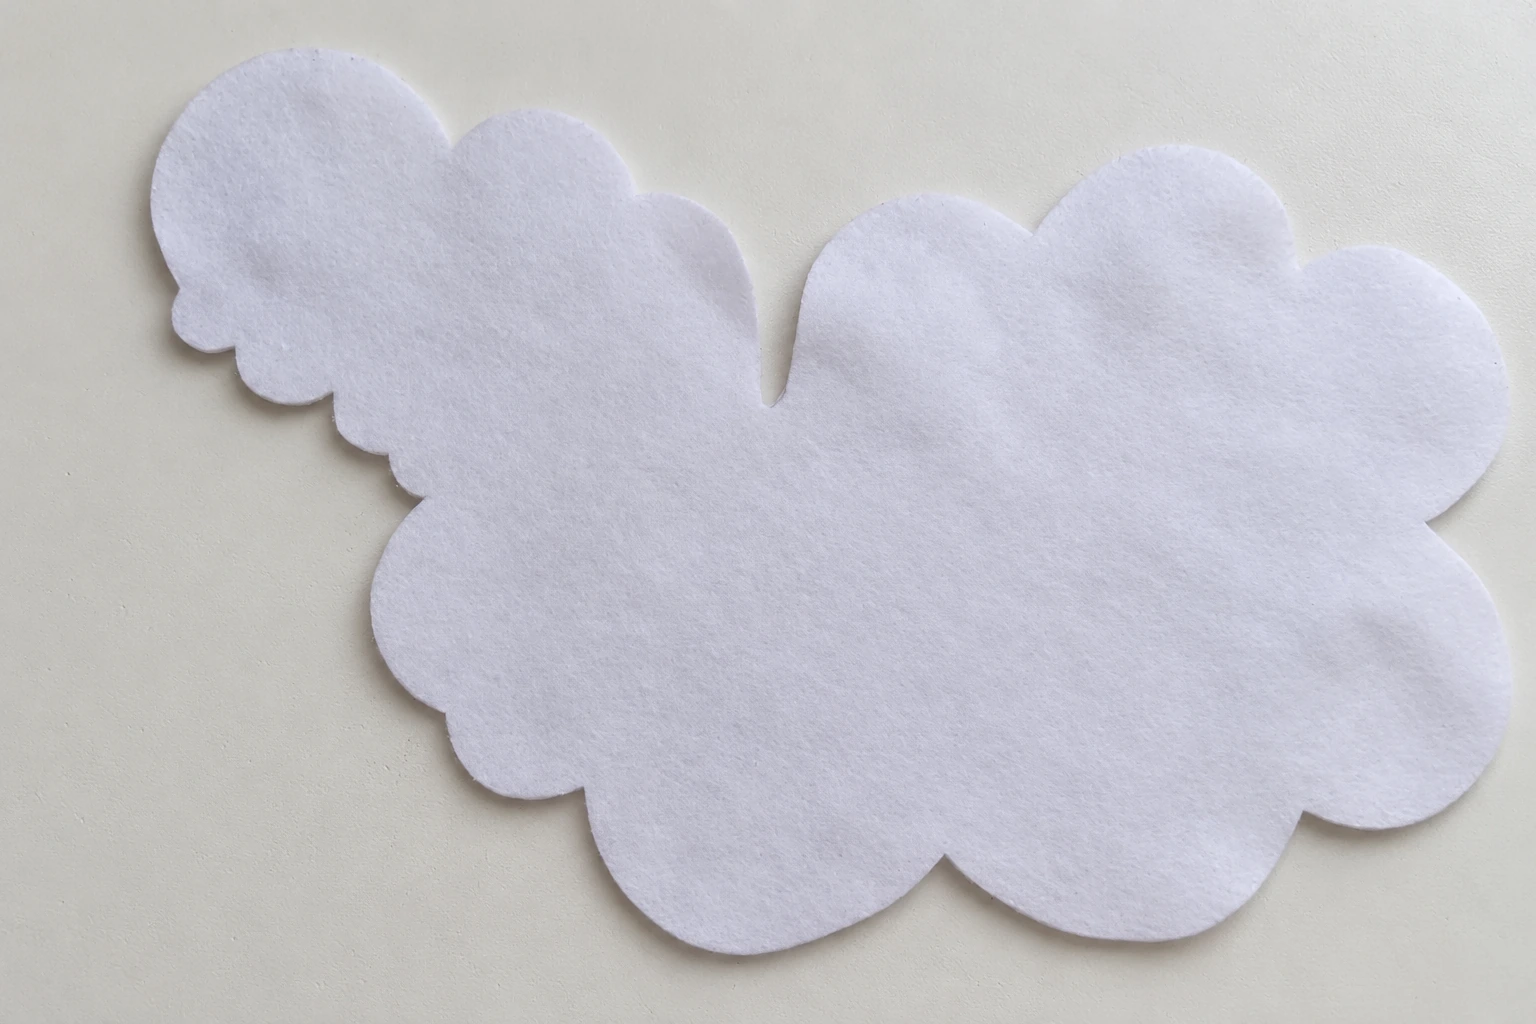
Place one white body piece flat on your work surface. Arrange it as shown in the photo so you can clearly see where the beige face will extend beyond the white head opening. Keep the felt relaxed and smooth.
Step 7 Position the First Face
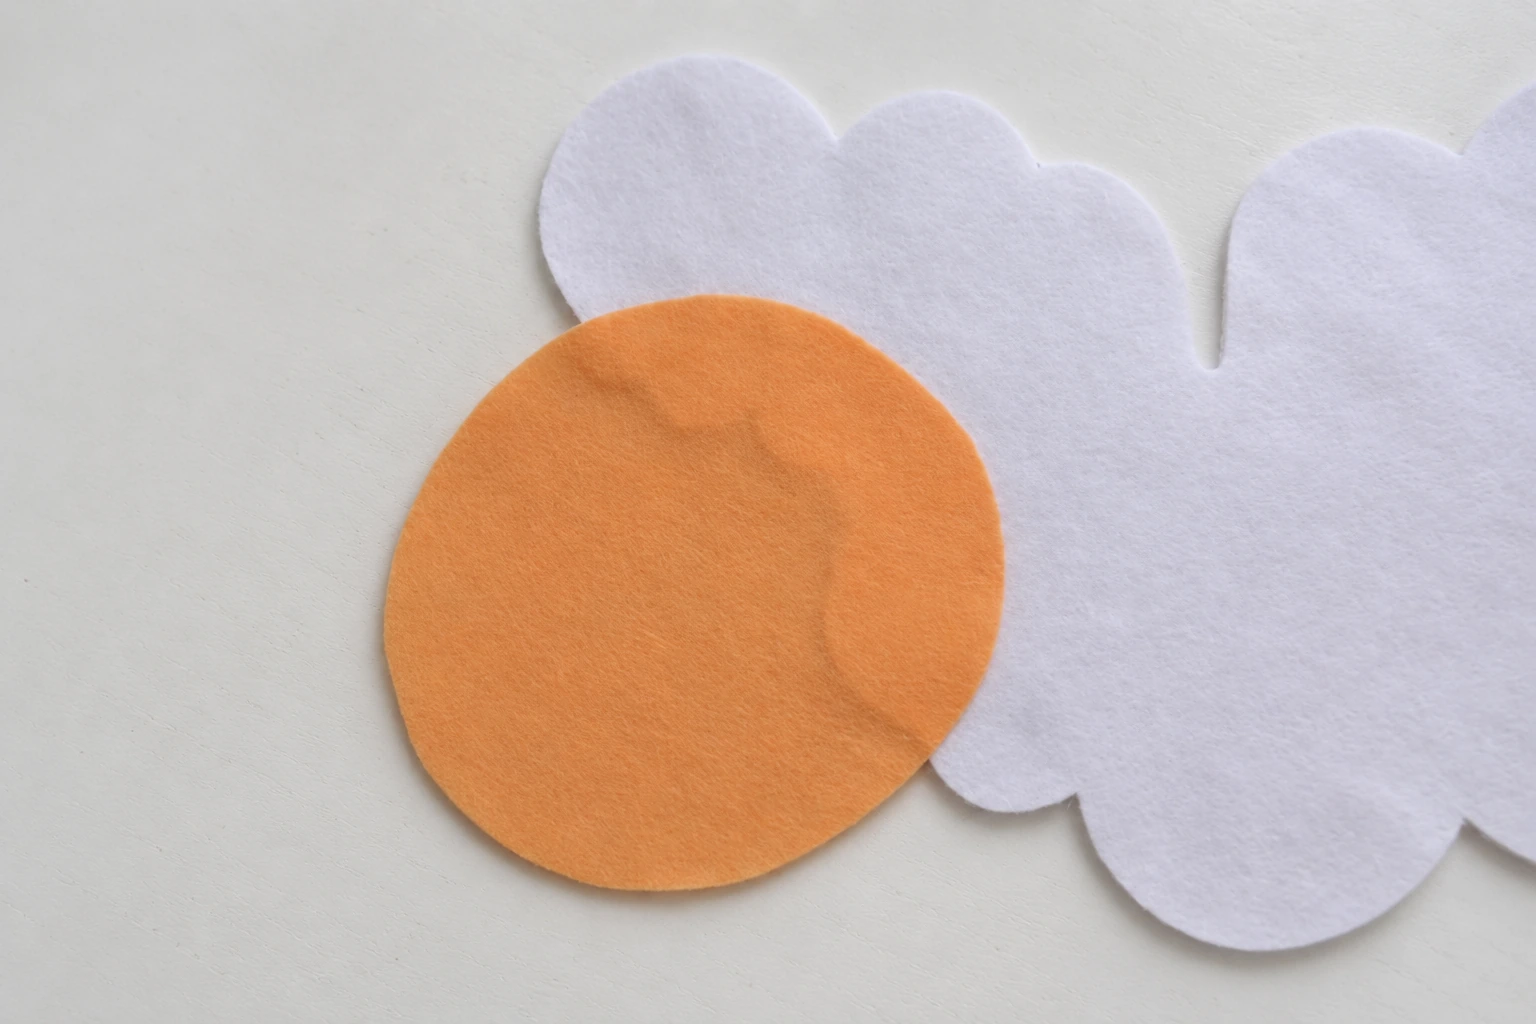
Lay one beige face piece on top of the head area of the first white body, checking its position against the photo. Hold the two pieces together with pins, a few temporary basting stitches, or tiny dots of textile glue. If using glue, follow its drying instructions before sewing.
Step 8 Add the Second Face Temporarily
Place the second beige face directly over the first, matching their outer edges. This temporary stack helps the two faces sit in exactly the same place on opposite sides of the finished sheep. Don’t sew the face pieces to one another yet.

Step 9 Align the Second Body
Put the second white body on top, matching it to the first white body underneath. Your stack is now white body, beige face, beige face, white body. Secure the upper face to the upper body, then separate the stack into two body-and-face assemblies. This little alignment check prevents the two sides from fighting each other when you sew the outer seam.
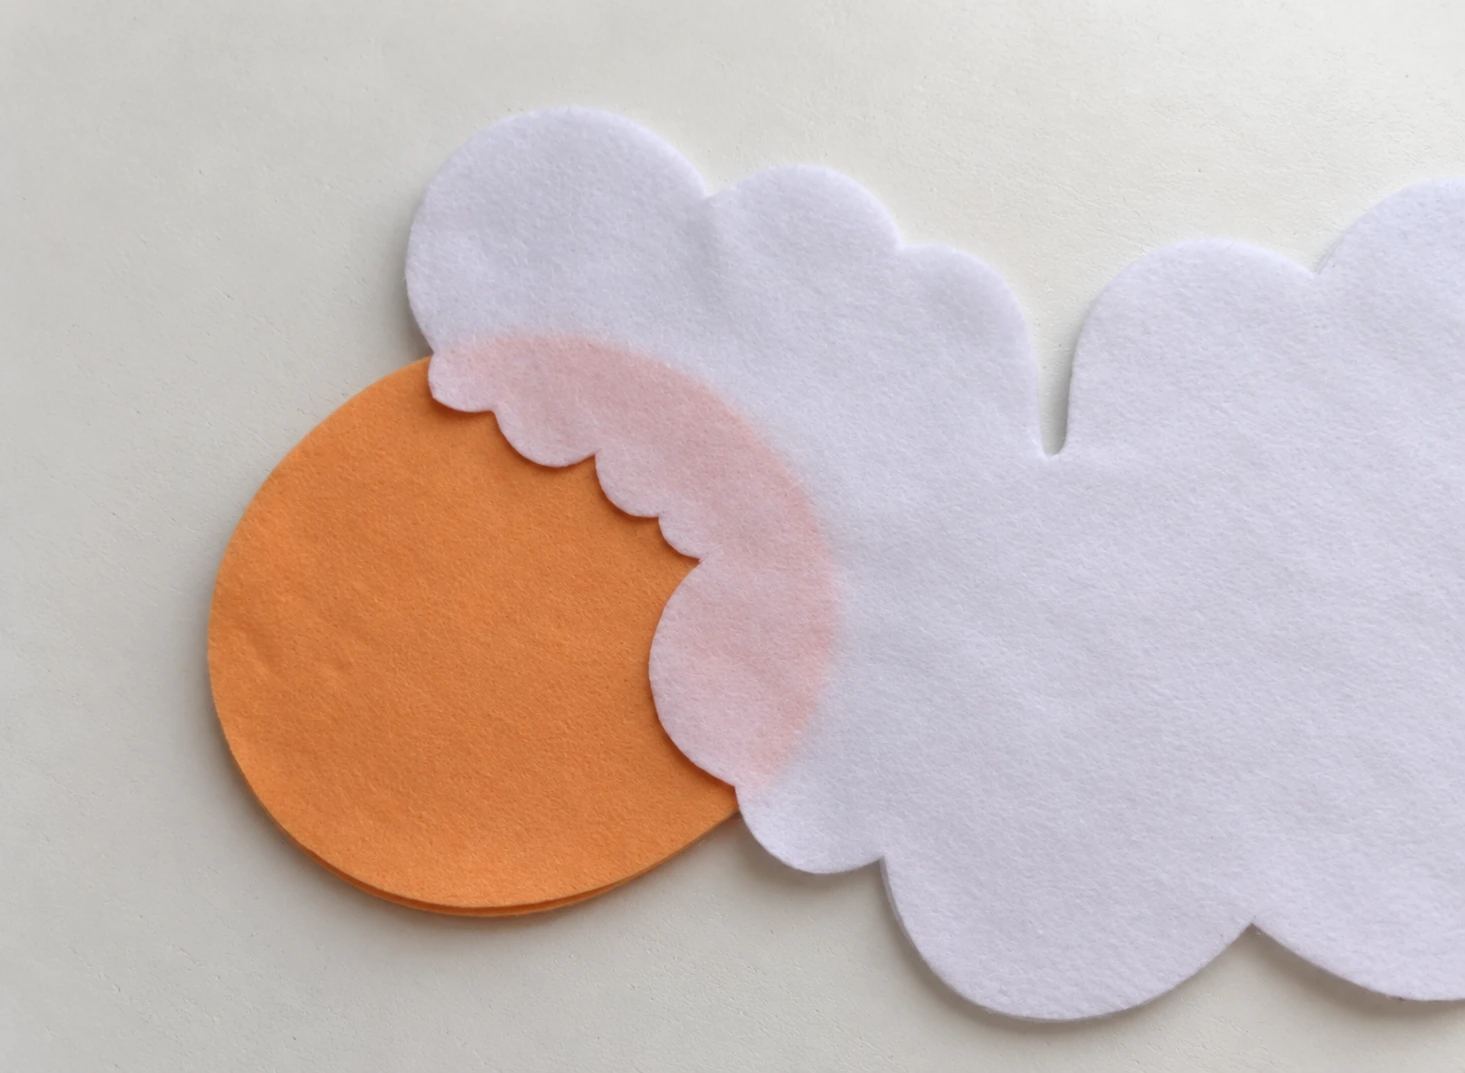
Step 10 Sew the First Face in Place
Turn the separated assembly so the scalloped white edge is uppermost. With white thread, backstitch along that edge where it overlaps the beige face. Take small stitches through both layers without pulling them tight enough to pucker. In backstitch, each new stitch returns to the end of the previous one, creating a continuous line.

Step 11 Sew the Other Face
Repeat the same seam on the second body-and-face assembly. Keep the stitching equally close to the white edge on both sides. Lay the assemblies together again briefly to make sure the face outlines still meet neatly.
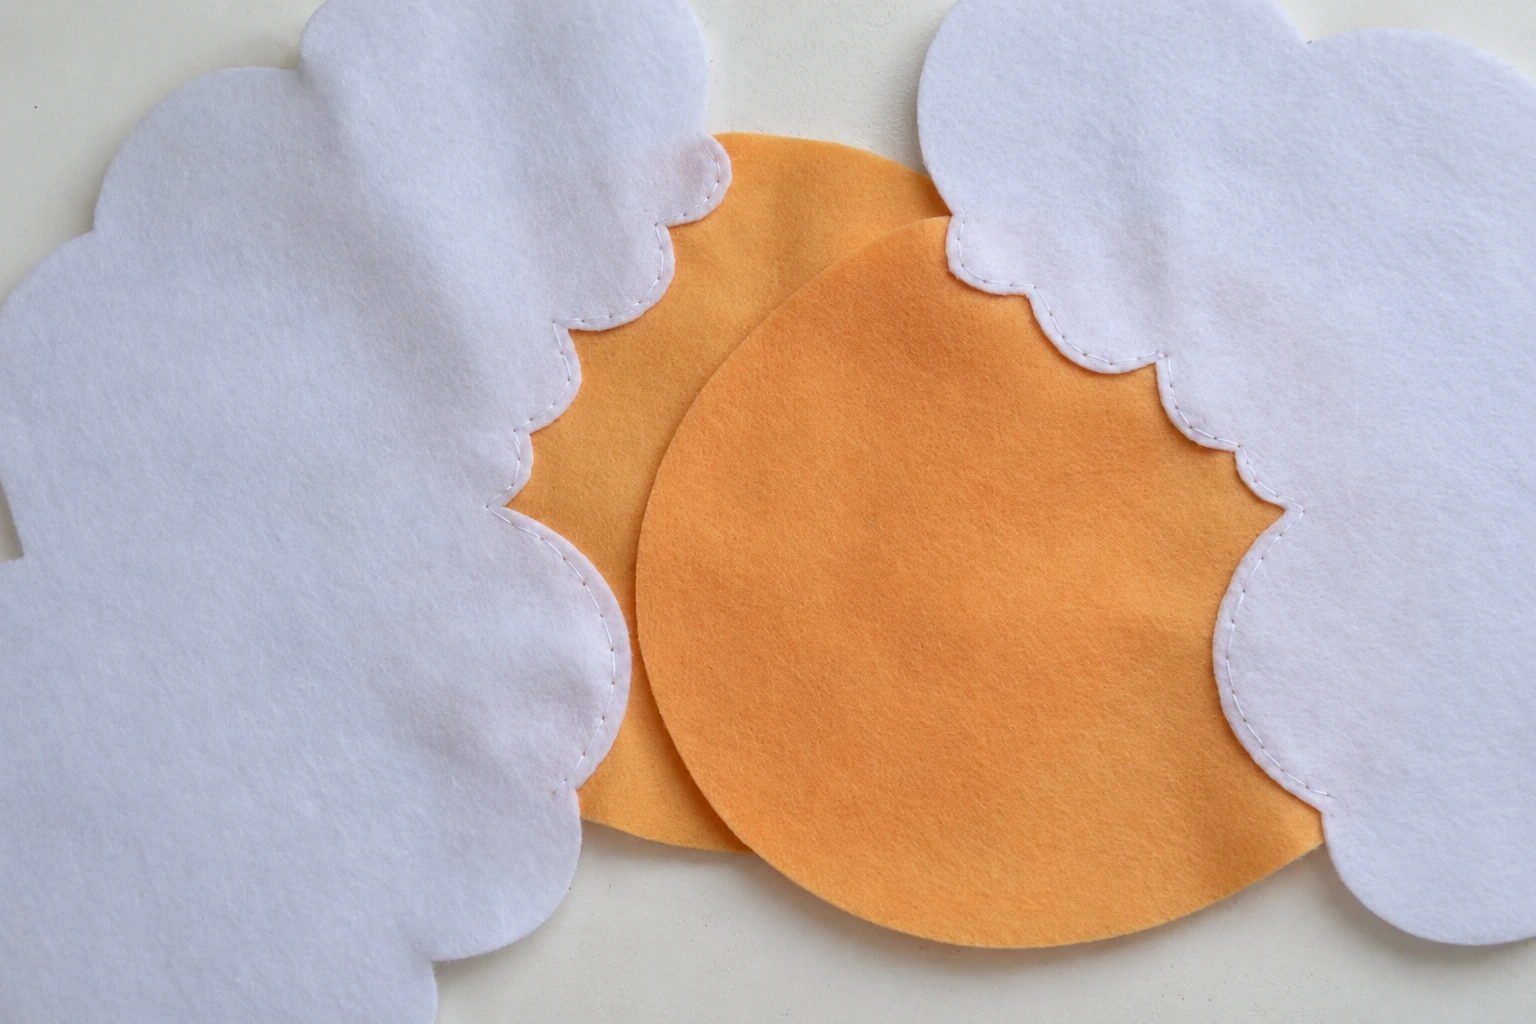
Step 12 Trim Hidden Beige Felt if Needed
Thin white felt can let the beige overlap show through. If this happens, turn each assembly over and carefully trim away excess beige felt behind the white section, close to the stitched line. Leave enough beige beside the stitching to hold securely. Cut only the hidden beige overlap, never the white felt or the seam itself. With opaque white felt, this trimming may be unnecessary.
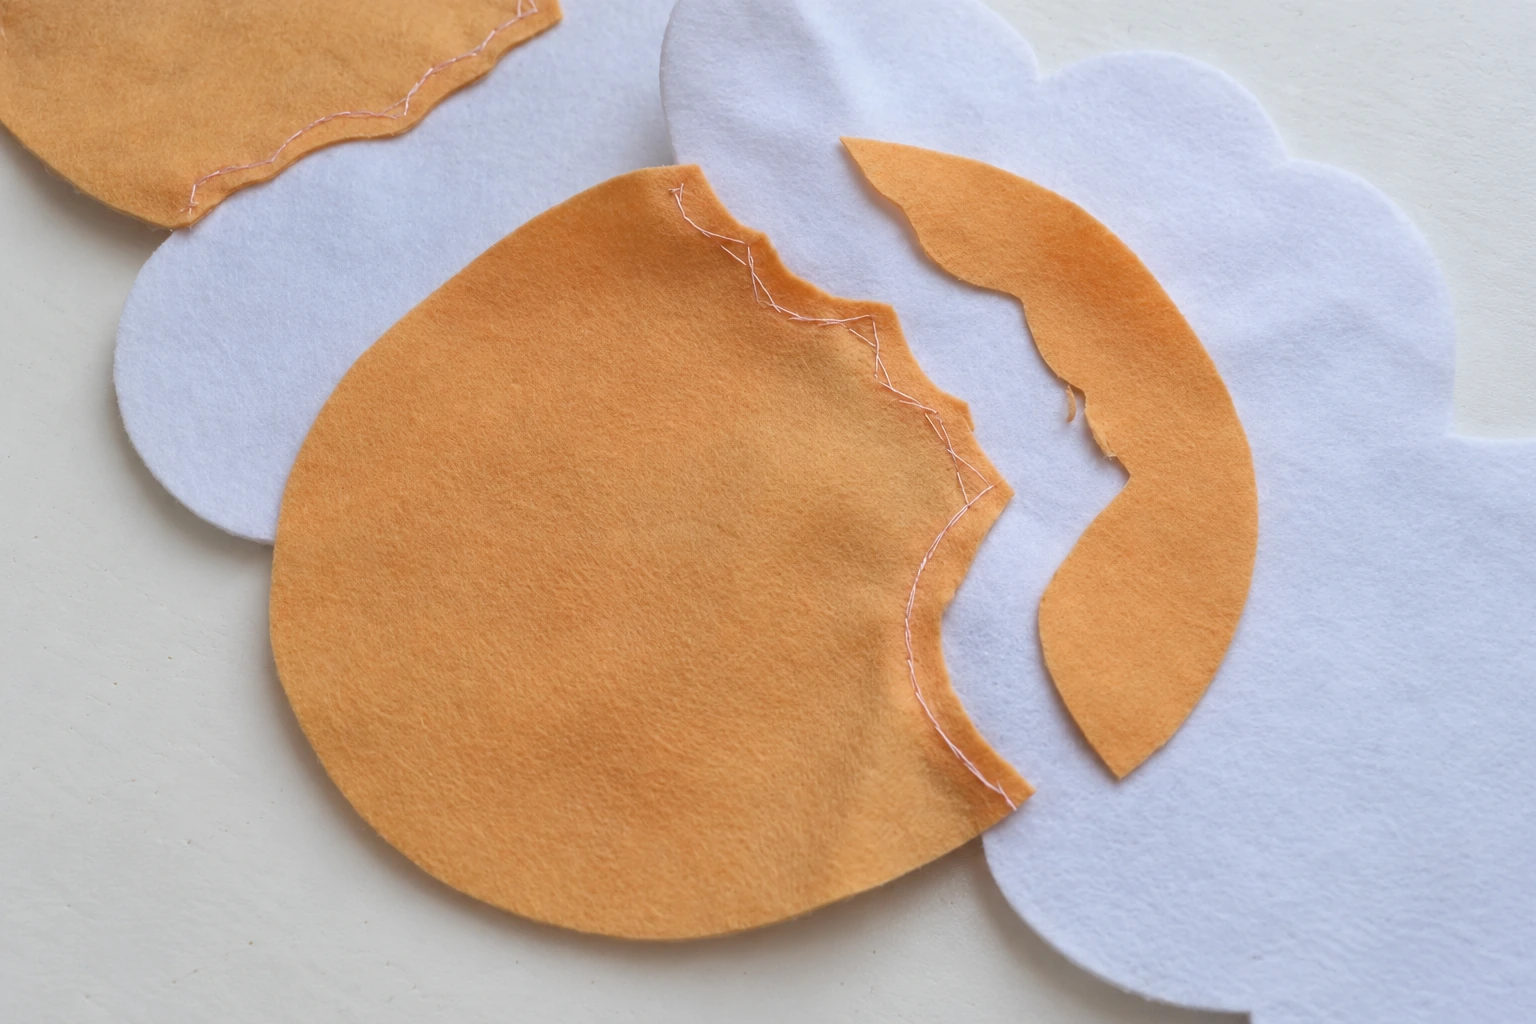
Step 13 Draw the First Eye
Use the disappearing marker to draw a small closed-eye curve on one beige face. Compare its position with the photograph and leave space above it for the folded ear. A simple curve gives the sheep its peaceful expression.

Step 14 Embroider the Eye
Thread the needle with doubled black sewing thread and backstitch over the marked curve. Use short stitches to keep the curve smooth, especially near its ends. Secure the thread on the reverse, where the knot will be hidden inside the sheep.
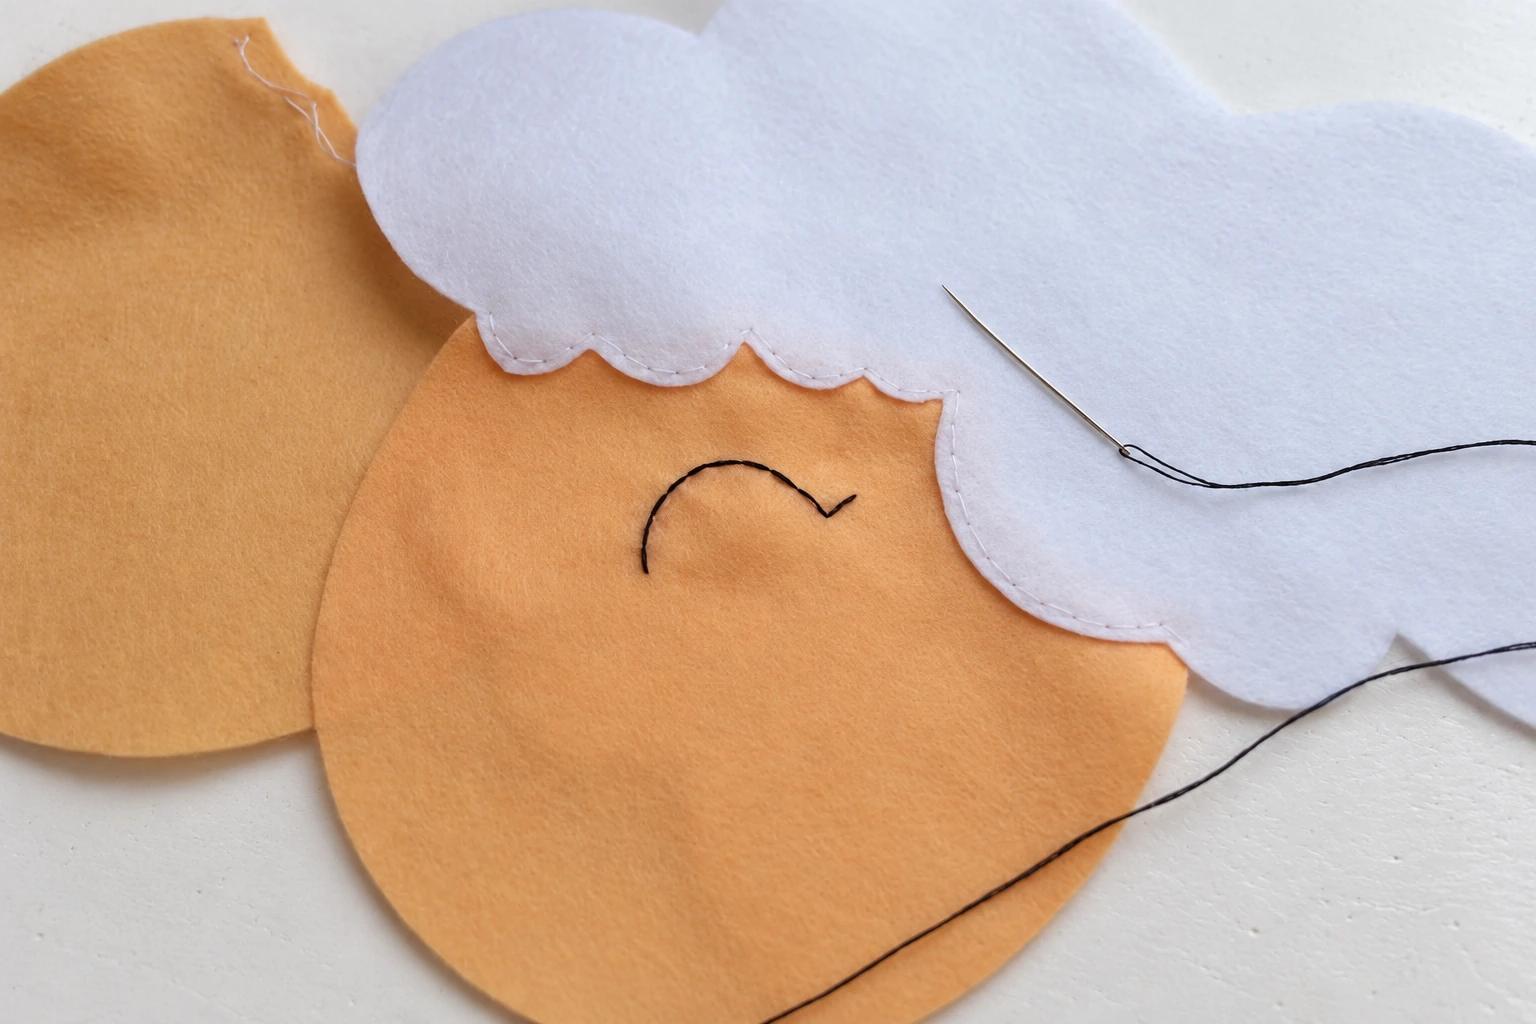
Step 15 Match the Eye on the Other Side
Draw and embroider the second eye at the same height and distance from the face edge. Remember that the faces look in opposite directions when laid side by side, so the placement should be mirrored. Check the two sides together before stitching the second eye permanently.

Sew and Stuff the Body
Step 16 Bring the Body Sides Together
Place the two completed sides together with their wrong sides facing inward and the embroidered eyes facing out. Match the beige face edges and the white scallops. Pin or lightly baste the layers if they tend to slide.

Step 17 Sew Around the Beige Face
Using beige thread, blanket stitch around the exposed beige outer edge, joining the two face layers. For each blanket stitch, bring the needle through both layers and through the thread loop before gently tightening. Finish the beige section, secure the thread, and trim the end.
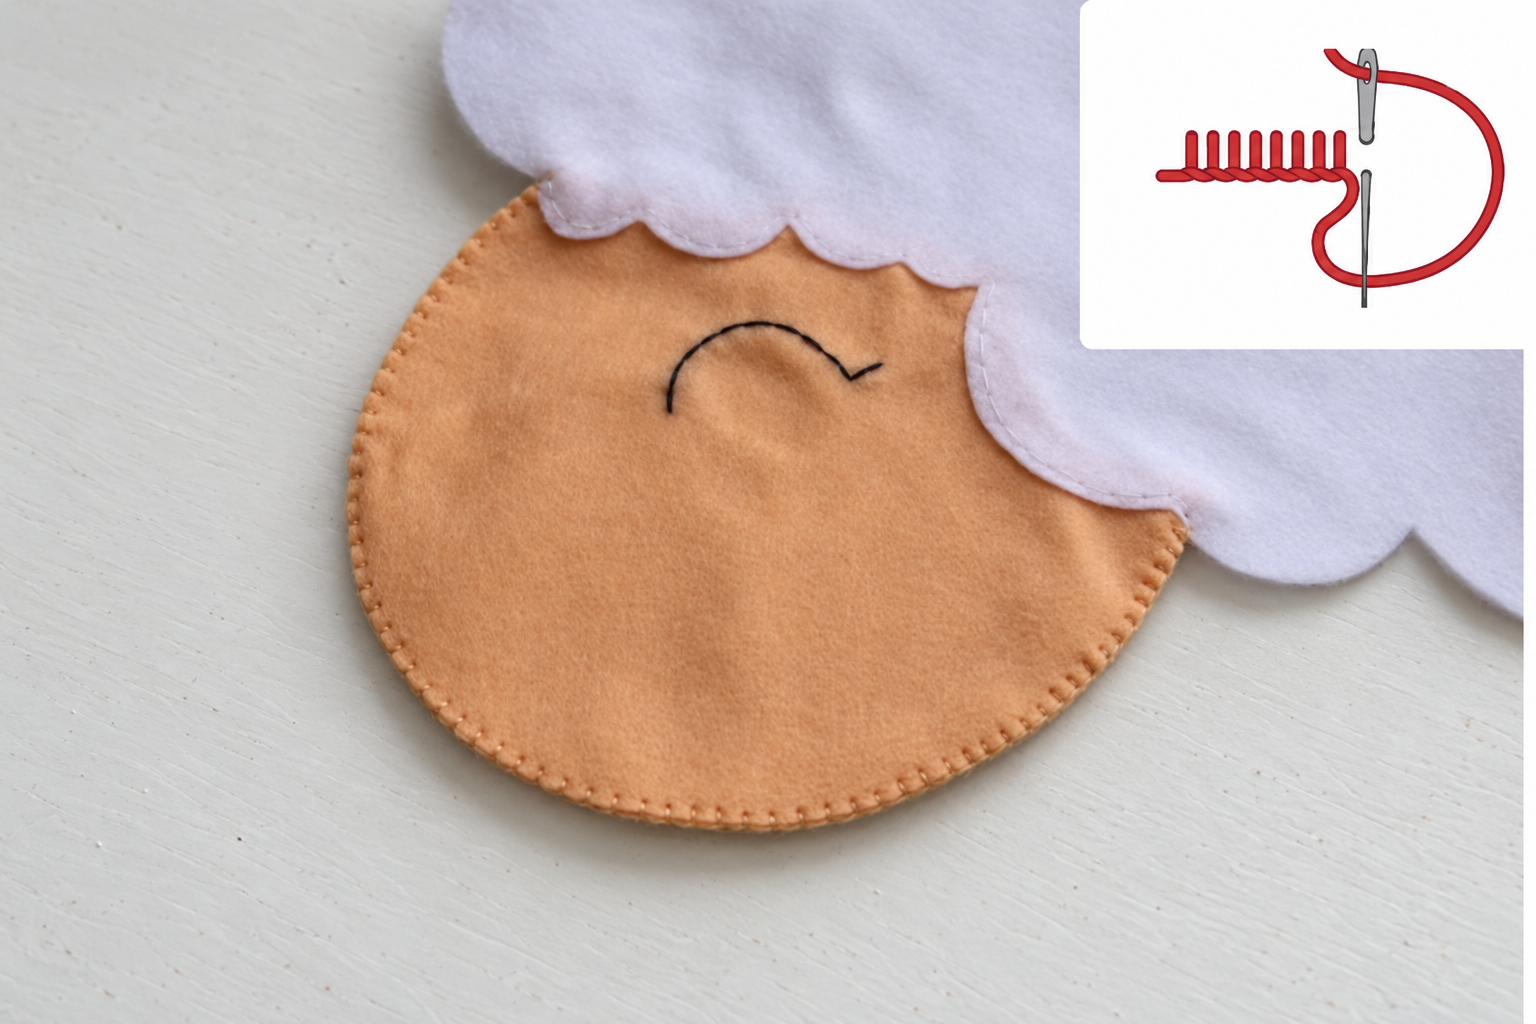
Step 18 Begin the White Body Seam
Change to white thread. Begin blanket stitching near the middle of the lower body and follow the outline clockwise, as in the source sequence. When you reach the already-sewn beige face, finish that run of white stitches and secure the thread.
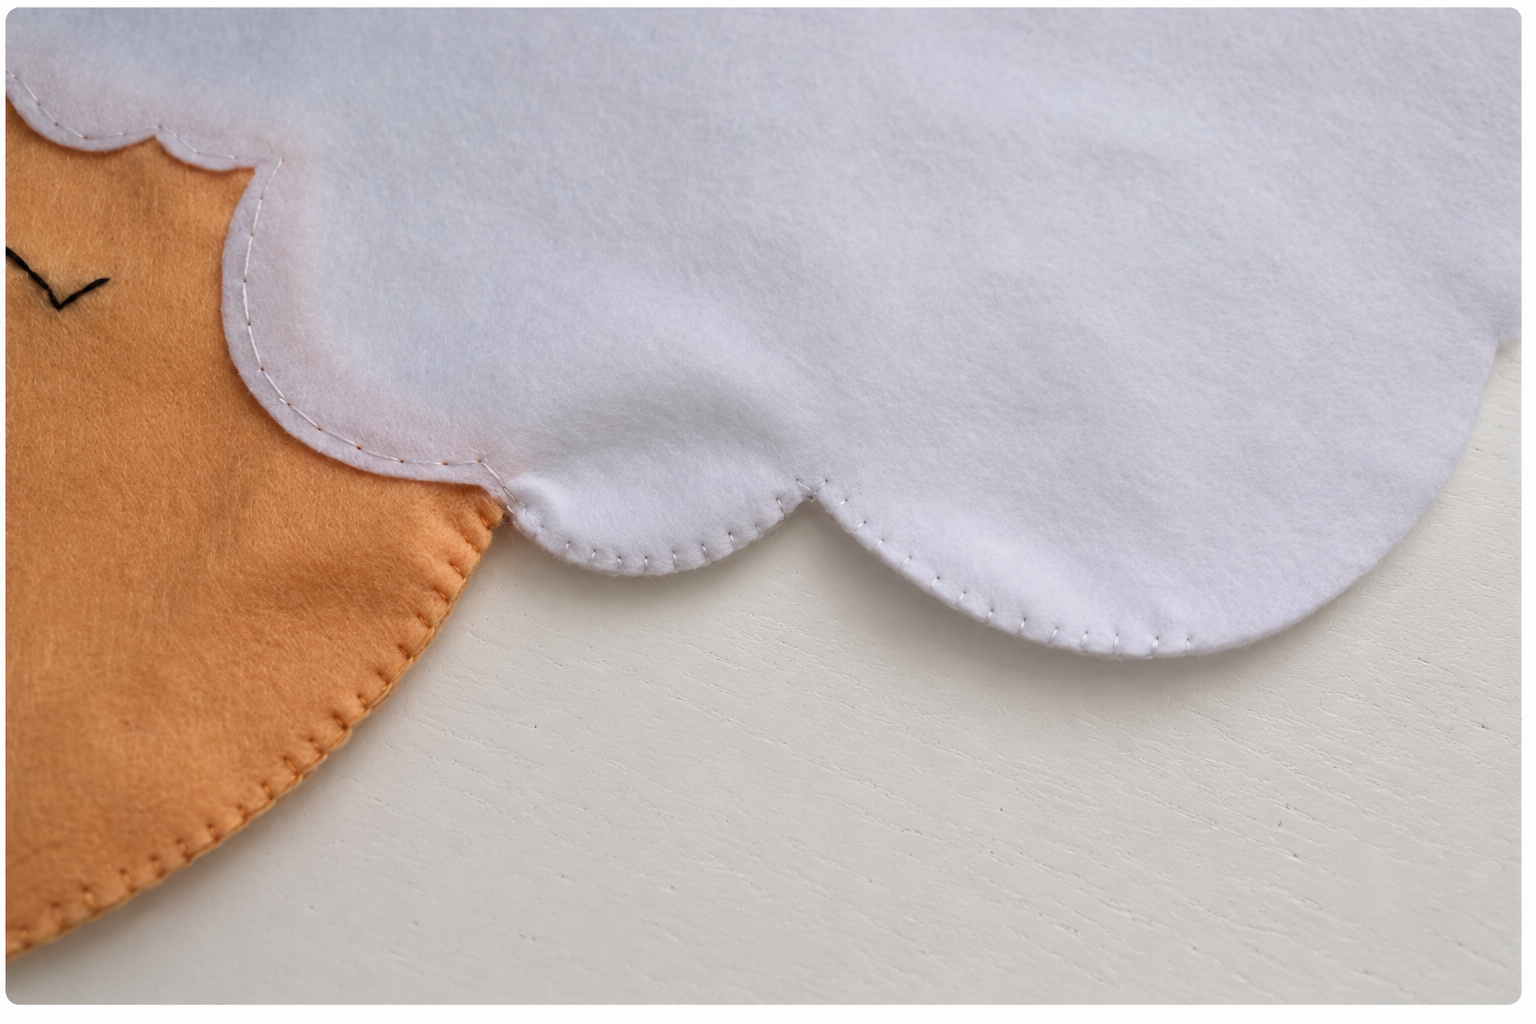
Step 19 Continue Beyond the Face
Restart the white blanket stitch on the other side of the beige section and continue clockwise around the white head. Take your time around the scallops, turning the sheep in your hands so both edges stay visible and aligned.
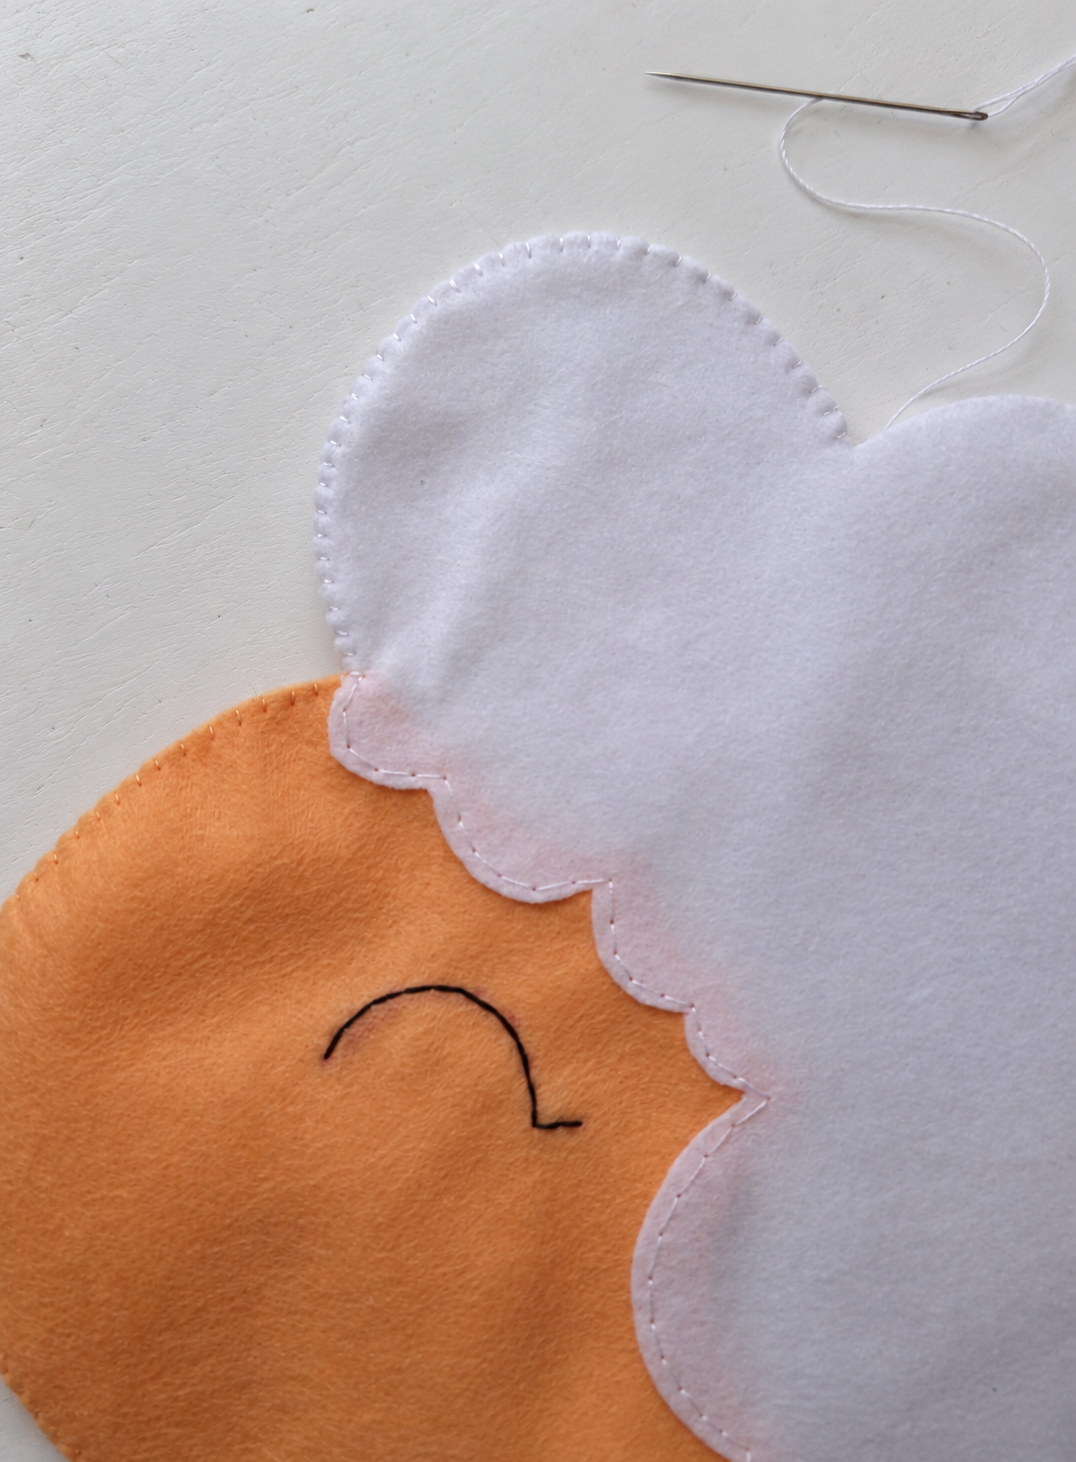
Step 20 Stuff the Face and Head
When the seam reaches the neck area, add small tufts of stuffing to the enclosed face and head. Distribute them gently so the face remains smooth and the white head scallops are softly filled. It’s easier to reach this section now than after nearly closing the body.
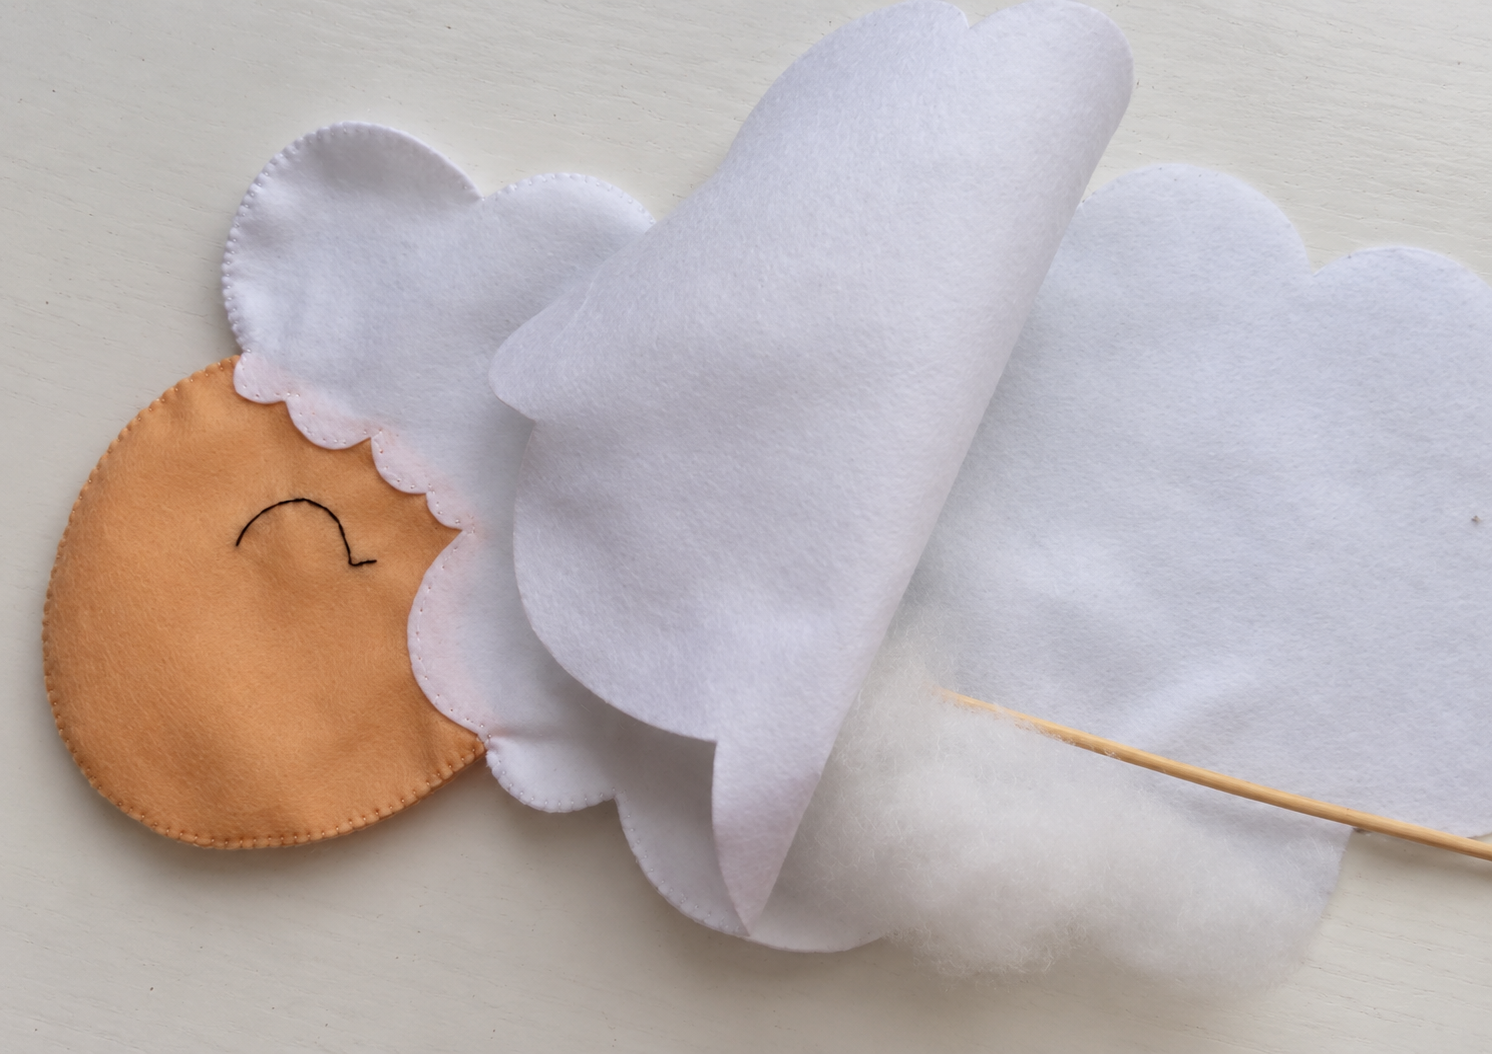
Step 21 Leave a Small Body Opening
Keep blanket stitching around the body until only a short gap remains before your starting point. The source leaves a couple of centimeters open. Leave enough space to add small tufts of filling without stretching the felt or pulling on the stitches.
Step 22 Fill the Body Gently
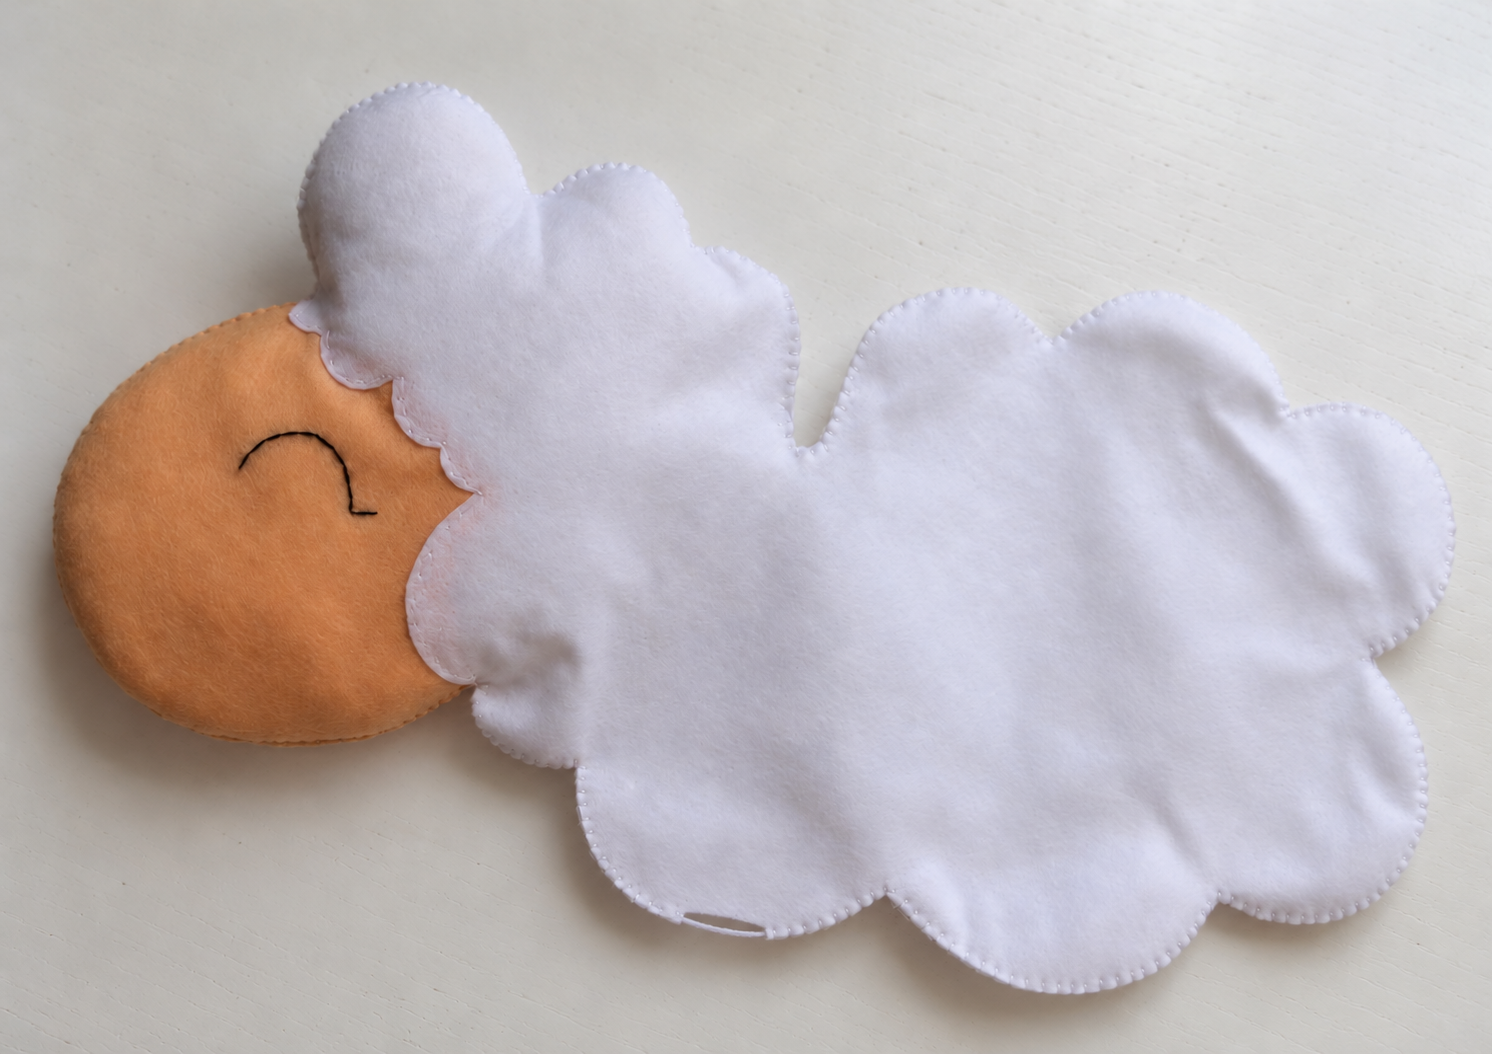
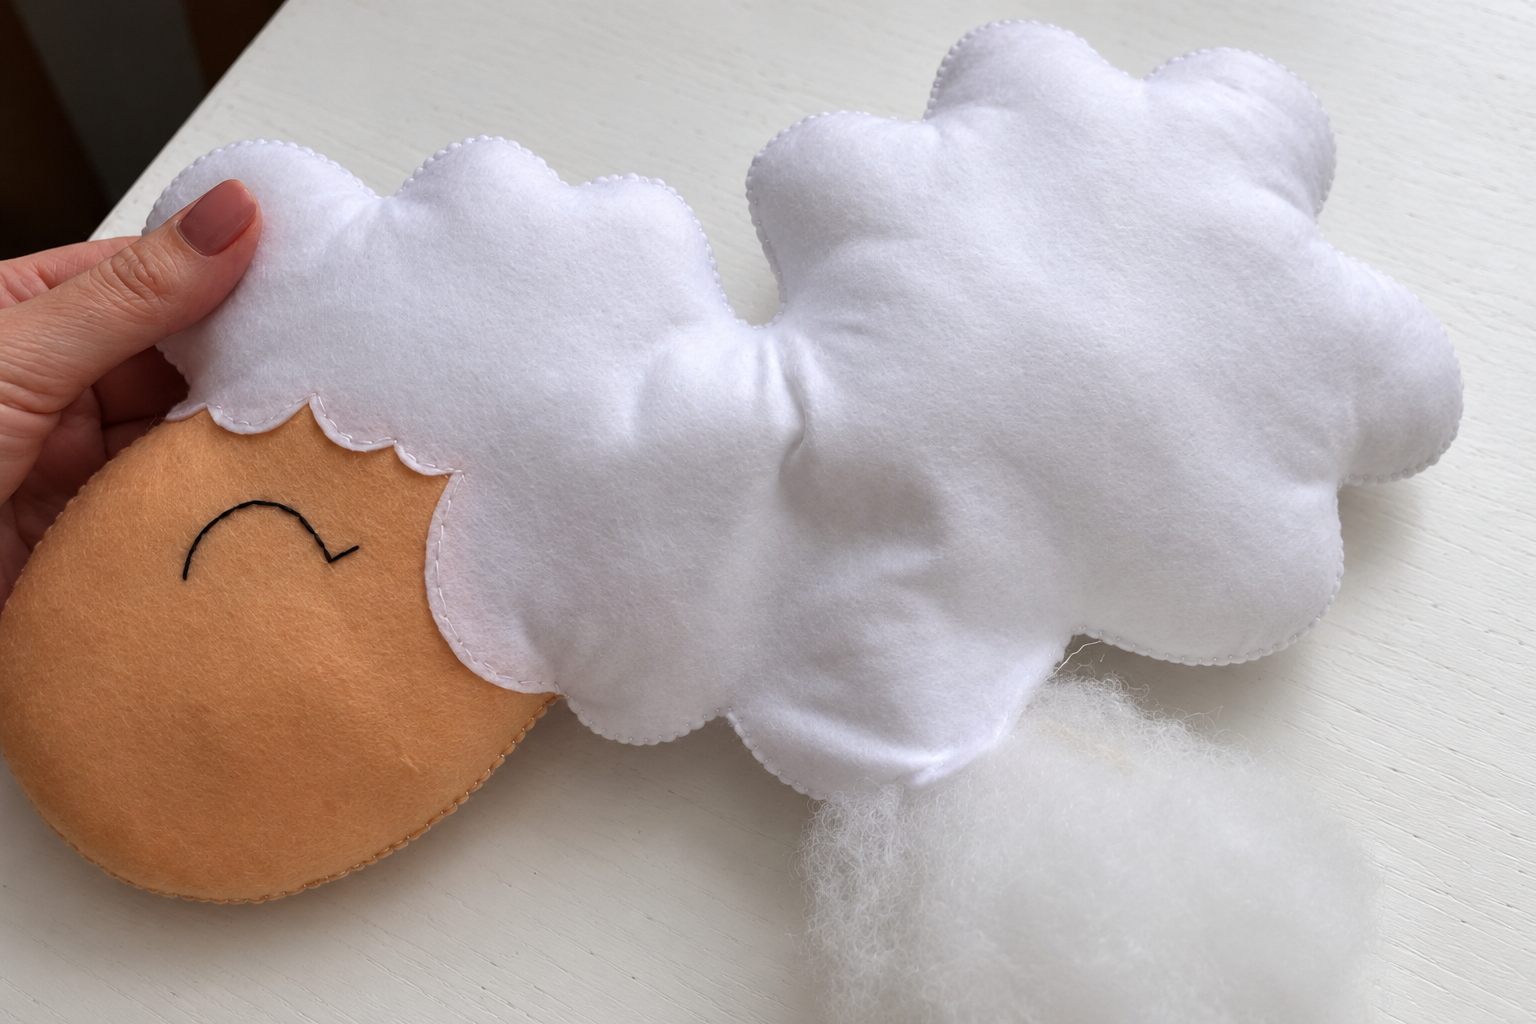
Add stuffing to the rest of the sheep a little at a time. Rest the body on the table and press it gently with your hand as you distribute the filling. The aim is a softly padded, fairly flat shape. Packing it into a round ball can distort the outline and create folds in the felt. Pay attention to the scalloped edges without forcing too much filling into them.
Step 23 Close the Body Seam
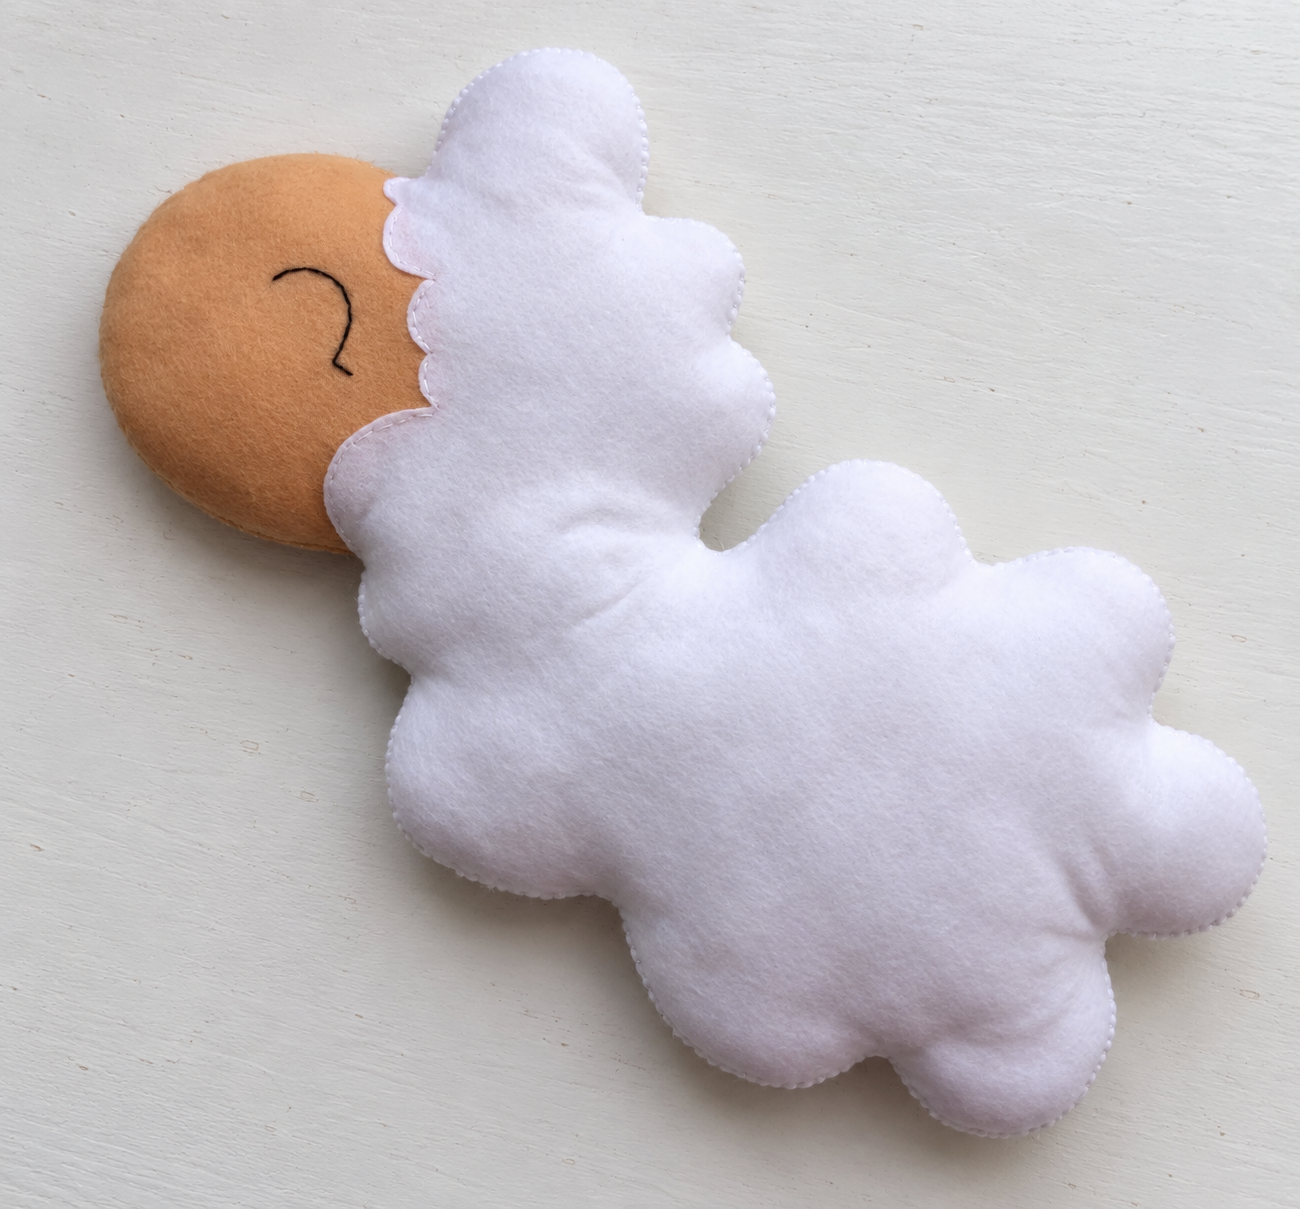
Check the shape from both sides, then finish the remaining blanket stitches. Secure the thread and hide its end inside the body before trimming. The head and body are now one completed piece, ready for the legs.
Make the Four Legs
Step 24 Pair the Leg Panels
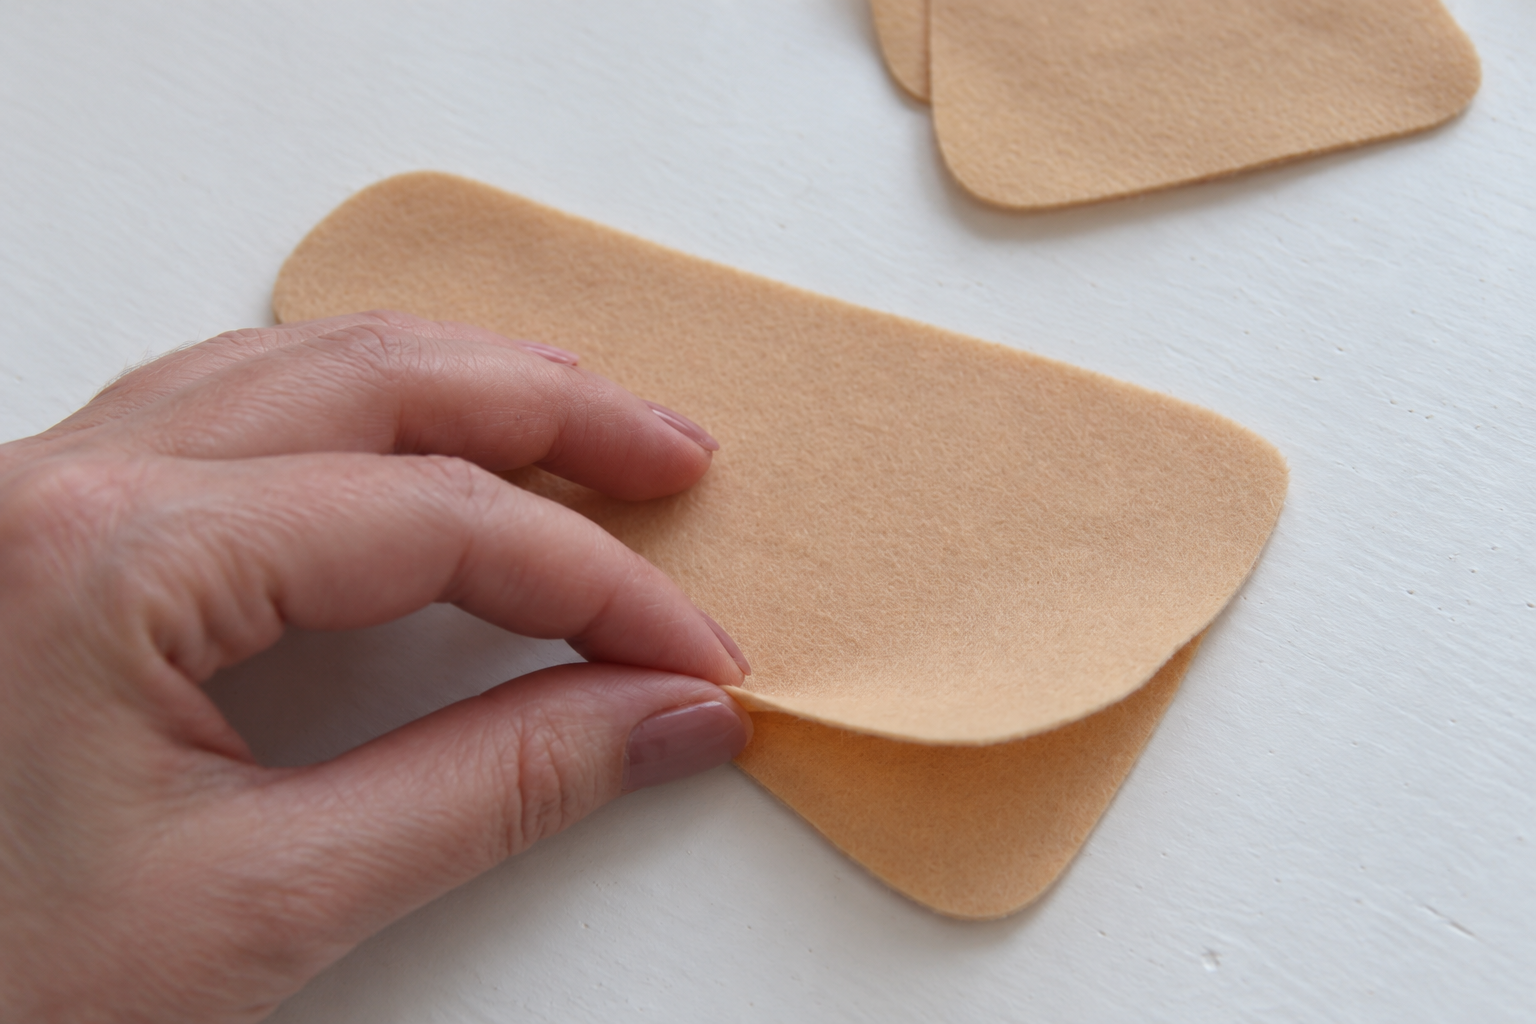
Arrange the eight beige leg panels into four matching pairs. Align the rounded upper ends and the wider lower edges of each pair. If the felt has a preferred face, keep that side outward.
Step 25 Sew the Leg Edges
Blanket stitch around each pair with beige thread, leaving a small opening for stuffing. Use an even tension that joins the edges without curling them inward. Keep the needle and thread attached while you add the filling if that feels easier.
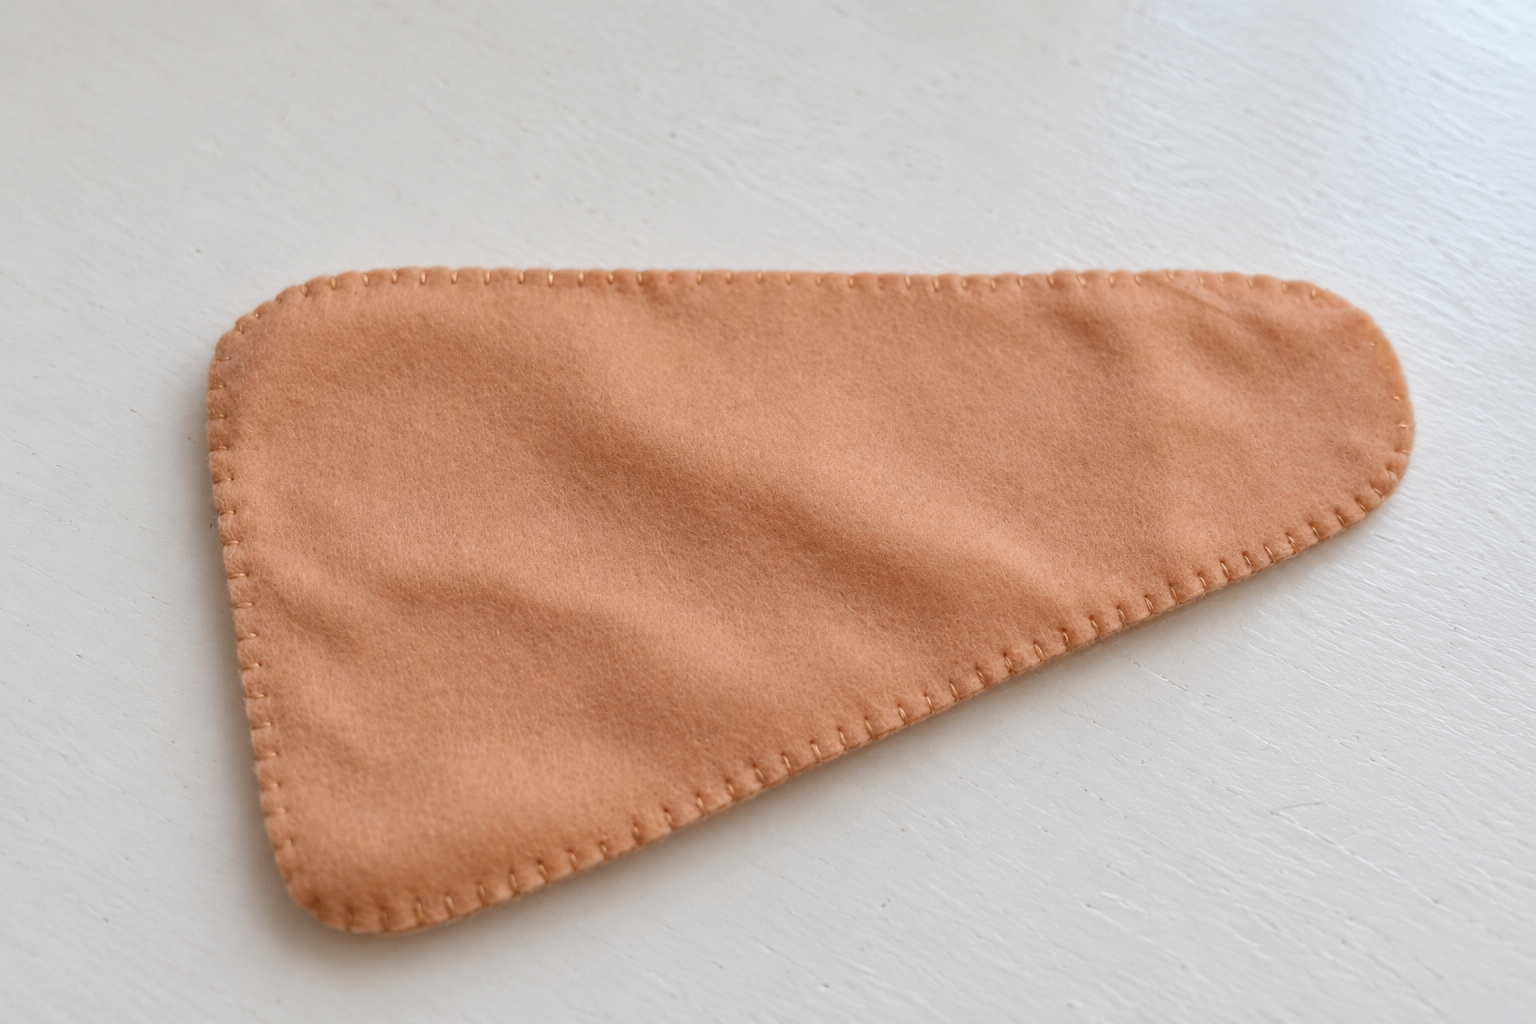
Step 26 Stuff and Close Each Leg
Add a little stuffing through the opening, working it down toward the wider end. The legs need some shape, but should stay soft enough for the joint needle to pass through their upper ends. Finish the blanket stitch and secure the thread.
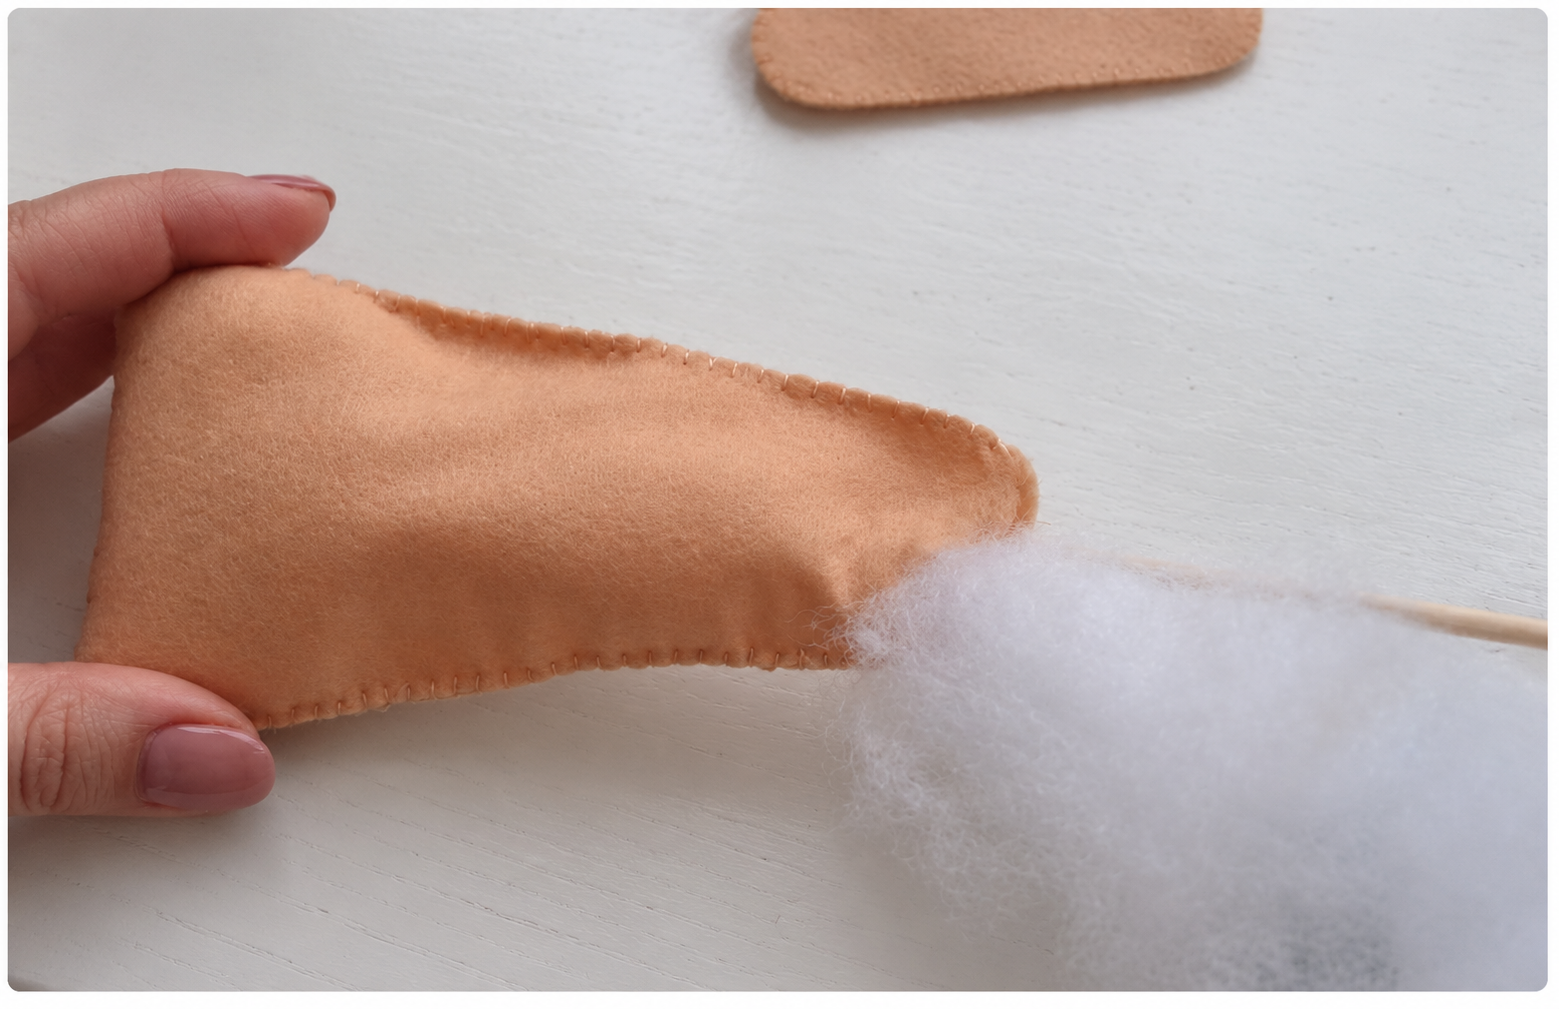
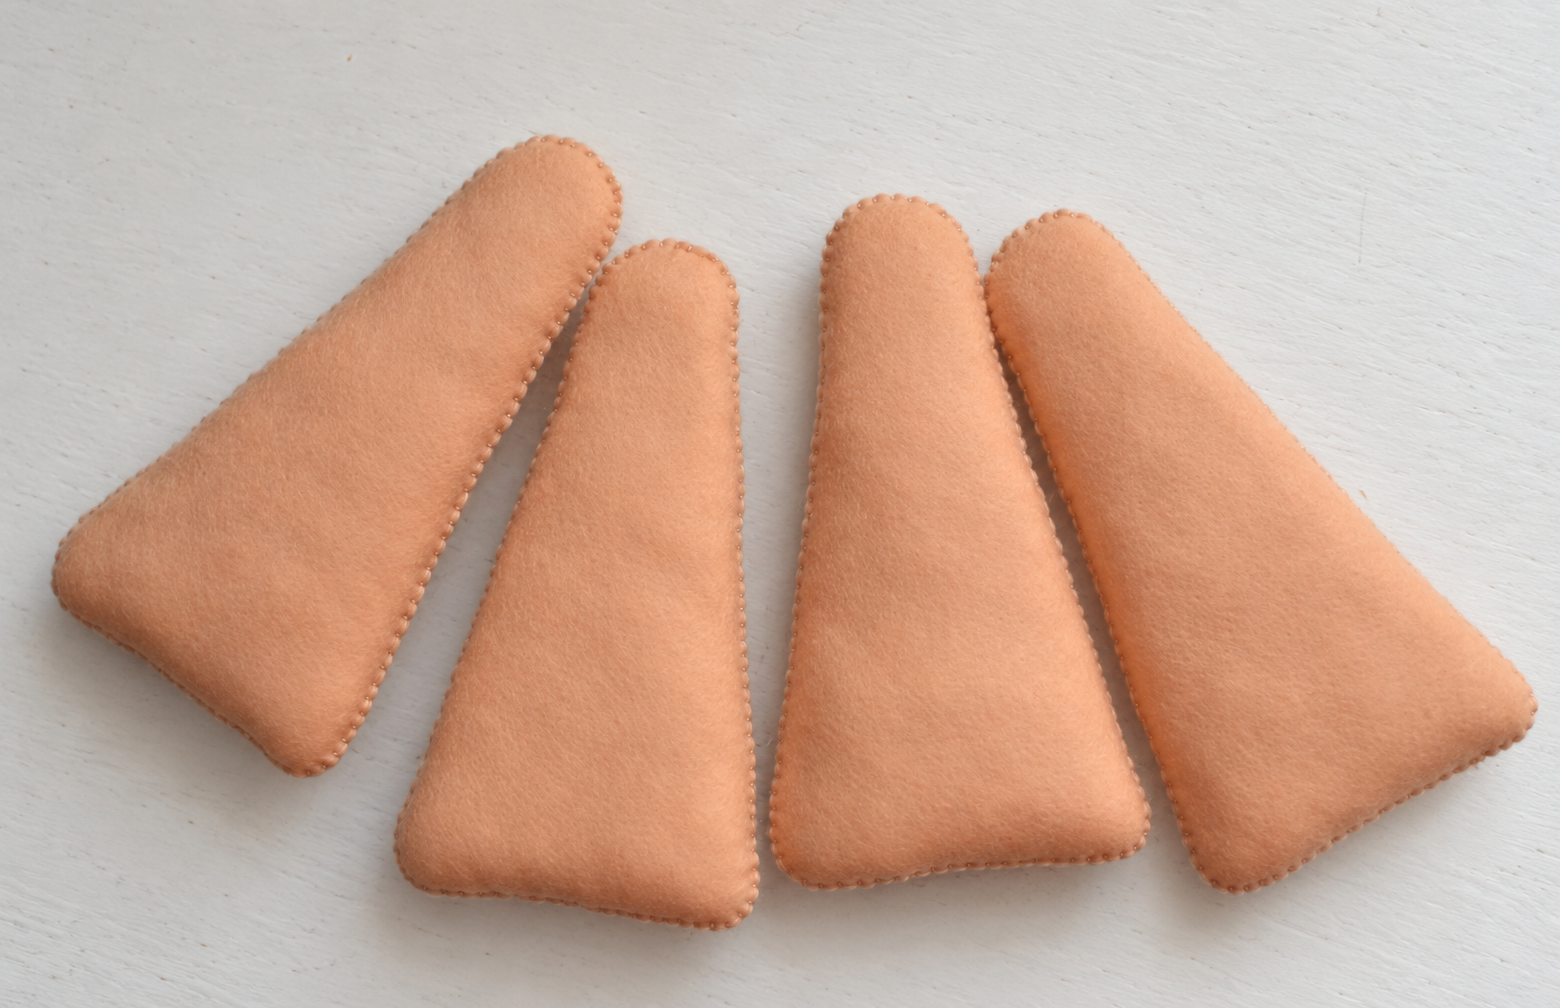
Step 27 Compare the Finished Legs
Lay all four legs together. Check that they have a similar amount of filling and that their seams are closed. Arrange them beside the body to see where the front and back pairs will sit before making the button joints.
Attach the Movable Button Joints
Step 28 Start the First Joint
Thread a needle with doubled beige thread. Secure the end discreetly in the upper part of one leg, then bring the needle out where the button will sit on the outer face. Keep this attachment point near the rounded top so the rest of the leg can swing below it.
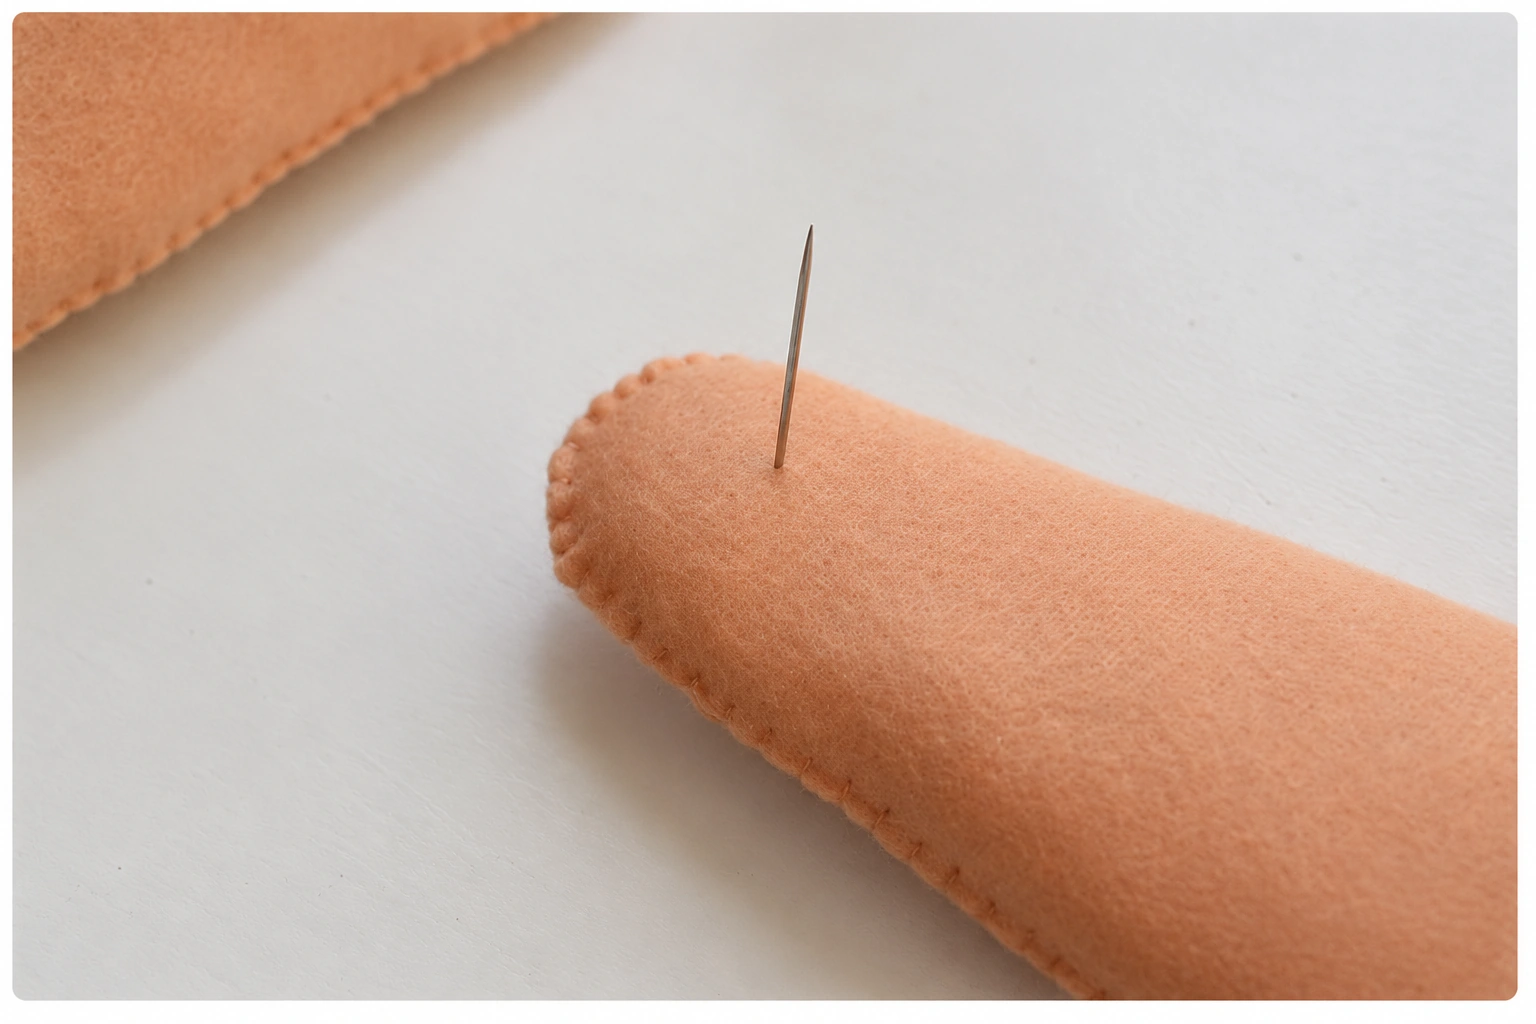
Step 29 Add the First Button
Pass the needle through one hole of a button and slide the button down against the outside of the leg. Position the needle at the second hole for the return pass. If using a four-hole button, choose a consistent pair of holes for this joint.
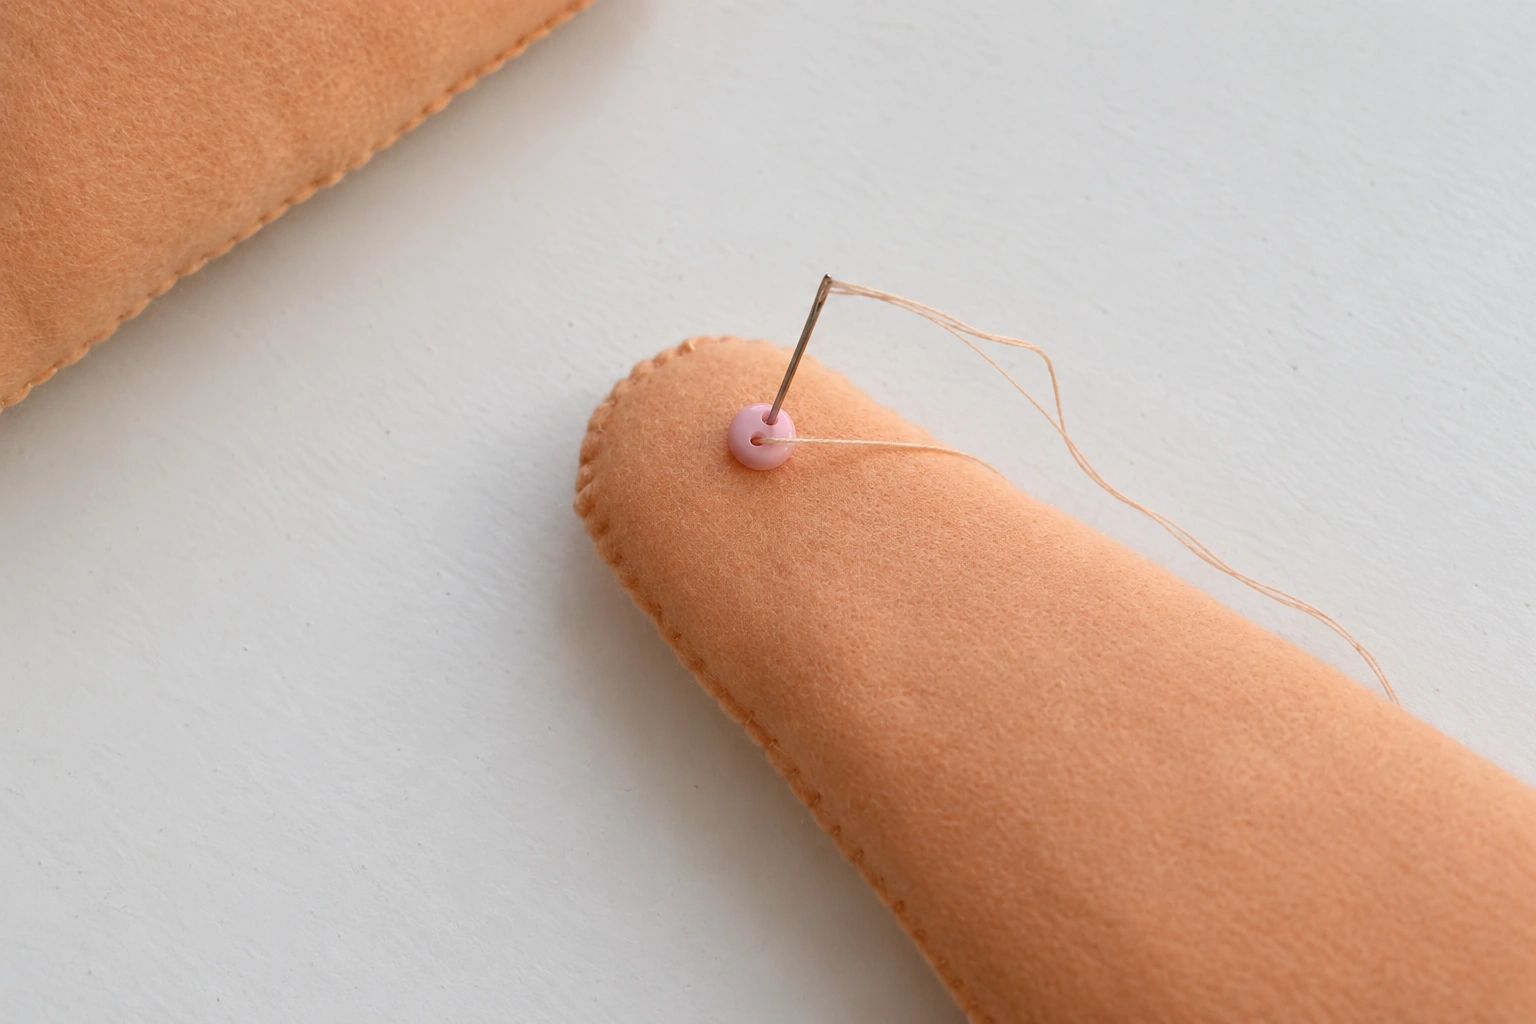
Step 30 Pass Through the Body
Hold the leg against the side of the sheep at its intended position. Take the needle back through the second button hole, through the leg, and straight through the body. Bring it out on the opposite side at the matching joint position. Check the alignment before pulling the thread snug.
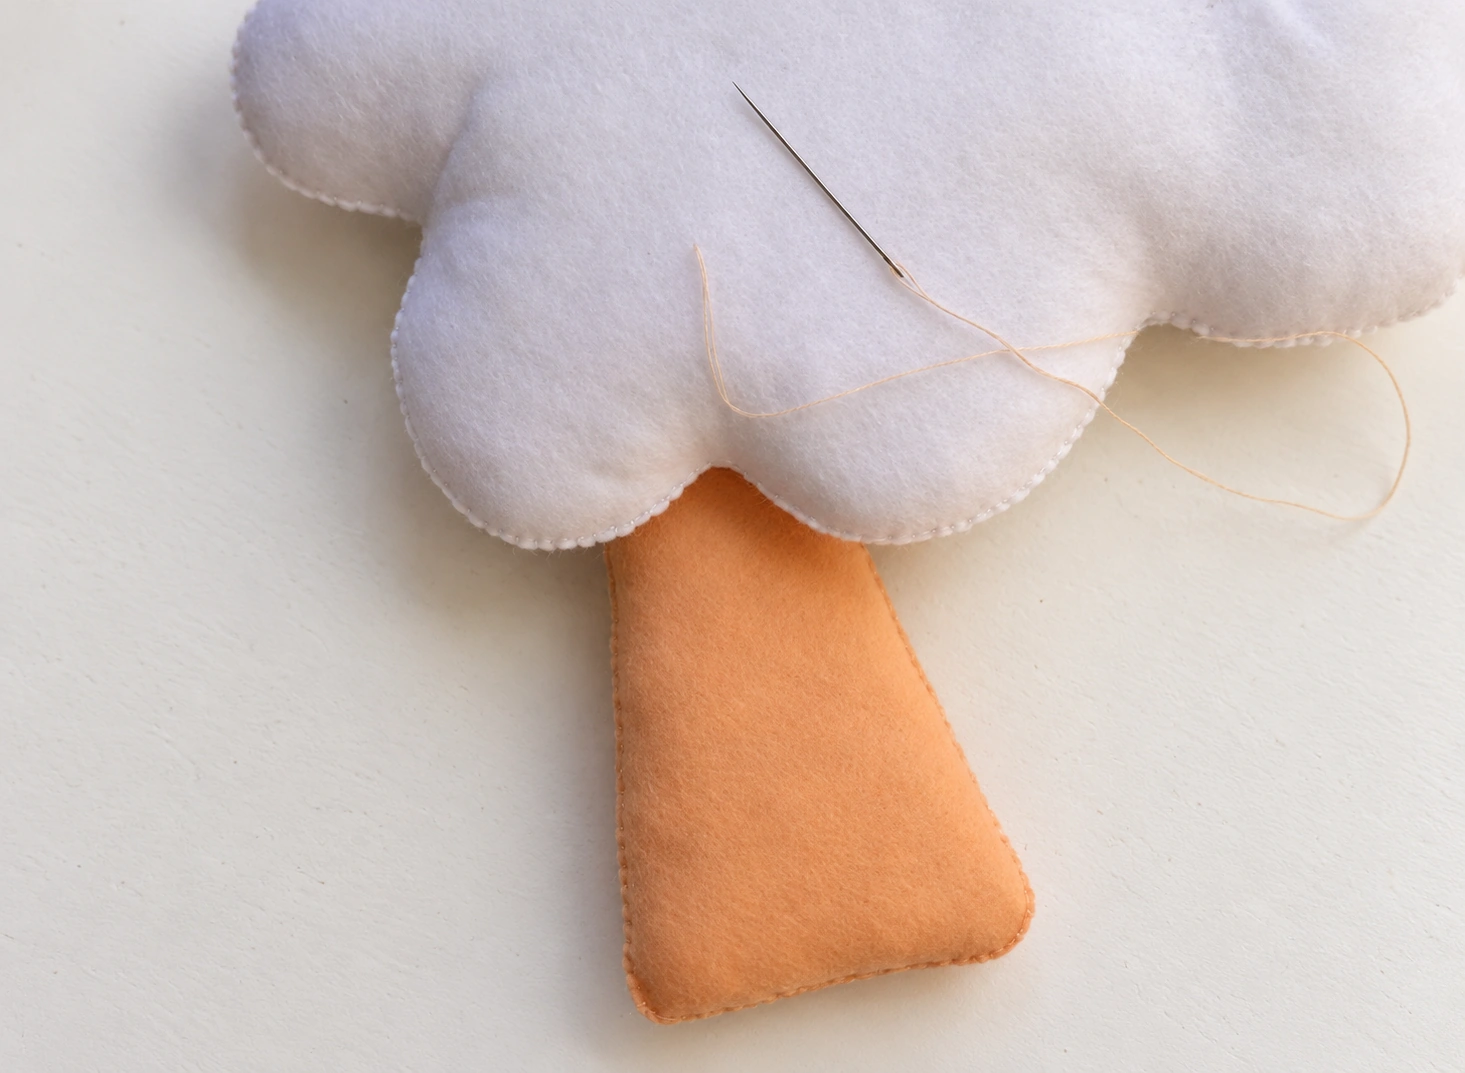
Step 31 Add the Opposite Leg and Button
Pass the needle through the upper part of a second leg from its inner side to its outer side, then through a hole in the second button. This places one leg on each side of the body, with a button on each outer face. Check that the two legs sit at matching heights.
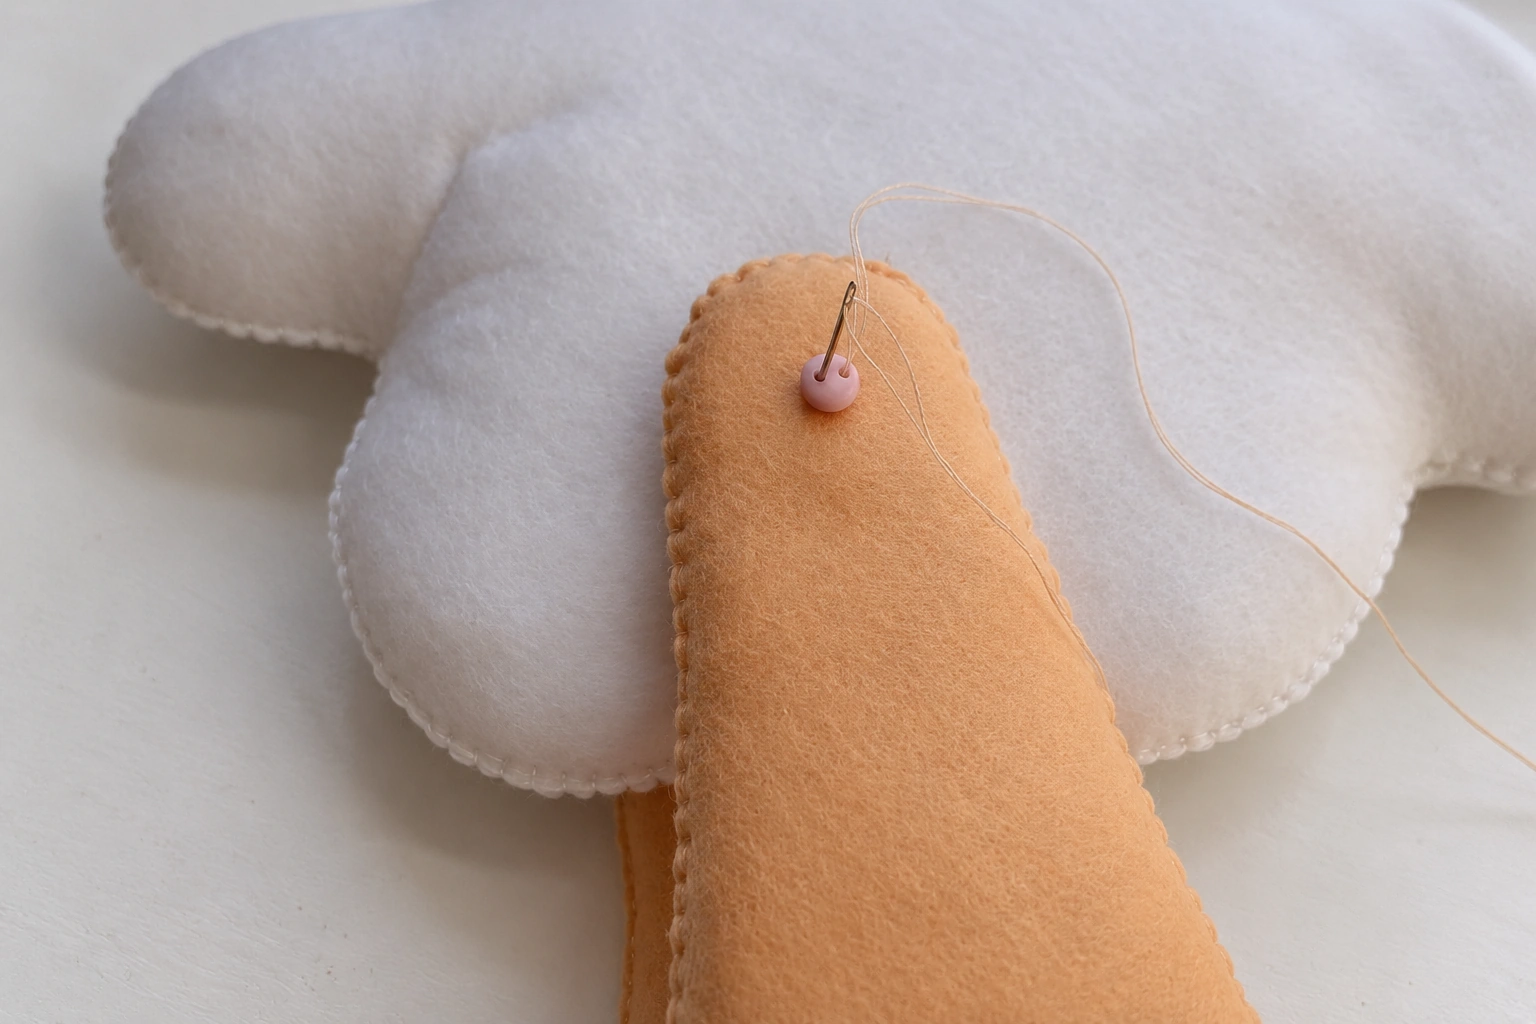
Step 32 Reinforce and Test the Joint
Return through the other hole in the second button, then through the second leg, the body, the first leg, and the first button. Repeat these passes several times to strengthen the connection. Draw the thread snugly enough to hold the legs, but avoid squeezing the body or clamping the legs in place. Test that both legs rotate, then secure and hide the thread end.
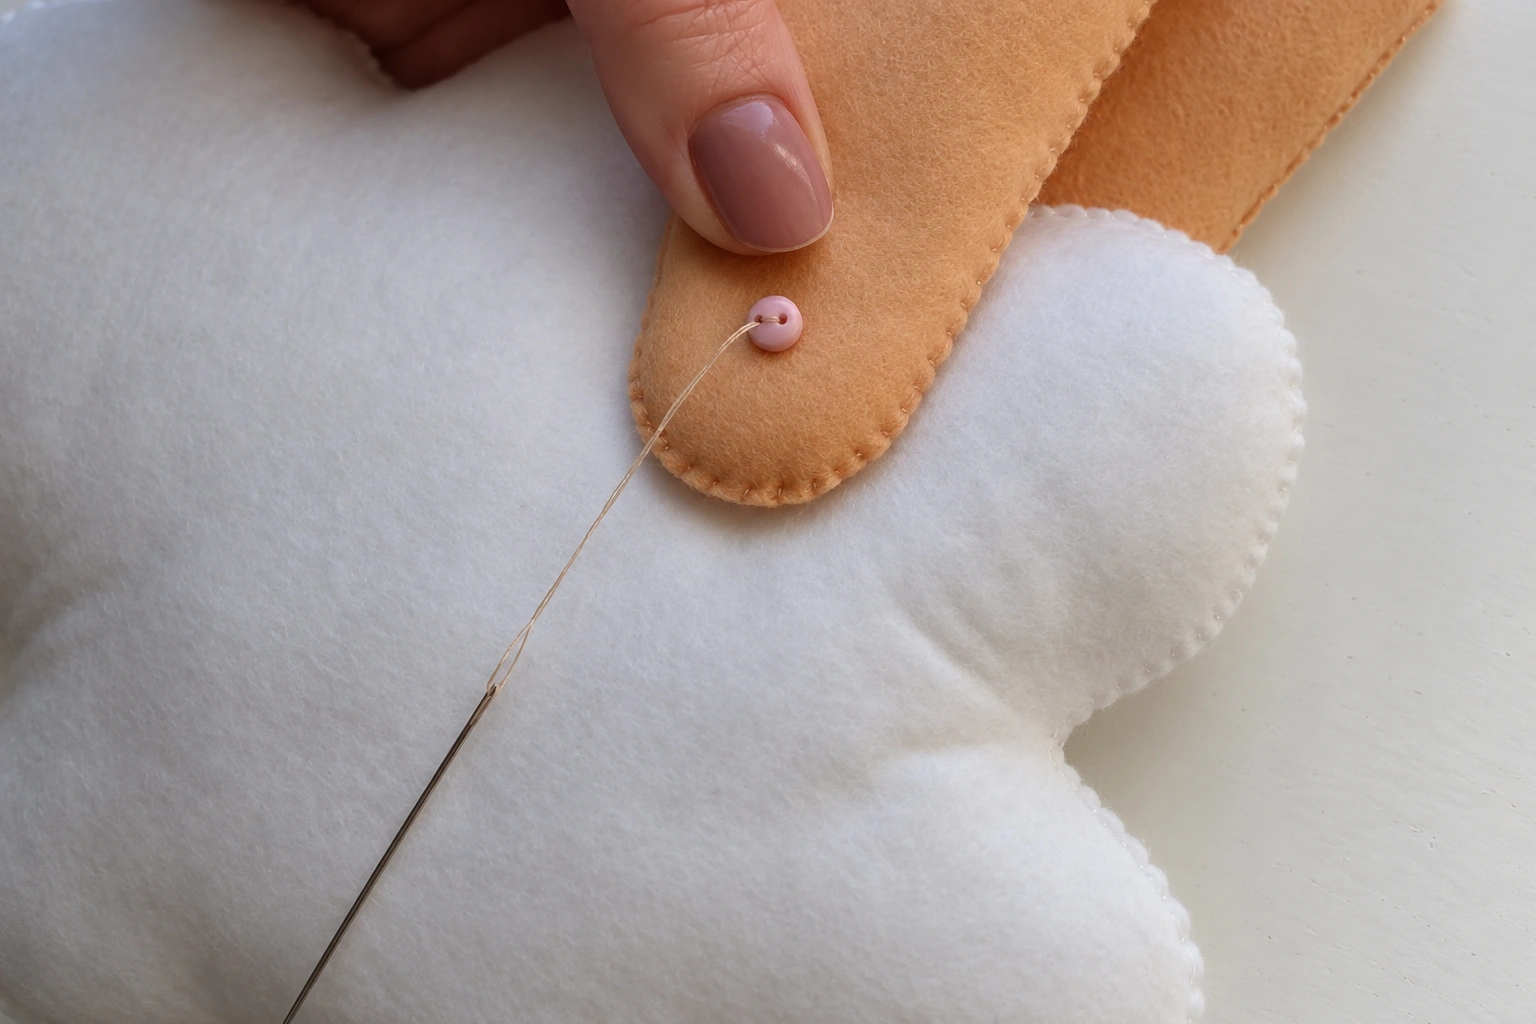
Step 33 Attach the Other Pair of Legs
Repeat the same method with the two remaining legs and buttons. Position the second pair toward the other end of the body, following the photo. Move all four legs gently to check the joints and adjust their poses. The legs are movable; the pattern does not guarantee that the sheep will stand unsupported.
Shape the Ears and Add the Finishing Touches
Step 34 Fold and Sew Each Ear
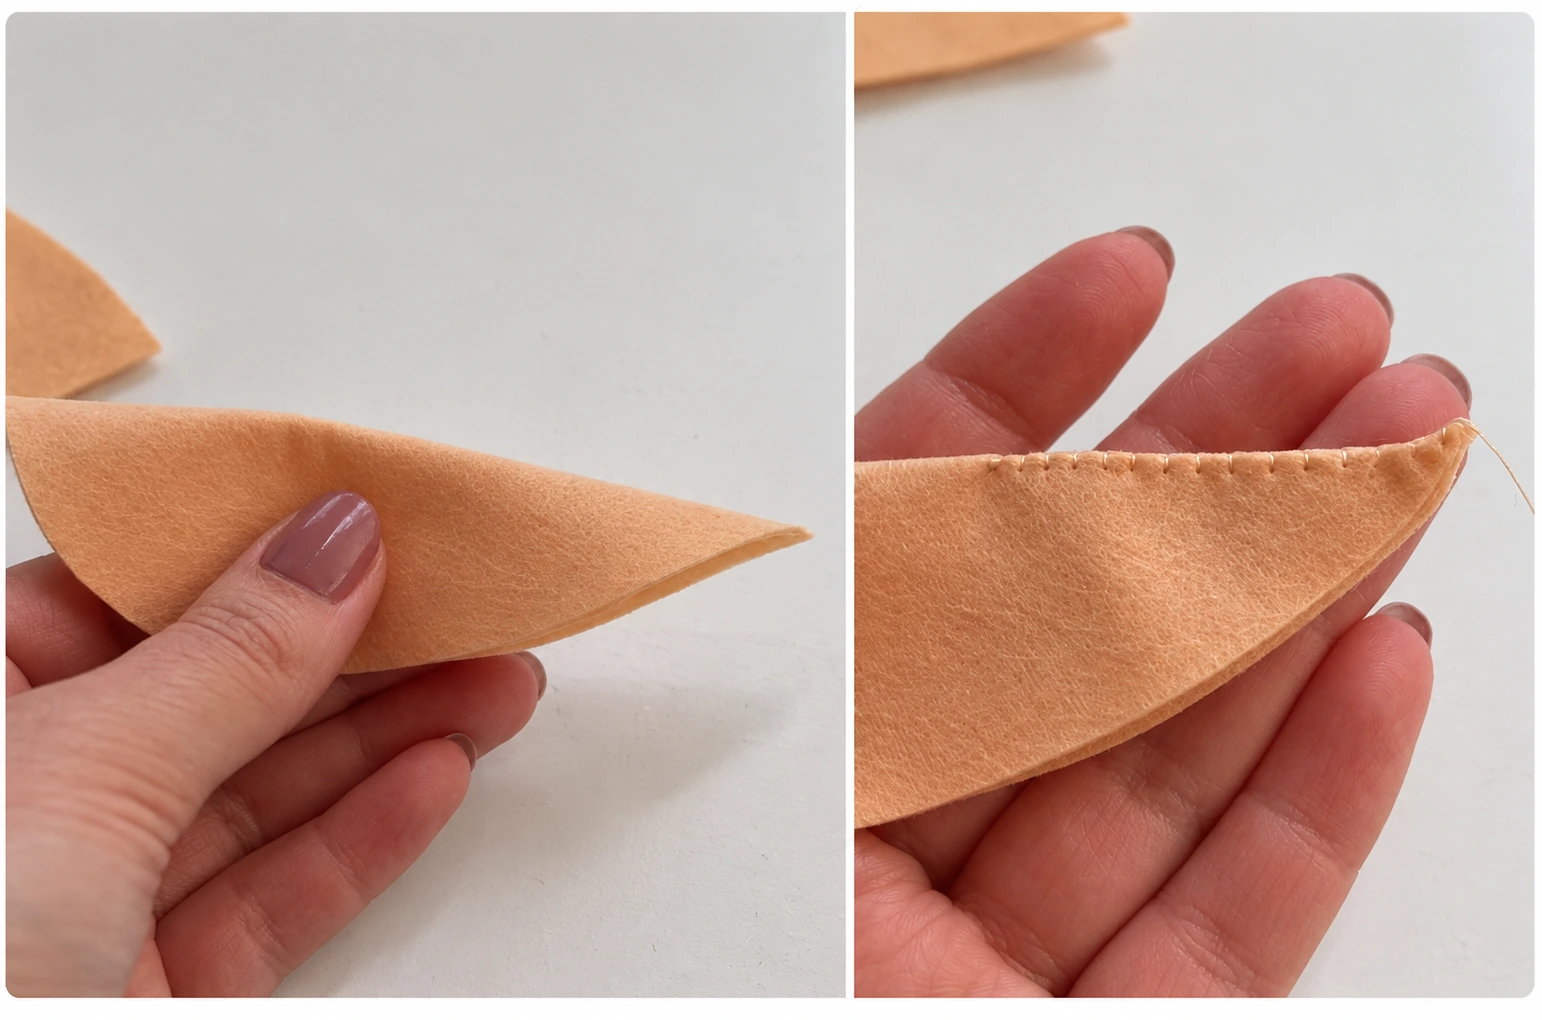
Fold one beige ear lengthwise in half. With beige thread, make tiny blanket stitches along the folded section from around its midpoint toward the pointed end, as shown. This holds the narrow end together while allowing the broader part to open into a cupped ear. Tie a knot, but leave the working thread attached for sewing the ear to the head. Repeat for the second ear.
Step 35 Position the First Ear
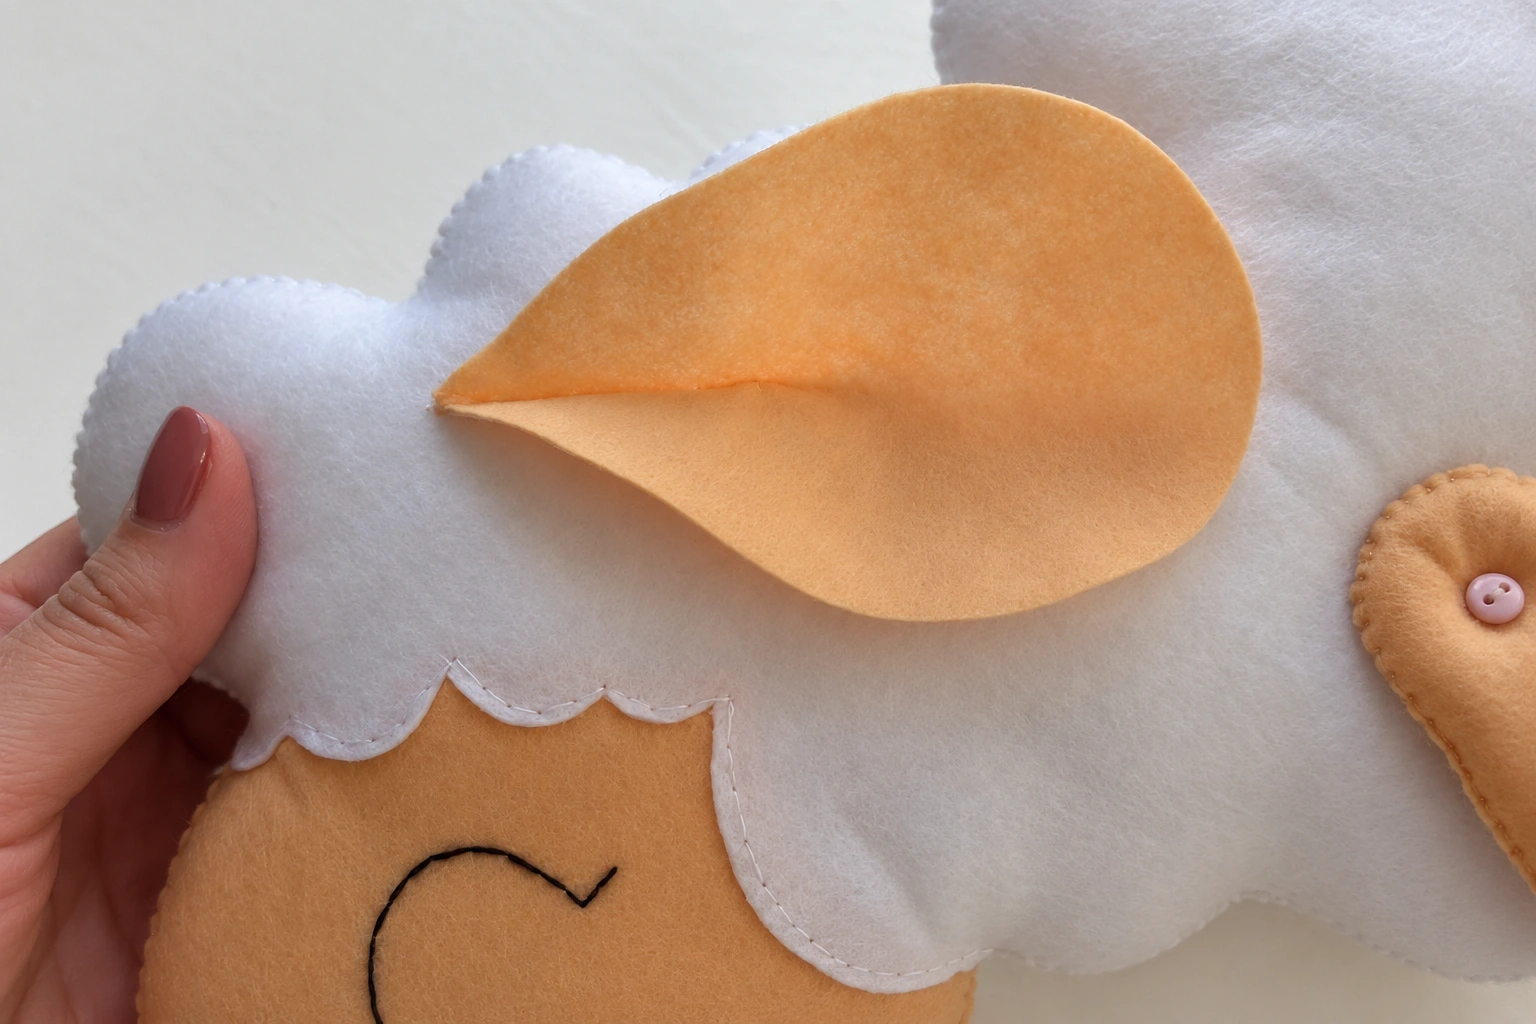
Place the shaped ear against the white head above and behind the eye, with its stitched narrow section against the felt. Check how the open part curves away from the head before attaching it. Keep the ear clear of the embroidered eye.
Step 36 Sew the Ears to the Head
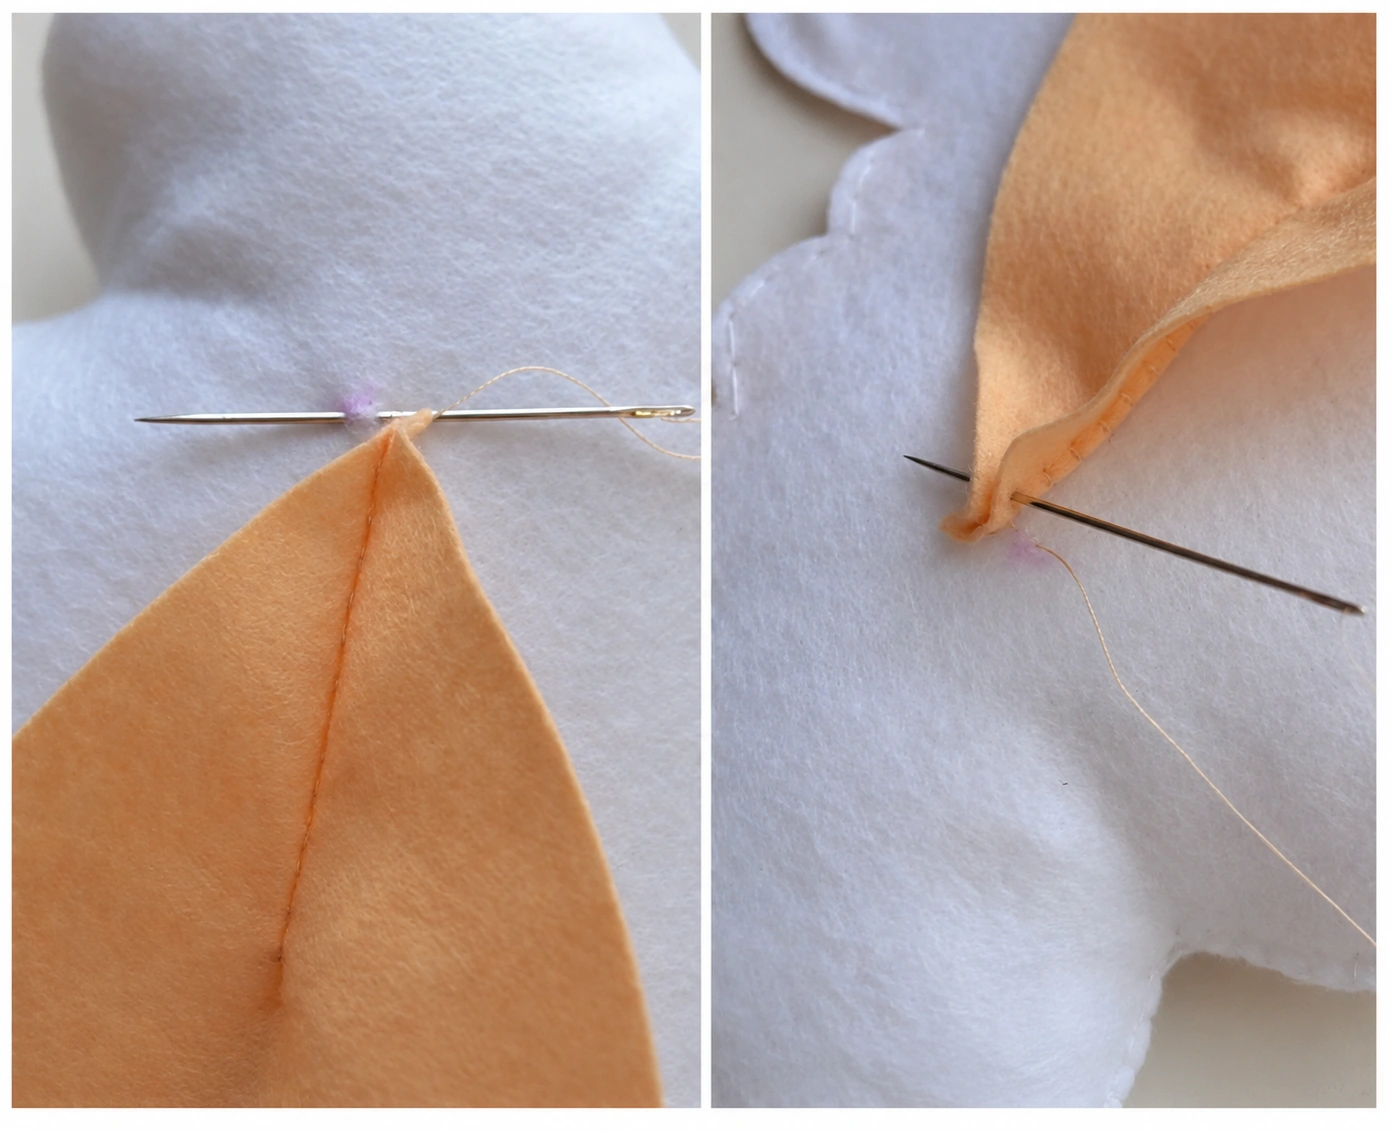
Turn the sheep upside down if that gives you a clearer view beneath the ear. Take a small stitch through the white felt under the ear, then pass through both layers of its folded beige section. Return through the white felt a little farther along and back through the ear. Continue these small alternating stitches in a gradual spiral toward the middle of the ear, securing the folded base to the head. Tie off discreetly. Attach the second ear the same way, checking that both sit at the same level.
Step 37 Add Optional Rosy Cheeks
For the soft pink cheeks shown in the photos, touch a little blush onto each side of the face. Begin with very little color and build it gradually, keeping the two cheeks balanced. You can leave this detail off if you prefer the plain beige felt.
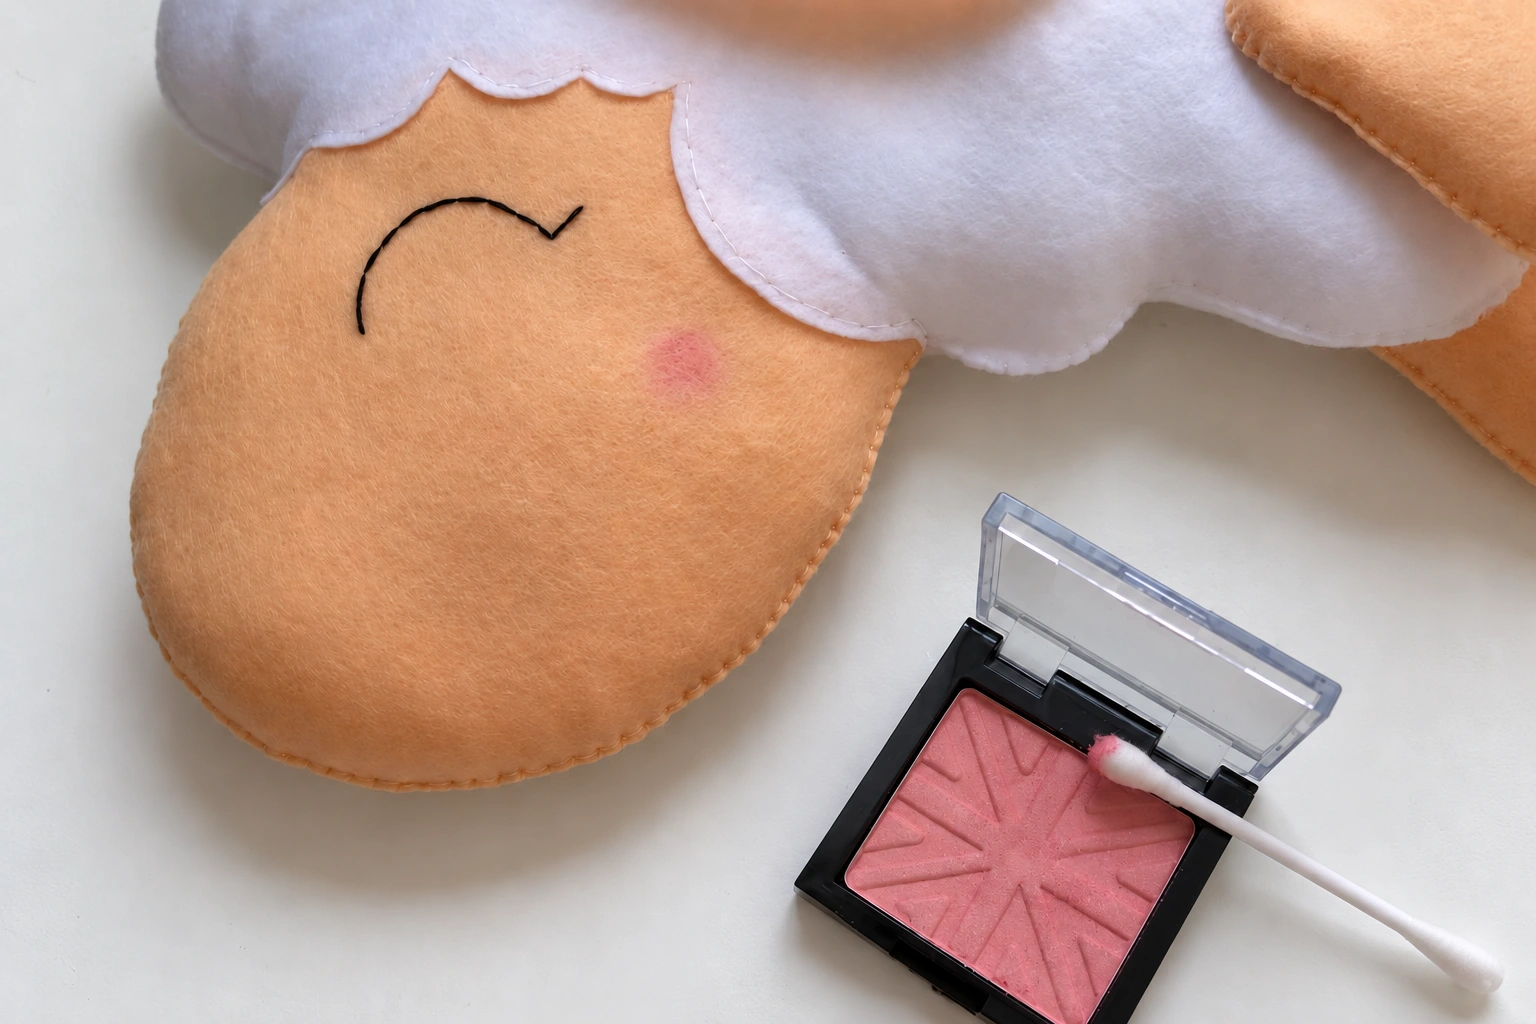
Step 38 Tint the Inner Ears
Use a small soft brush to add a hint of the same blush inside each ear. Keep the color mainly in the open, cupped area. Tap excess powder from the brush first to avoid a strong patch of pink.
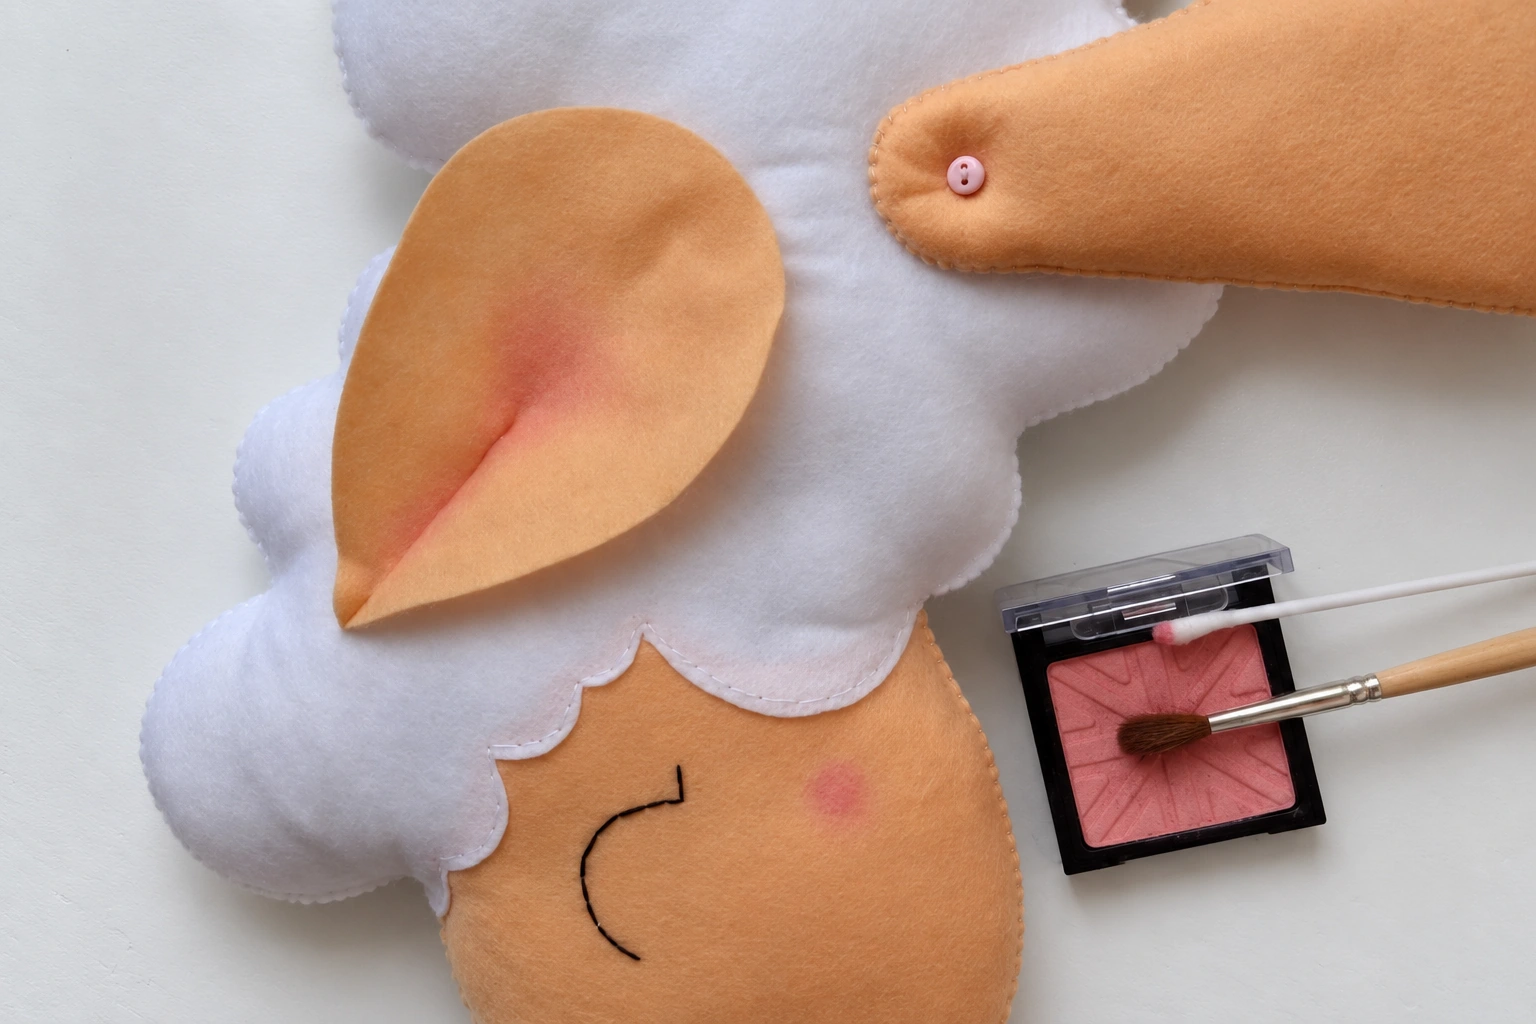
Step 39 Enjoy Your Finished Sheep
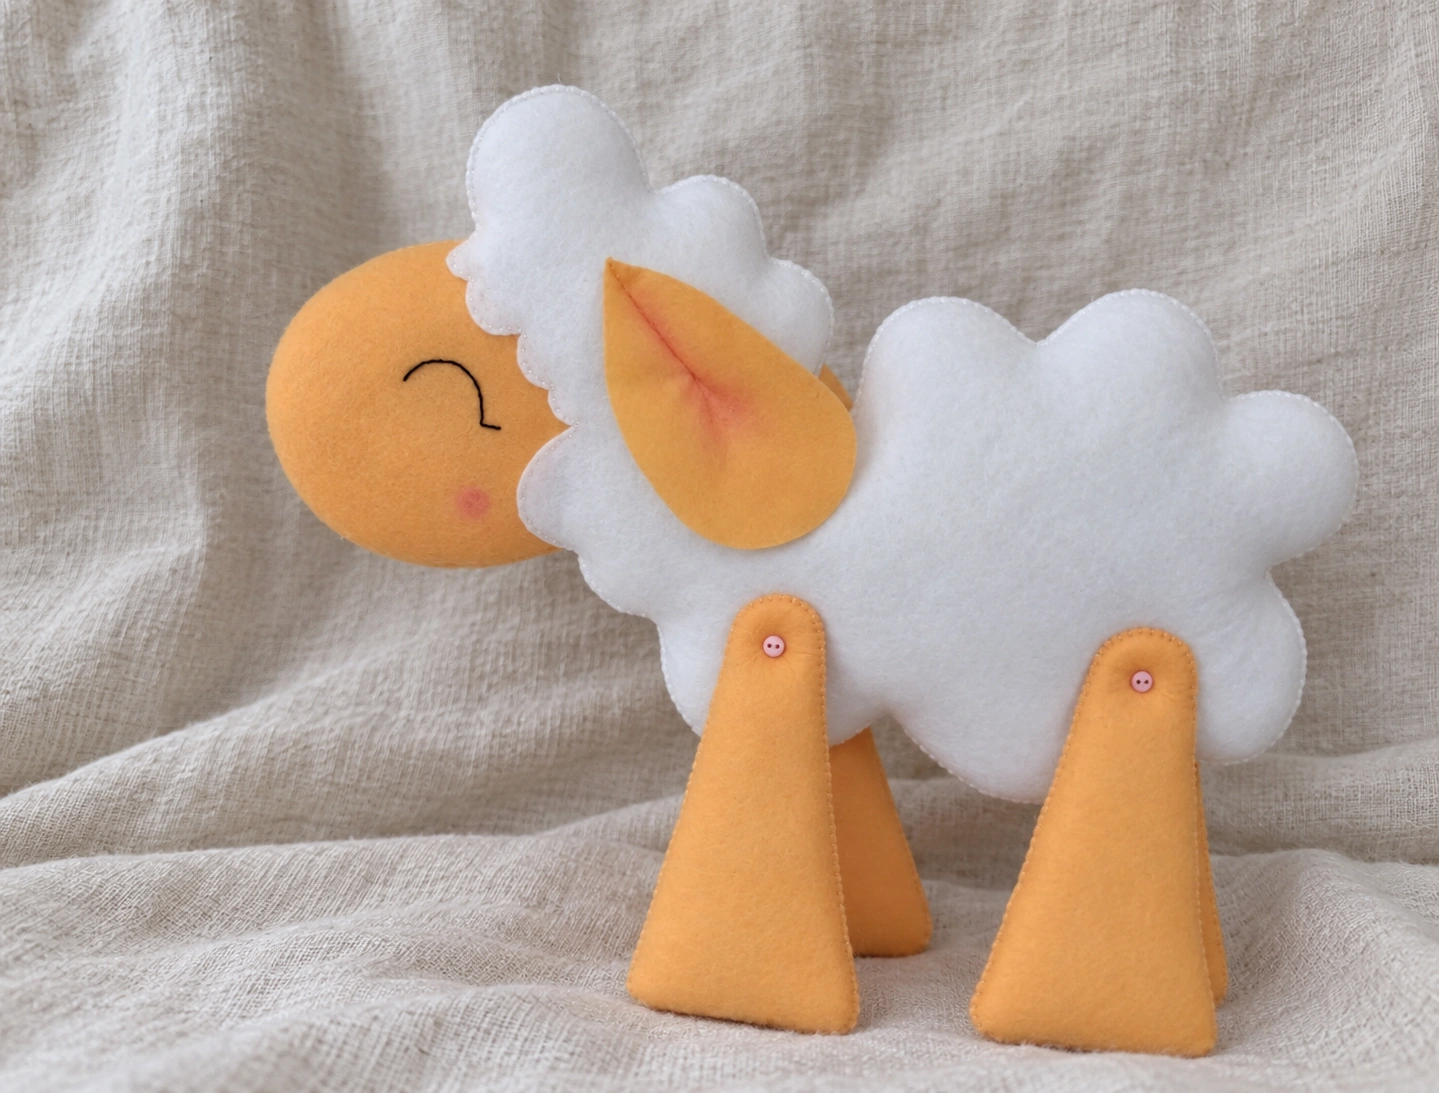
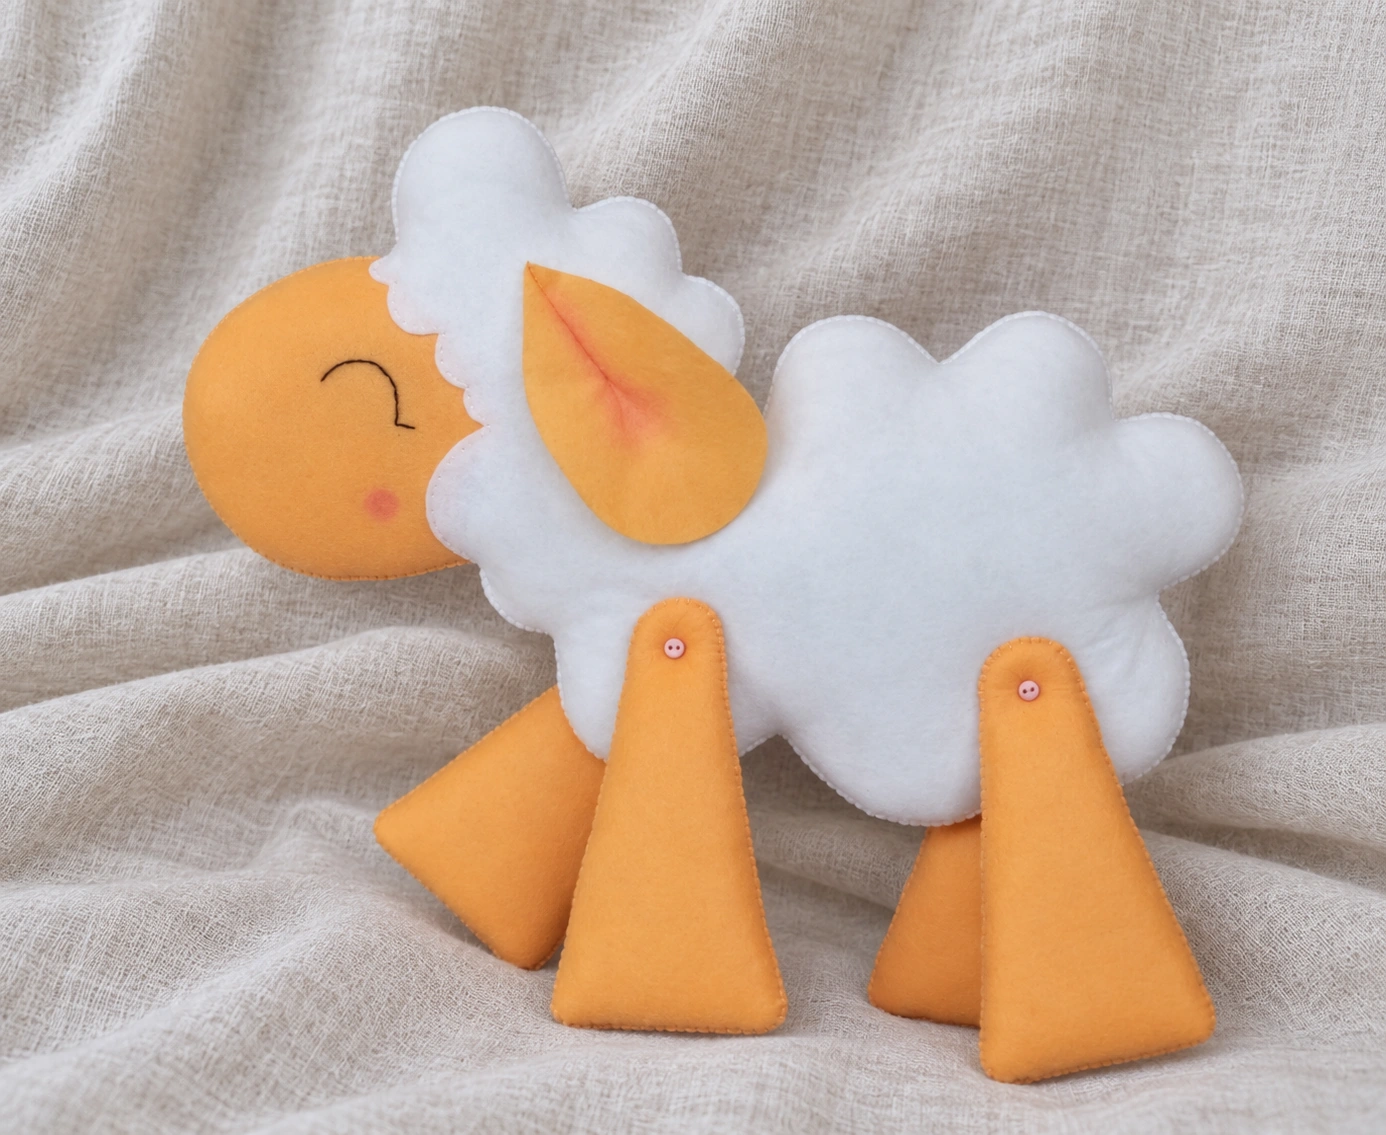
Your felt sheep is ready for a quiet corner of your home or a handmade display. Check for any remaining pins, loose thread ends, or gaps in the seams. Give each button and ear a gentle check, then arrange the legs in a pose you like. The scalloped white outline and simple closed eyes give the finished sheep its gentle expression.
More Felt Animal Projects
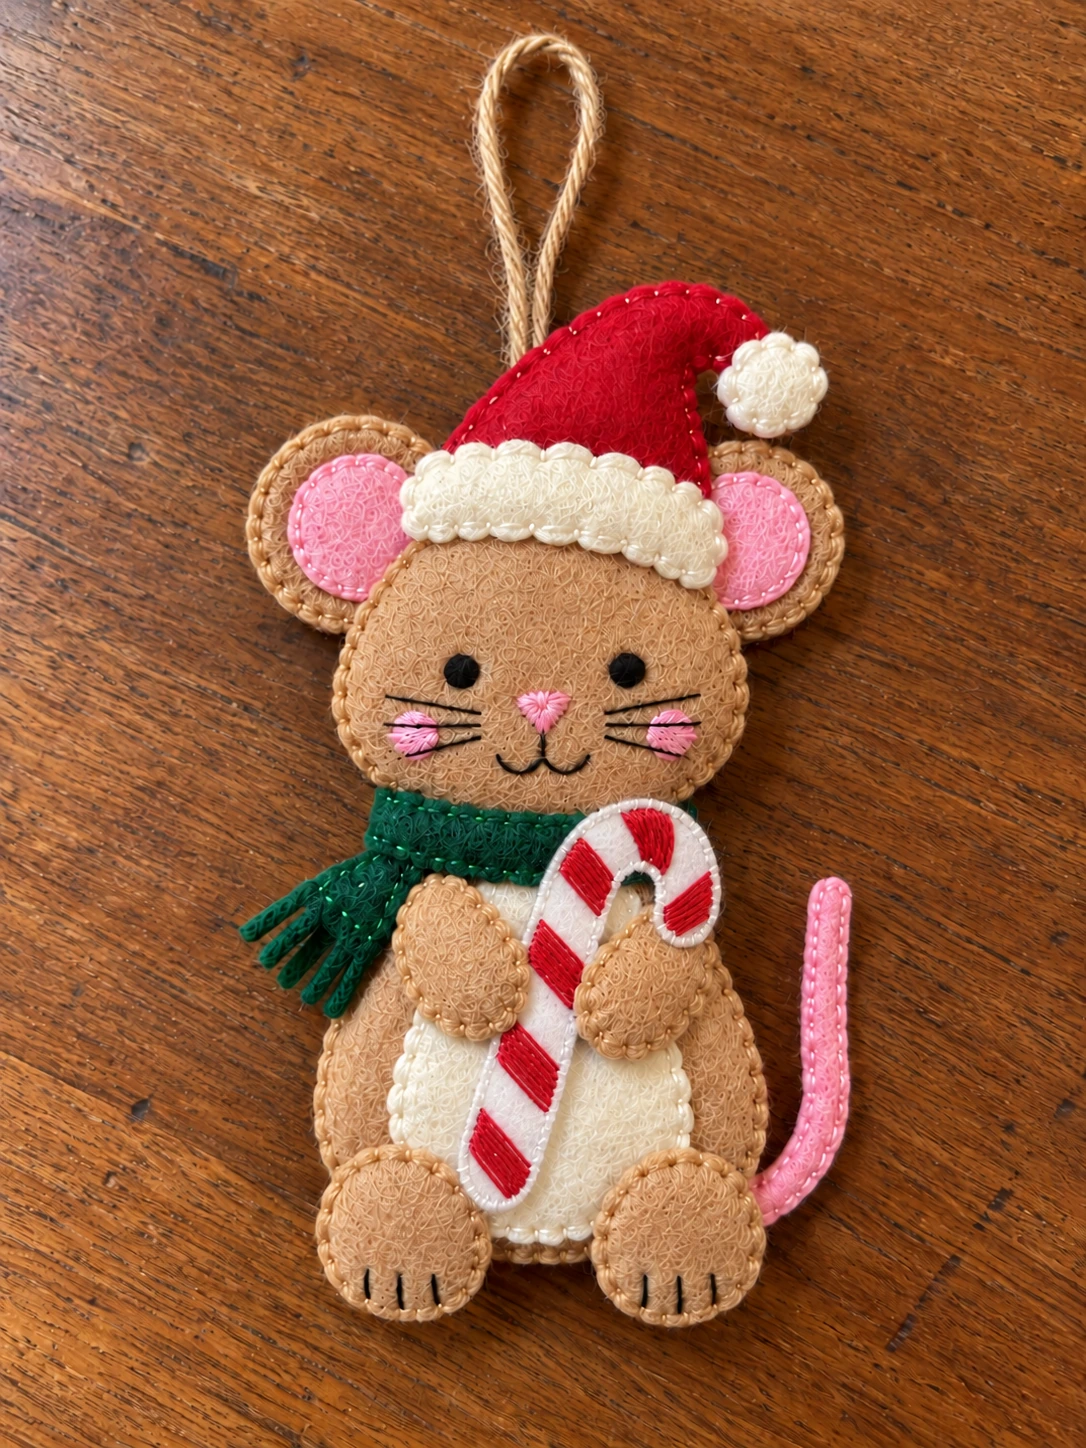
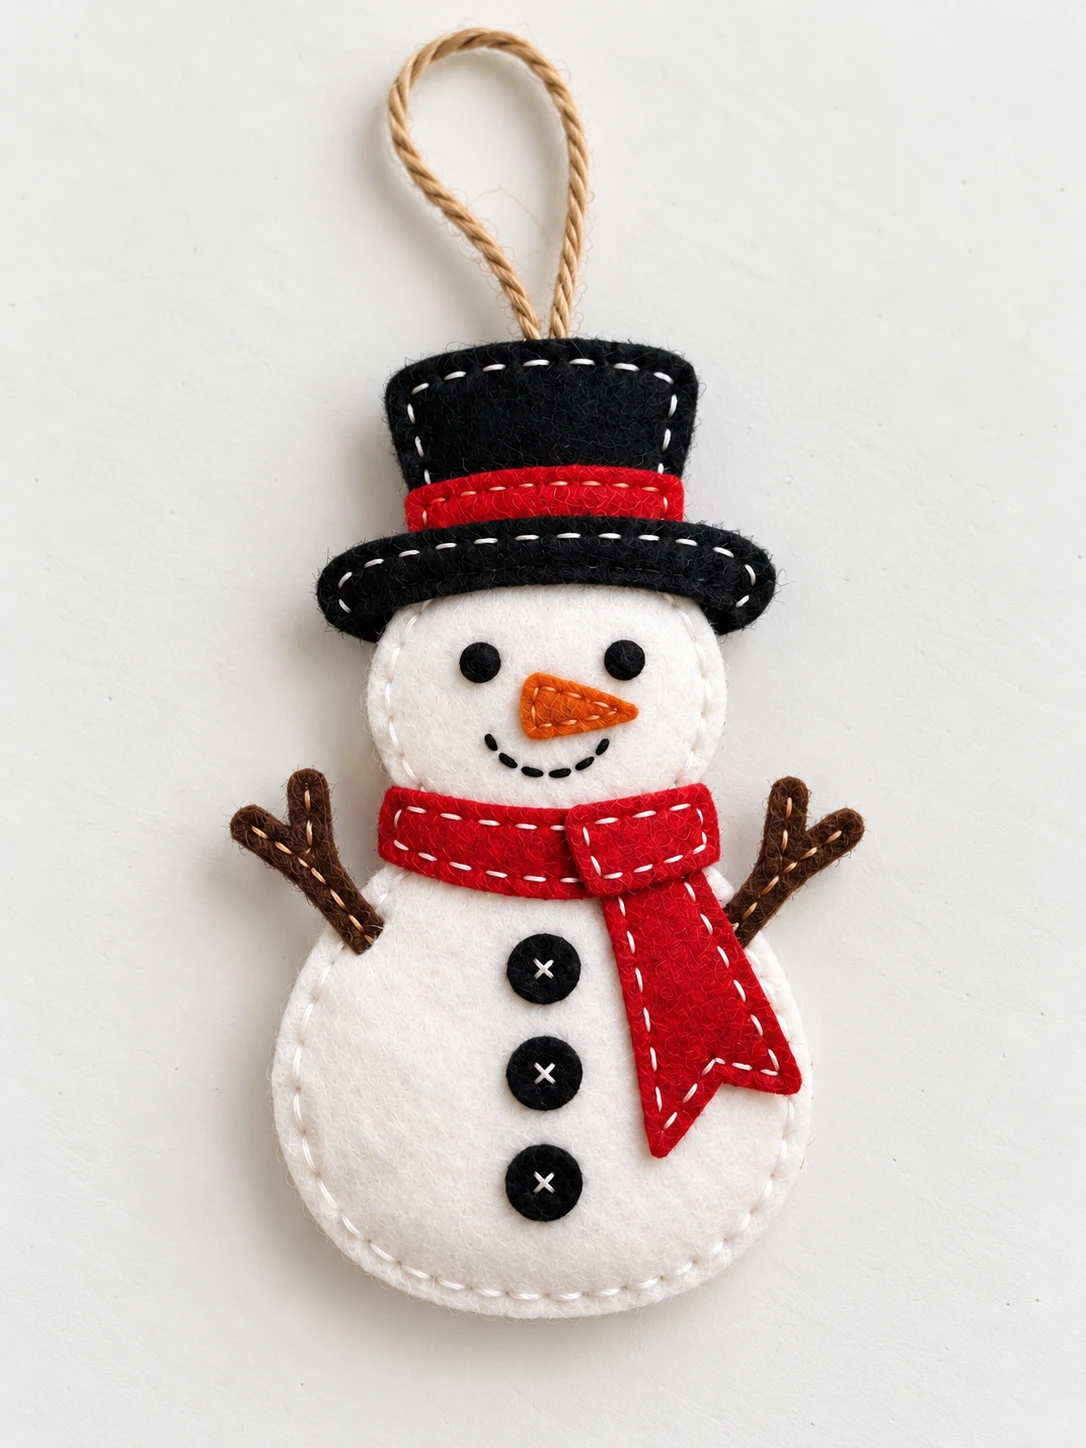
For another hand-sewn animal with a little seasonal character, try the felt penguin ornament free pattern. Its Santa hat and embroidered scarf offer a chance to use brighter scraps after this soft neutral palette.
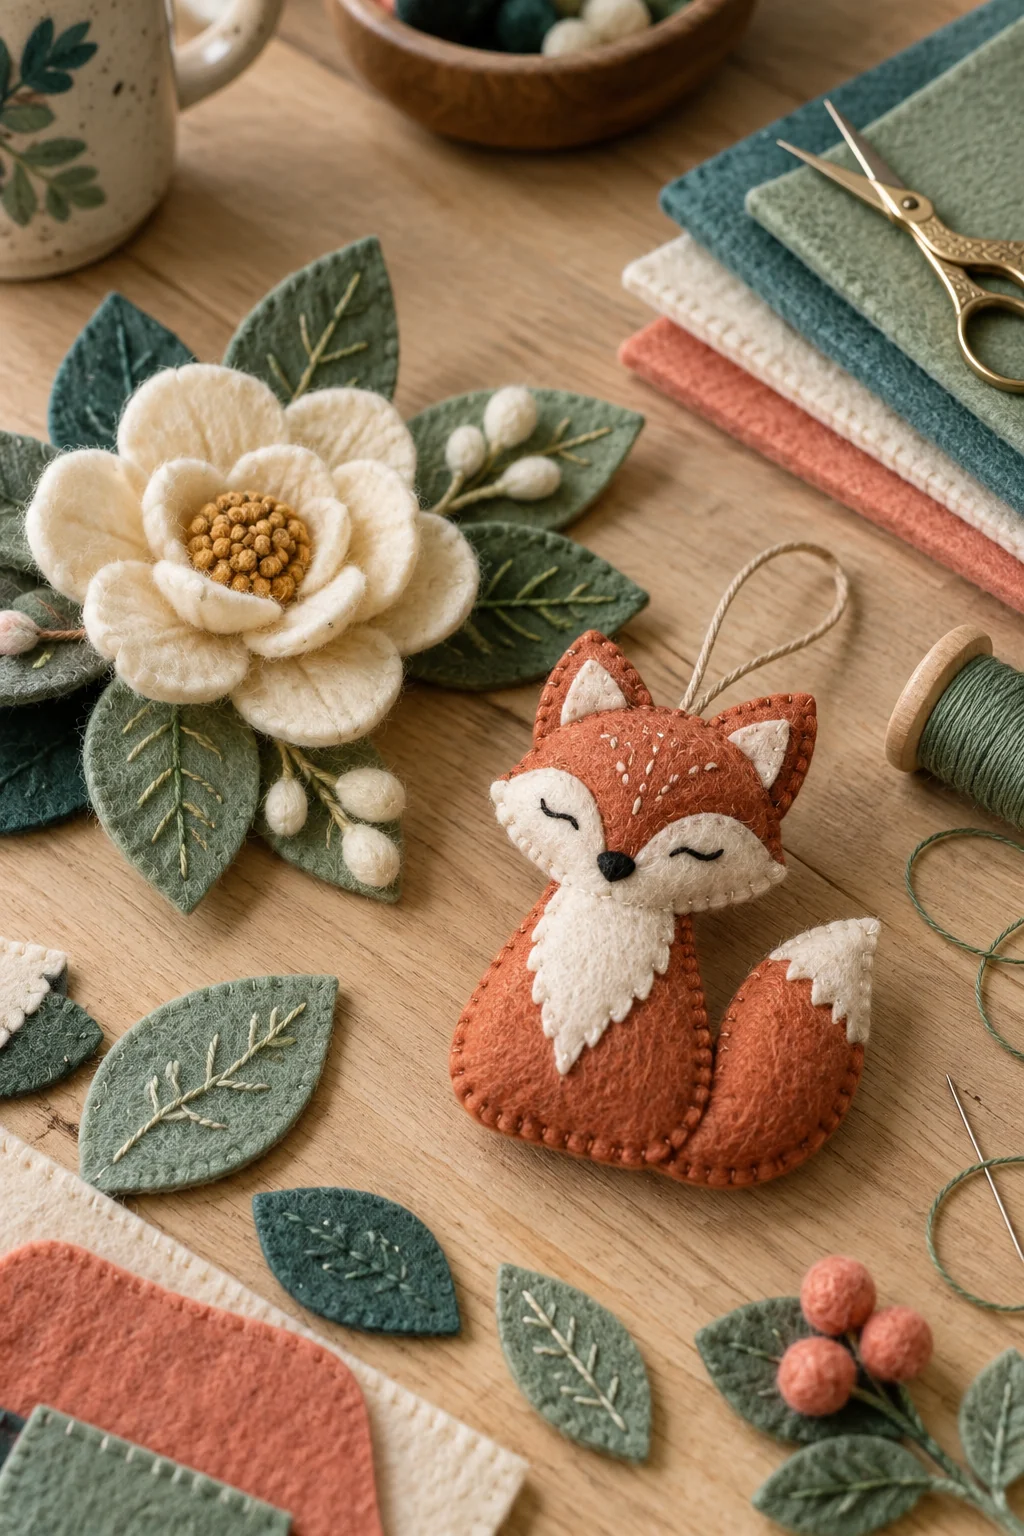
The felt reindeer ornament free pattern is another sweet choice if you enjoy building an expressive face from simple felt shapes. Its antlers and red nose make it a cheerful companion for a holiday display.
Care and Storage
Dust the sheep gently with a soft brush. If cleaning is needed, test a barely damp cloth on an inconspicuous area first, especially where blush or glue was used. Avoid soaking the filling or rubbing the colored cheeks. Let it dry fully before putting it away, and store it without heavy objects pressing on the ears. Check the button threads occasionally and repair any looseness before displaying it again.
FAQs
What Felt Works Best for This Sheep
The source sample uses soft 0.5 mm polyester felt, but recommends wool-blend white felt for a fluffier result. Choose felt that is soft enough to curve around the stuffing and fold neatly at the ears. Very thin white felt may need the hidden beige face overlap trimmed to prevent it showing through.
How Many Pieces Should I Cut
Cut two white body pieces, two beige face pieces, two beige ears, and eight beige leg panels. That makes fourteen felt pieces. The eight leg panels become four stuffed legs, while each ear is folded from one piece.
Why Are My Button Joints Too Tight
The thread may be pulled so tightly that it compresses the body and clamps the legs against it. Test the movement before tying off. If a finished joint won’t rotate, carefully remove and resew that joint with slightly more ease, keeping the connection secure. A little movement is the goal, rather than a loose, dangling attachment.
Can I Give This Sheep to a Baby or Toddler
This button-jointed version is a decoration, not a baby or toddler toy. Buttons, loose thread, and any filling exposed by a damaged seam can create hazards. Keep it out of reach of young children and pets. Removing the buttons alone does not establish that the design is safe for play.

Leave a Comment