


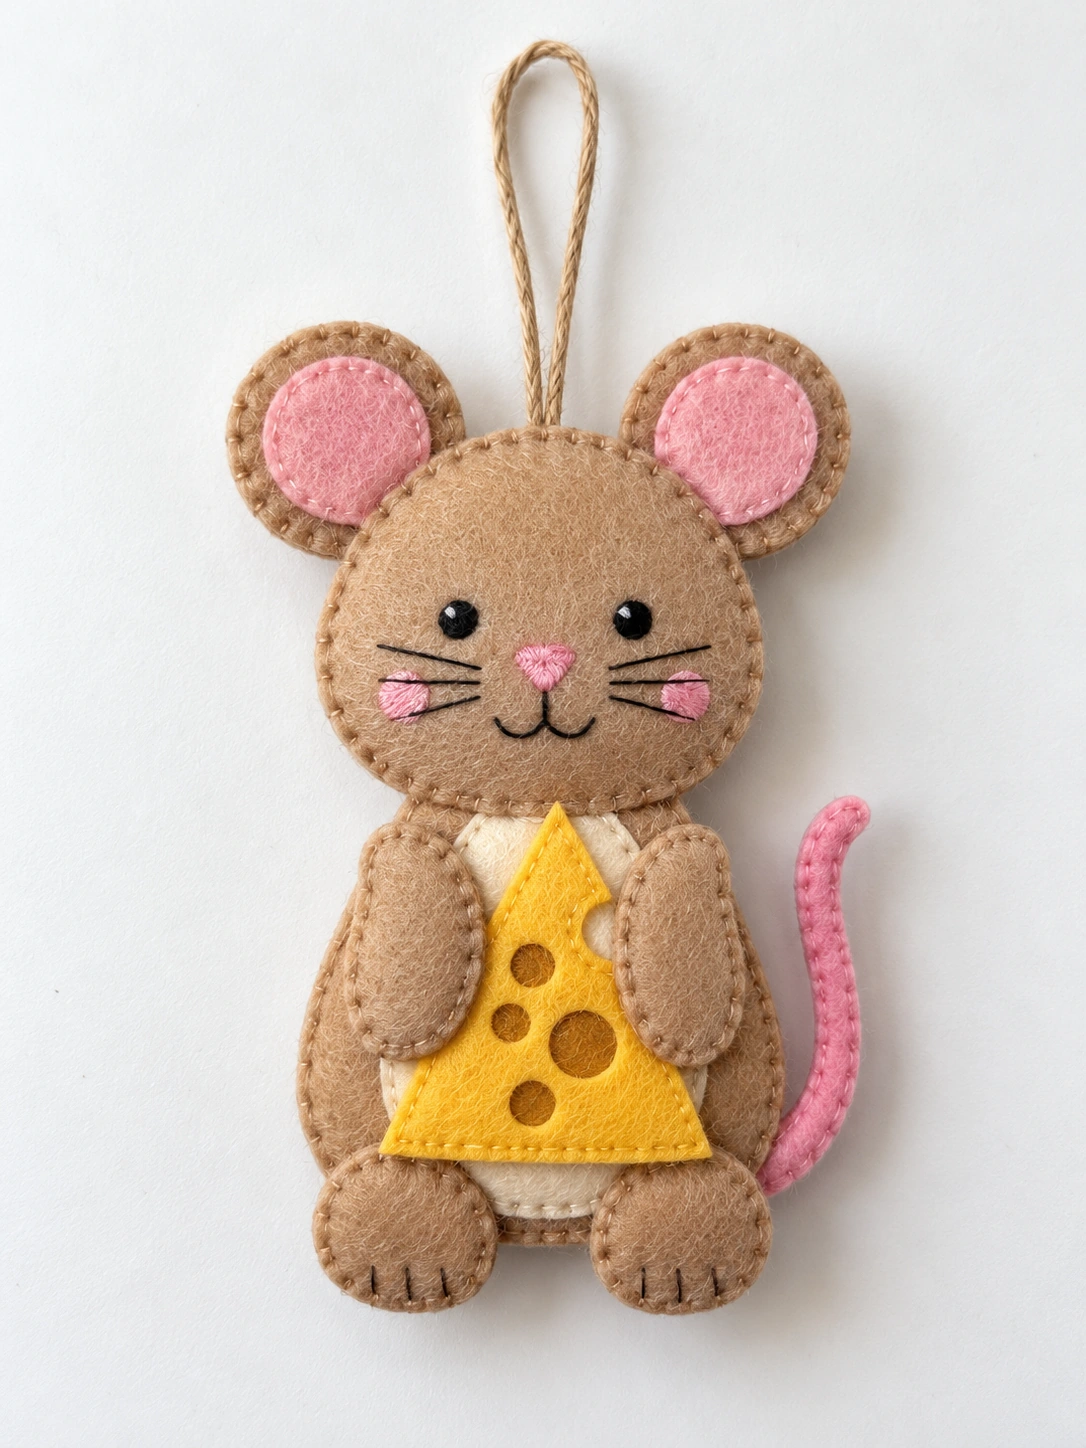
This little felt mouse has soft round ears, a pink curled tail, and a wedge of yellow cheese held between its paws. Cream belly felt and tiny hand stitches give the simple shape a warm, handmade finish.
Sew the mouse a little at a time, starting with the flat decorations before joining the padded sections. The eyes, nose, cheeks, and whiskers are embroidered, so there are no beads or separate felt face pieces to add.
Below you will find a free printable cutting pattern and a separate illustrated sewing guide. The flat assembled layout measures 150 mm tall, excluding the hanging loop. Light padding and edge stitching can change the finished size a little.
Before You Start
Join paired pieces wrong sides together, keeping the raw felt edges visible. You do not need to turn any of the shapes inside out. Keep the filling light, especially where the head and body overlap, so the finished mouse hangs neatly.
This is a decoration, not a toy. Even with embroidered eyes, it has small parts, stuffing, a hanging cord, and stitched attachments. Keep the finished ornament and all loose sewing supplies out of reach of young children and pets. Do not add it to a cot, play gym, or pet collar.
Materials You Will Need
- Tan felt: one A4 sheet, about 1 mm thick
- Pink felt: 100 × 150 mm
- Cream felt: 60 × 70 mm
- Yellow felt: 110 × 60 mm
- Dark-gold felt: 50 × 55 mm
- A small amount of polyester stuffing
- Matching sewing thread; black and pink embroidery floss; optional white floss for tiny eye highlights
- Narrow hanging cord: 160 mm
- Hand-sewing needles, sharp scissors, pins or clips, a removable fabric marker, and a ruler
- A4 paper for printing the pattern and guide
Lay the paper templates on your felt before cutting to check that you have room for every piece. Save the smaller scraps for the inner ears and cheese backing. A short length of thread is easier to manage around the little curves than a long one that keeps tangling.
Download the Mouse Pattern and Sewing Guide
The four-page pattern includes identical full-size color templates on pages 1–2 and plain-outline templates on pages 3–4. Print one complete version only; do not double the cutting quantities. Keep the separate six-page illustrated guide beside you for placement and sewing.
Download the free felt mouse ornament pattern PDF
Download the illustrated felt mouse sewing guide PDF
Print and Check the Pattern
Print on A4 paper, 210 × 297 mm, at 100% or Actual Size. Turn off Fit, Shrink, and borderless enlargement. Measure both sides of the calibration square with a ruler. Each side must measure 50 mm before you start cutting.
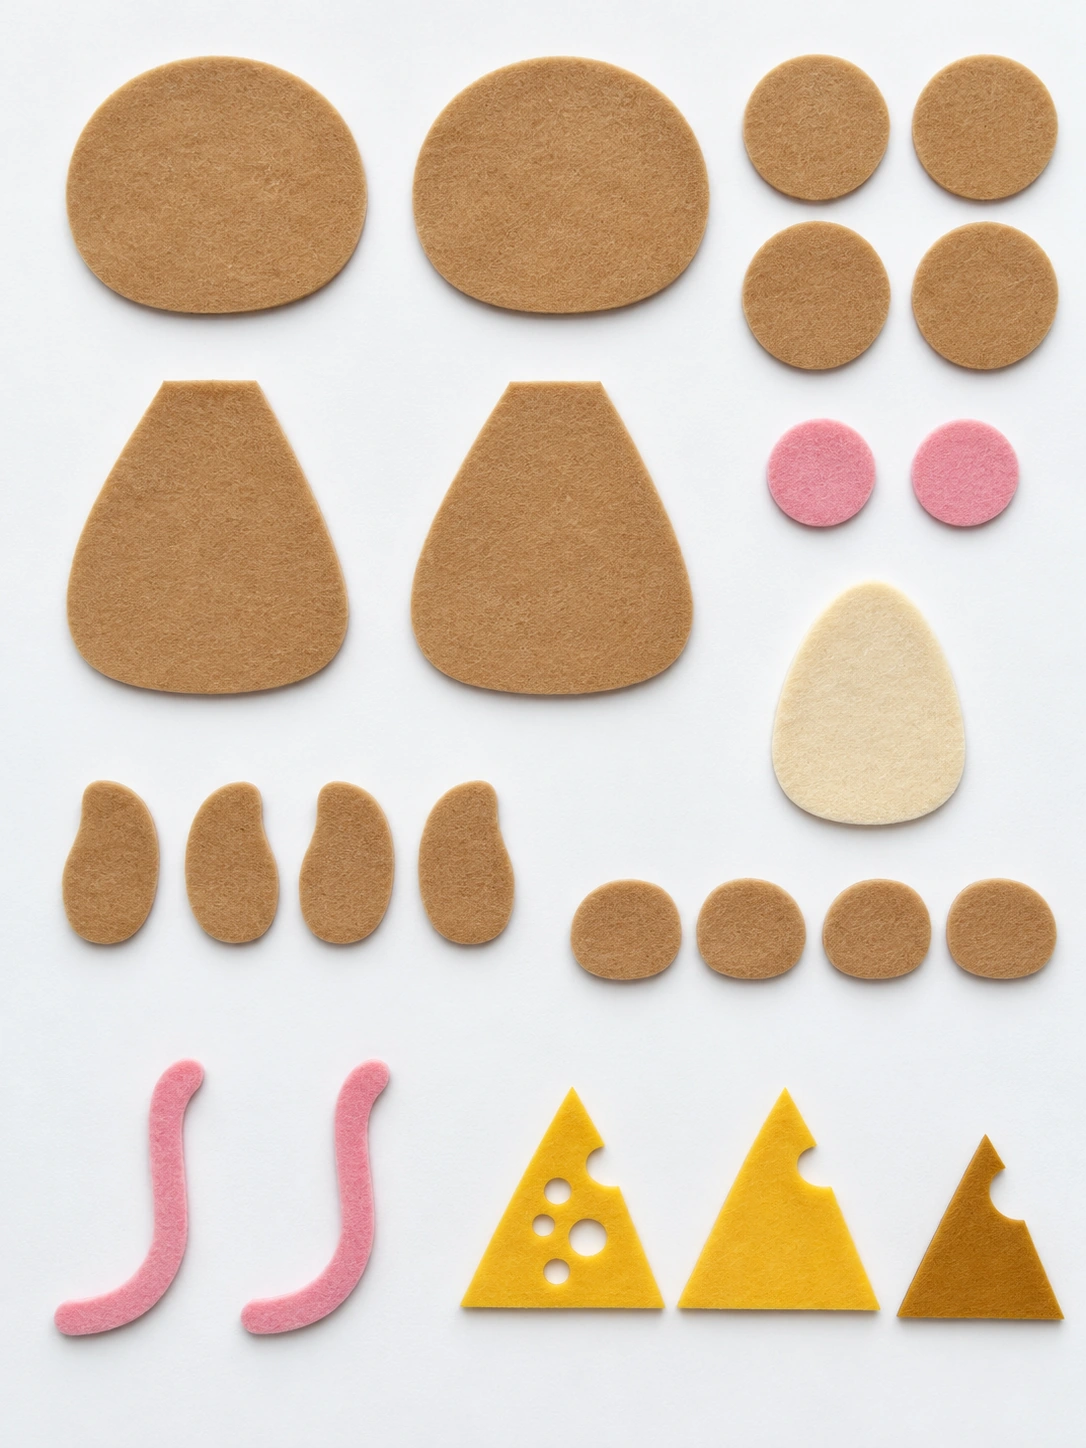
If the square is wrong, correct the printer settings and print again. Use the printed PDF as your cutting template. The photographs show the finished mouse and its separate parts, but they are not full-size cutting patterns.
All measurements in the cutting list are the outer cut bounds, given as width × height. The 2 mm edge-stitch allowance is already included in paired pieces. Do not add an extra seam allowance. Use the outlines for the curved edges, bite notch, and cheese openings.
Felt Cutting List
| Piece | Felt color | Outer cut size | Quantity |
|---|---|---|---|
| Head, without ears | Tan | 72 × 64 mm | 2 |
| Body | Tan | 68 × 76 mm | 2 |
| Outer ears | Tan | 36 mm diameter | 4 |
| Inner ears | Pink | 26 mm diameter | 2 |
| Belly | Cream | 47 × 60 mm | 1 |
| Arms | Tan | 22 × 39 mm | 4, two mirrored pairs |
| Feet | Tan | 26 × 24 mm | 4, two mirrored pairs |
| Tail | Pink | 32 × 65 mm | 2 |
| Cheese | Yellow | 49 × 52 mm | 2 |
| Cheese hole backing | Dark gold | About 41.2 × 44.2 mm | 1 |
Cut 24 felt pieces altogether. The cheese front has four cut-out holes; its back stays solid. The dark-gold backing is one piece behind the holes, so there are no small gold circles to cut. The face details are all embroidery.
1. Cut and Organize the Pieces
Cut out the paper templates, then trace the required quantities onto the felt. Keep the scissors upright and take small cuts around tight curves. For both arms and feet, cut two pieces with the template face up and two face down. This gives each side a matching front and back.
Set plain backs aside. Transfer the embroidery and placement marks lightly onto the front pieces. Check that any marker you use can be removed from your felt, and test it on a scrap first.
2. Add the Face, Belly, and Pink Ears
Embroider the face on one head piece, using the printed marks. Use satin stitch to fill the eyes in black and the nose and cheeks in pink. Backstitch the mouth and three whisker lines on each side. Keep the knots on the back.
Center and sew the belly on the body front, 13 mm below its top. Sew a pink circle centrally onto each of two tan ear fronts. Use small appliqué stitches about 1.5 mm inside the edges. Keep all three decorations flat.
3. Prepare the Small Sections and Cheese
Pair each decorated ear with a plain tan back and blanket-stitch around it, 2 mm inside the edge. Sew the two tail layers together the same way. Leave the ears and tail flat. Pair the arms and feet, sew their edges, add a tiny amount of filling through a 10 mm gap, then close each gap. Embroider three toe lines on each foot and bury the thread ends.
Cut the four holes from the yellow cheese front only. Their diameters are 6, 5, 9, and 6 mm. Position the dark-gold backing behind the front, following the guide. Its edge sits 2.5 mm inside the cheese outline. Sew around each opening about 1 mm from its cut edge, catching the gold layer. Add the solid yellow back and sew the outer edge 2 mm in. Do not stuff the cheese.
4. Reinforce the Head-to-Body Join
Make this join while both pieces are flat. Lay the body front face up. Place the head back over its top, with the head’s inside facing you, following the full-size layout. The head overlaps the body by 18 mm.
Backstitch two horizontal rows through the head back and body front only. Each row is 24 mm long and centered across the body. Position them 6 mm and 13 mm below the body’s top edge, as marked. Secure both ends firmly. The head front will cover these stitches; the two rows spread the hanging weight across the neck.
5. Close the Body and Secure the Tail
Keep the head front separate. Place the body back behind the decorated front. Position the tail base inside the right-hand seam as you look at the mouse, with about 8 mm enclosed, matching the full-size drawing. Anchor the enclosed base with several strong stitches before sewing the body edge.
Sew around the body 2 mm inside its edge, catching the tail base again at the seam. At the hidden top edge, sew through the body front, body back, and overlapping head back together. The head front will cover these stitches. Leave a 15 mm opening at the lower left for light stuffing, then close it. Keep the tail’s curled length outside the seam. Check that the head, body, and tail lie comfortably without pulling at the neck.
6. Anchor the Loop and Sew the Head
Fold the 160 mm cord in half. Place both cut ends 15 mm down inside the top center of the head back. Sew 8–10 firm anchor stitches over and around each end with strong thread. Keep the loop free above the head, and gently test the anchors before closing it.
Set the ear tops 18 mm above the head top, with their lower portions between the head layers, following the layout. Secure each ear to the head back with several backstitches, then add the embroidered head front. Sew 2 mm inside the head edge, catching the ear roots securely. Leave a 15 mm opening on one lower side, add light stuffing, and close it. Keep the neck area fairly flat.
7. Attach the Feet, Cheese, and Arms
Position the feet first, with their tops 62 mm below the body top. Sew their upper halves securely to the body, with the toe stitches facing out. Center the cheese 16 mm below the body top, overlapping the upper feet. Secure its back to the belly with several small hidden stitches near its upper and lower edges.
Position the arms over the cheese’s sides, their tops 18 mm below the body top. Sew their shoulder ends to the body and tack the paws onto the cheese, keeping all four holes visible. Check each attachment from the front and back, then bury the thread ends between the felt layers.
Small Tips for a Neat Finish
Use one or two strands of embroidery floss for the little details, depending on your felt and the look you prefer. Try a few stitches on a scrap. Thick thread can crowd the face, while fine thread gives you more room around the cheeks and whiskers.
Keep edge stitches relaxed. If a curve begins to curl or pucker, loosen the last few stitches before going farther. Small tufts of filling are easier to spread than one large ball, and a blunt tool can help move them gently without stretching the felt.
Final Checks Before Hanging
- Check the loop anchors and reinforced head-to-body join with a gentle pull.
- Make sure both ears, both arms, both feet, the tail, and cheese are securely sewn.
- Look for loose thread ends, open seams, or showing stuffing.
- Remove every pin and any remaining temporary marks.
- Hang the mouse where children and pets cannot reach it.
Store the ornament flat in a dry box when it is not on display. Keep the tail and ears from being folded under heavier decorations. A soft, dry brush can remove a little surface dust.
Frequently Asked Questions
Does the head pattern include the ears?
No. The head is an earless shape cut twice. Cut four separate outer-ear circles and two pink inner-ear circles. Each finished ear has two tan layers and one pink front decoration.
Do I cut four separate cheese holes?
Cut the four openings out of the yellow cheese front only. The single dark-gold backing sits behind them. Leave the yellow cheese back solid, including the areas behind the holes.
Can I use different felt colors?
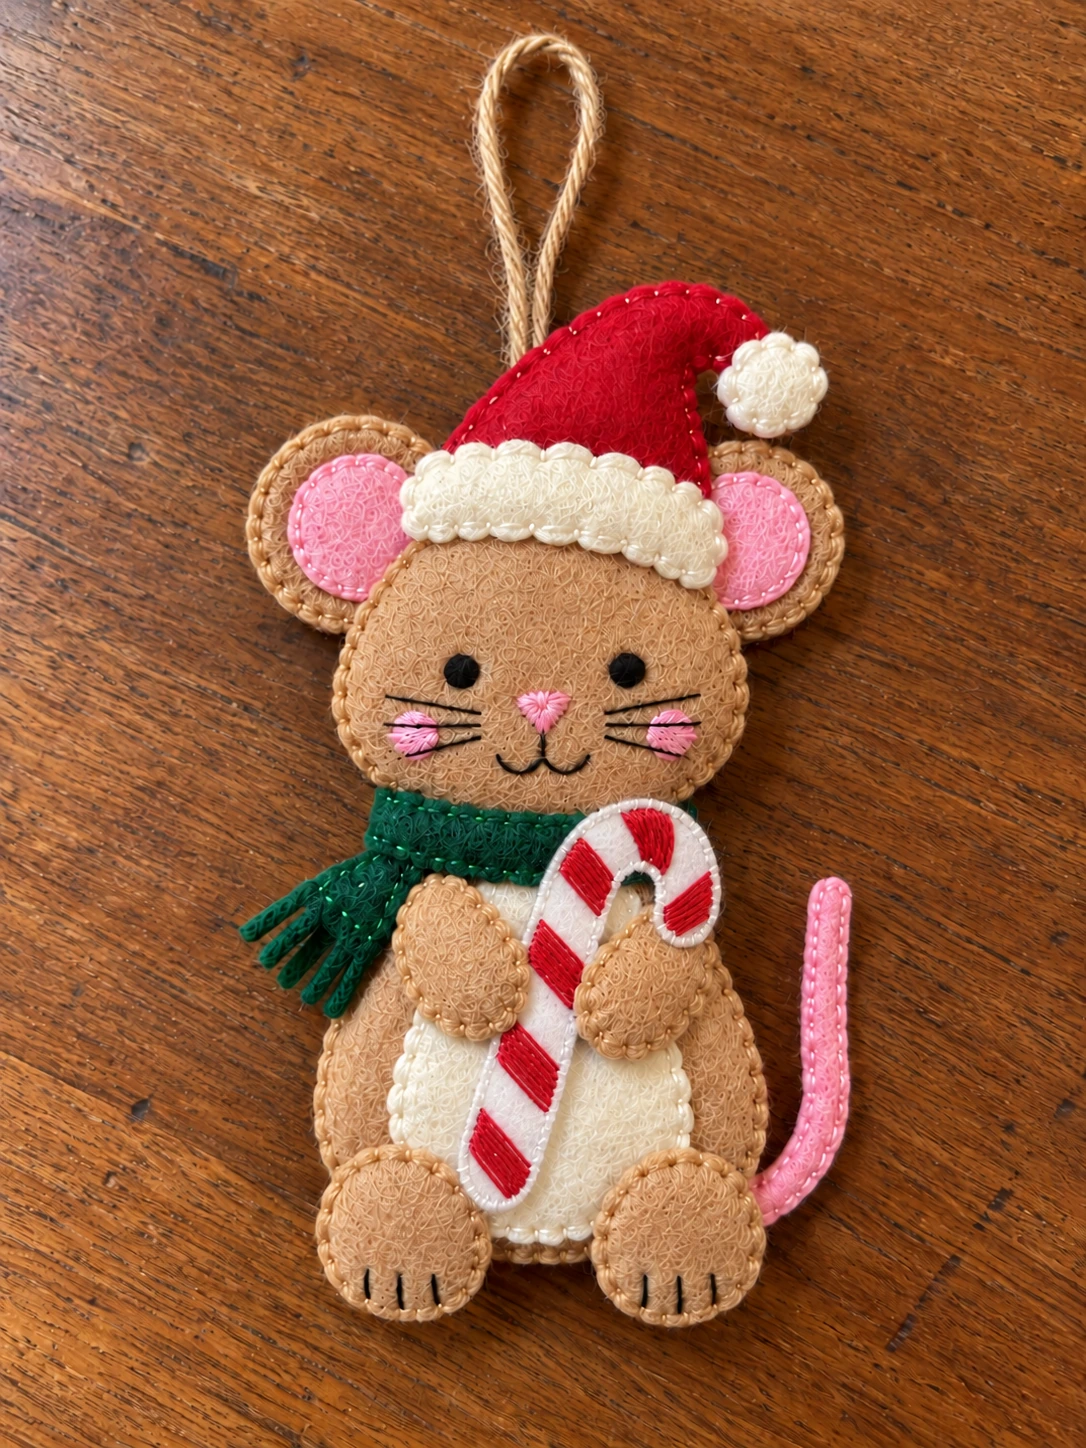
Yes. Gray or cream felt can give the mouse a different look. Keep the same pattern scale, quantities, and assembly. Choose a belly color that stands out from the body so the layered detail stays clear.
Do I need a sewing machine?
No. The mouse uses hand stitches. Work slowly on the small details and keep the illustrated guide nearby. Secure the hanging cord and neck join with the stitches shown in the guide. They support the ornament’s weight.
Why is my finished mouse slightly smaller than 150 mm?
The 150 mm measurement describes the flat layout before padding and stitching. Filling can draw the edges inward a little. Check the 50 mm print square first, then use the guide to confirm the overlaps rather than stretching the finished ornament.
More Little Felt Projects to Sew
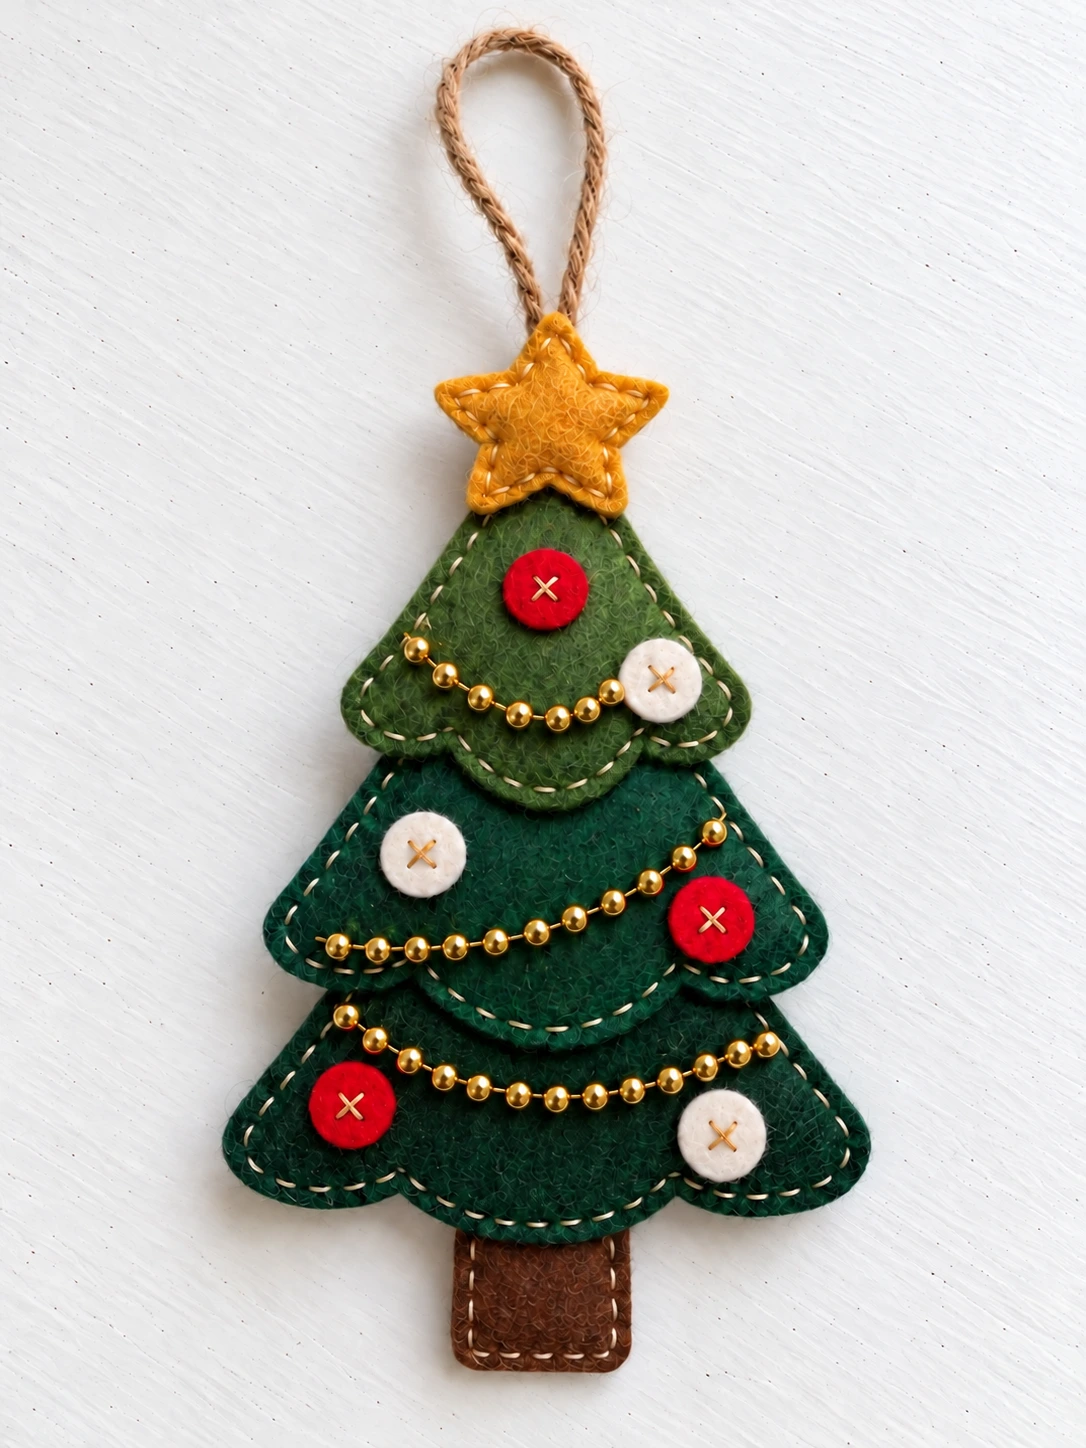
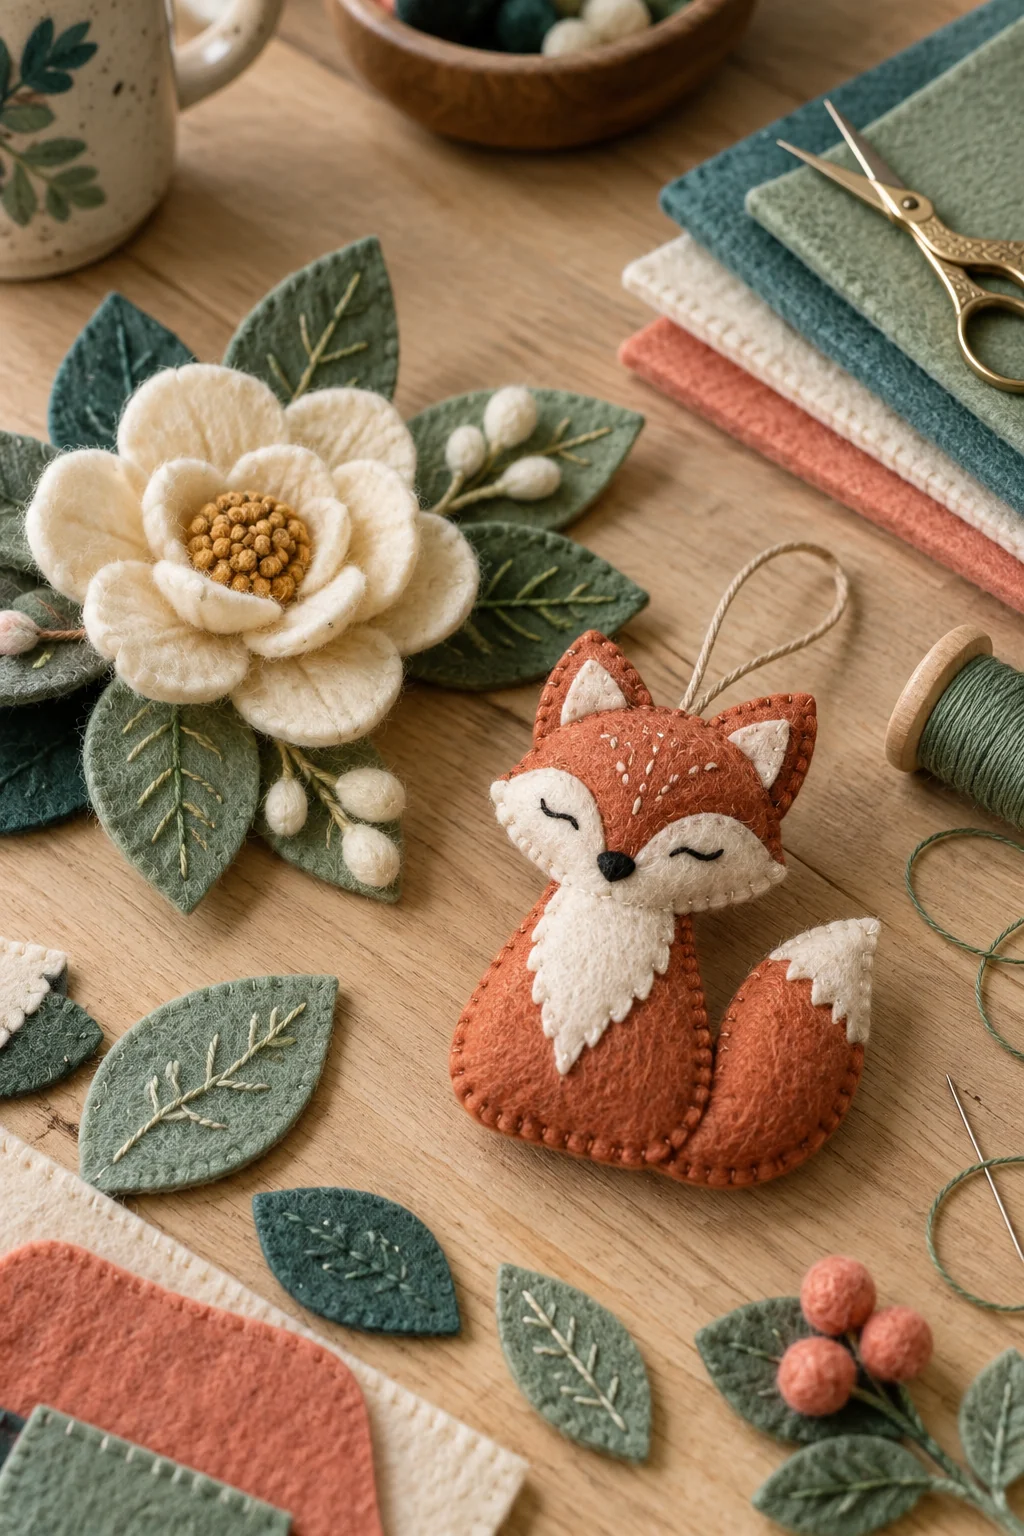
For another little felt friend, try the felt sheep free pattern. Add a layered felt Christmas tree ornament beside your mouse, or browse these 20 easy felt Christmas ornaments to sew for more small projects.

Leave a Comment